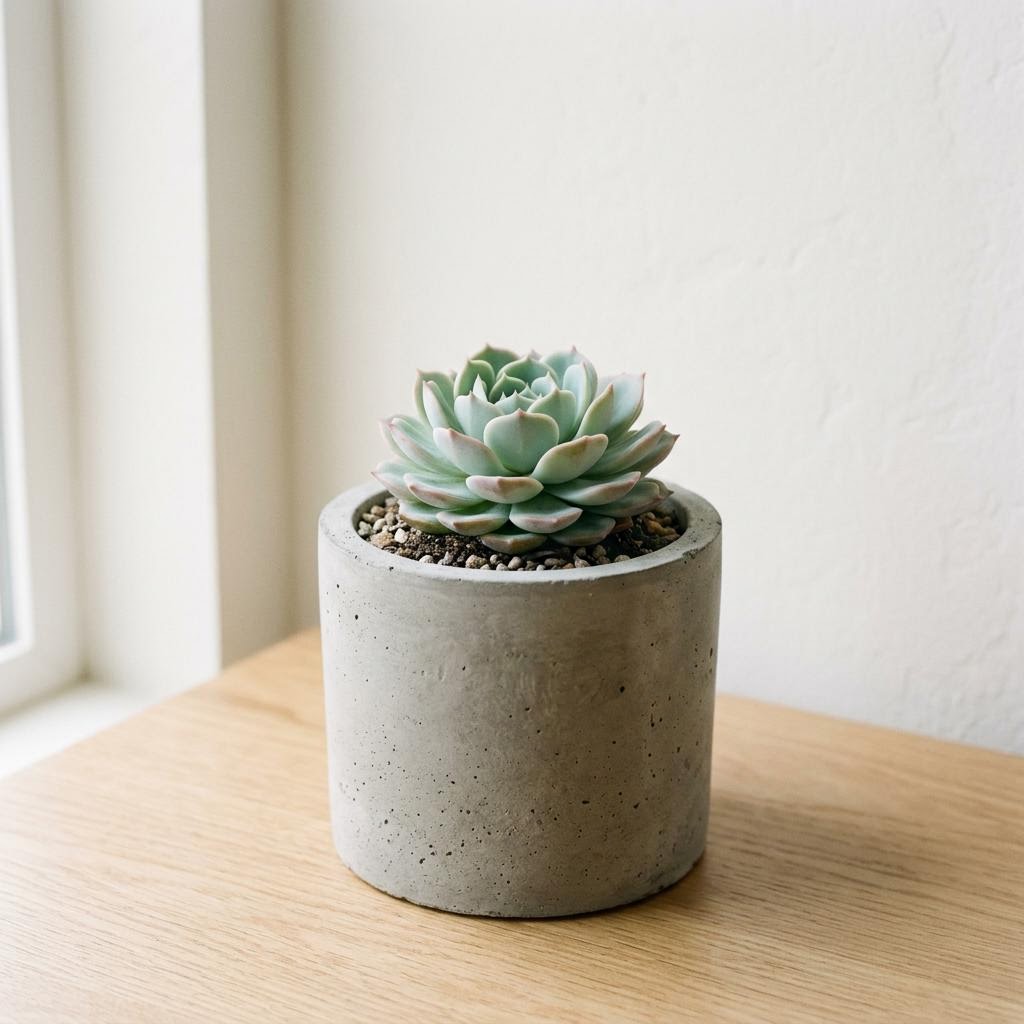
Create sleek DIY concrete planters for a fraction of retail cost.
Concrete has had an interesting journey as a craft material. For most of the twentieth century it was purely industrial — sidewalks, bridges, buildings. Then somewhere in the early 2010s, interior designers started treating it as a premium material: concrete countertops, concrete floors, concrete furniture. The DIY version followed naturally: makers discovered that ordinary concrete mix from the hardware store could be cast in almost any mold to produce objects that looked architectural and sophisticated at a fraction of the retail price.
The material science of concrete is more interesting than it appears. Concrete is not a simple substance — it is a composite of Portland cement (the binding agent), aggregate (sand and gravel that provide bulk and reduce shrinkage), and water. When water activates the cement, a chemical reaction called hydration begins, forming calcium silicate hydrate crystals that interlock and harden over time. This process, called curing, continues for weeks. A concrete planter that has been unmolded after 48 hours is not fully cured — it gains significant strength over the following three to four weeks.
Craft concrete mixes designed for small-scale projects use a finer aggregate than structural concrete, which allows more surface detail to be captured from the mold. A smooth-walled plastic mold produces a very smooth concrete surface; a textured mold (fabric, wood grain, bubble wrap) transfers that texture to the concrete. The mold material becomes part of the design. Silicone molds are especially good for craft concrete because they release cleanly without requiring a release agent and can capture fine detail from their surface texture.
The key failure mode for DIY concrete planters is cracking, which comes in two forms. Structural cracks (through the wall of the planter) happen when the mix is too wet, the walls too thin, or the planter is moved before fully cured. Surface cracks (hairline cracks on the surface only) happen when the surface dries faster than the interior — the exterior shrinks while the interior is still wet. Covering the fresh concrete with plastic during the first 48 hours slows surface drying and dramatically reduces surface cracking.
New concrete is highly alkaline (pH 12–13), which damages plant roots and inhibits beneficial soil microorganisms. A concrete planter should be cured before planting — soak it in water for a week, changing the water daily, to leach out excess lime and neutralize the pH. You can also treat the interior with a concrete sealer before planting. Either approach brings the pH to a level safe for plants within one to two weeks. Skipping this step and planting immediately often results in plants that struggle and decline for reasons that seem mysterious but are actually chemical.
Once you have made one concrete planter, the same techniques produce an enormous range of objects: candle holders, soap dishes, bookends, coasters, pencil holders, decorative bowls, and small sculptures. The process scales from a 200g planter made in a paper cup to a 5kg feature planter made in a 20-liter bucket. The fundamental skills — mixing to the right consistency, managing the inner mold, slow curing — are identical at every scale. Concrete is one of those materials that rewards ongoing experimentation because the cost of a failed piece is about €2 of concrete mix and thirty minutes of time.
Materials You'll Need
- Fine concrete mix (e.g., Maker's Mix or Quikrete)
- Plastic containers for molds (one large, one small)
- Cooking spray or mold release
- Mixing bucket and trowel
- Dust mask and heavy-duty gloves
- Sandpaper
- Heavy weight or rocks
Step-by-Step
Prepare Your Molds
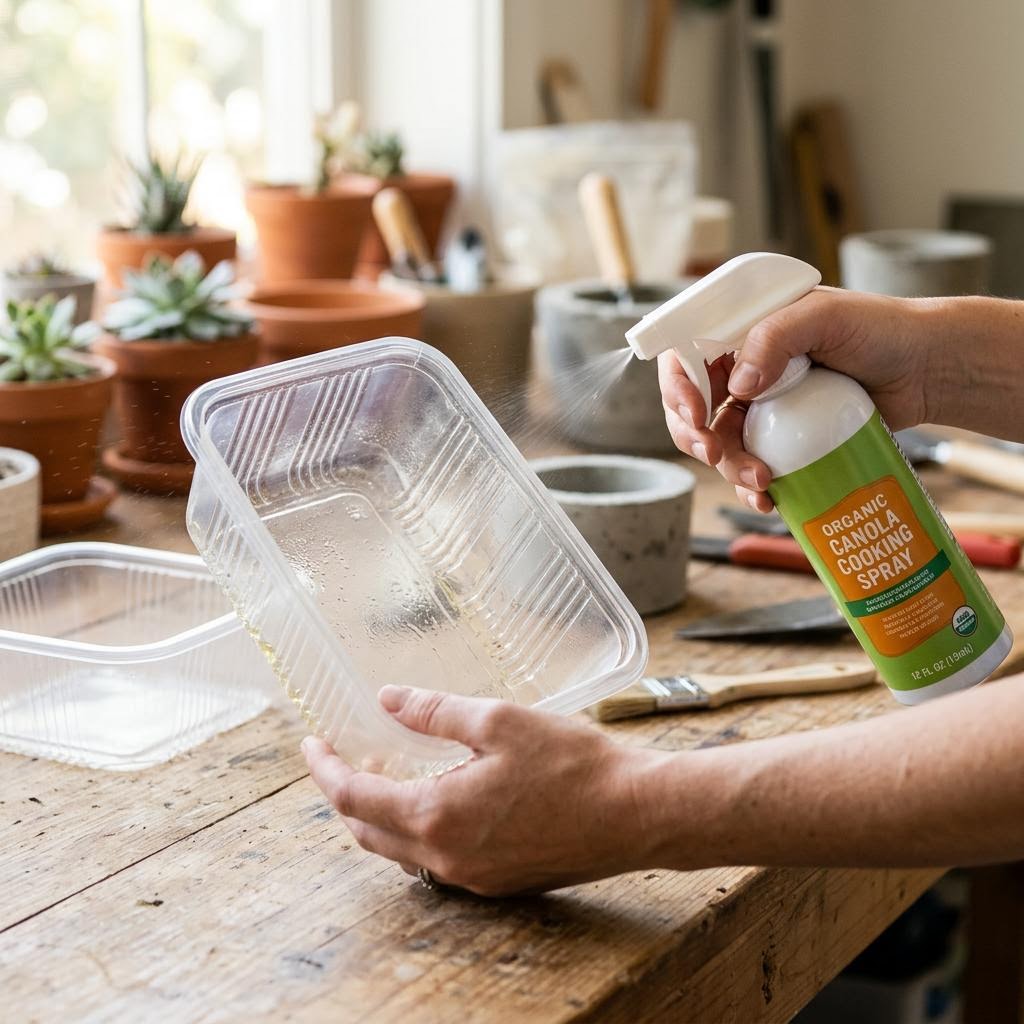
Concrete planters can be made in almost any mold — plastic containers, cardboard boxes, silicone bakeware, or purposely made forms. The mold determines the shape, so the main criterion is that it can withstand the weight of wet concrete without collapsing and that you can remove it once the concrete sets. Flexible molds (silicone, thin plastic) release most easily. Rigid molds (ceramic, stiff plastic) require a release agent — brush the inside with petroleum jelly, vegetable shortening, or a purpose-made concrete release spray. For a planter you need two molds: an outer mold that defines the outside shape, and a smaller inner mold that creates the cavity. The inner mold sits inside the concrete-filled outer mold and displaces the concrete to create the hollow interior. The gap between the two molds should be at least 2.5cm — thinner walls crack during curing or when the pot is handled. Gather both molds, your release agent, mixing supplies, rubber gloves, a dust mask (dry concrete mix is a respiratory irritant), and a drill for drainage holes before you begin mixing — wet concrete sets fast and you need everything ready.
Mix the Concrete
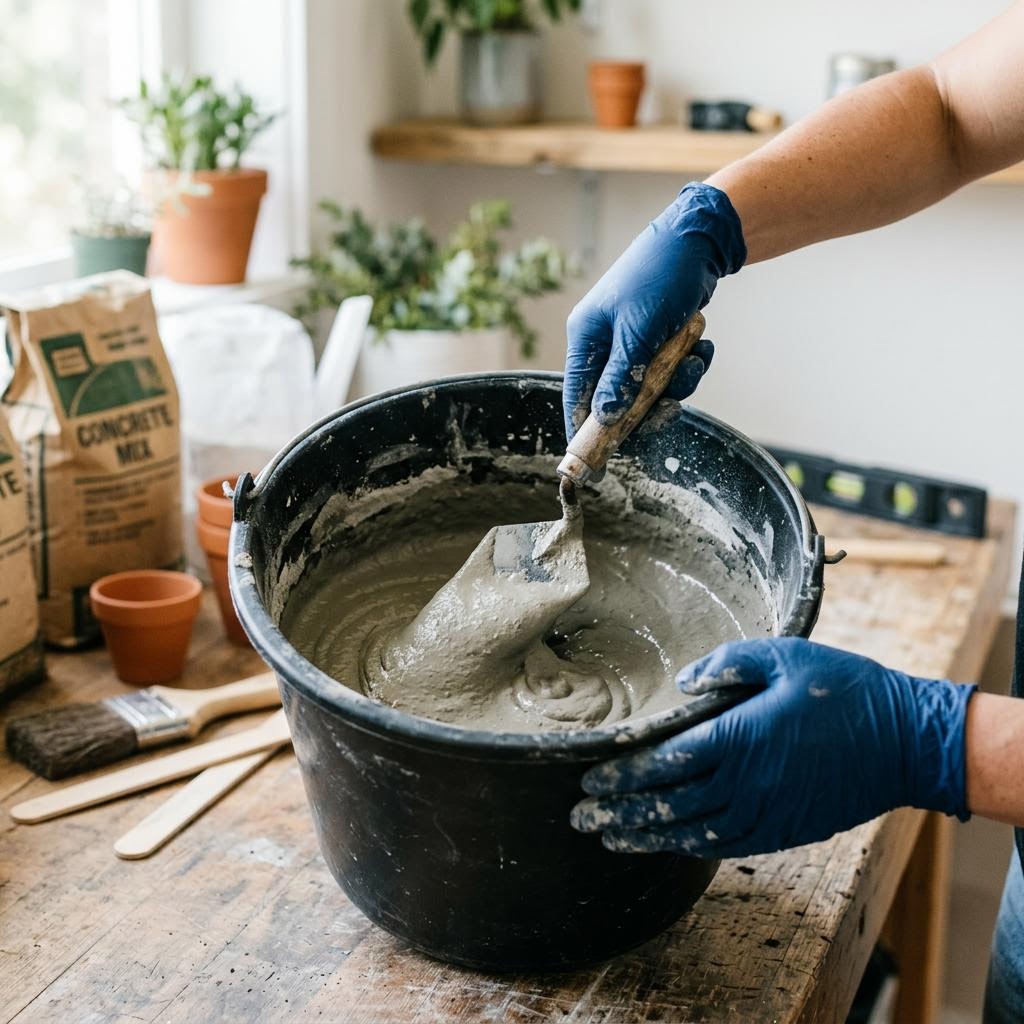
Standard concrete mix (available at hardware stores) works well for planters, but a mix specifically designed for crafts — often sold as 'hypertufa mix' or 'featherweight concrete' — is lighter, has a finer texture, and handles better for detailed molds. Whatever mix you use, follow the water ratio on the bag precisely. Too much water produces weak concrete that cracks and crumbles; too little is too stiff to pour into molds properly. The correct consistency looks like thick oatmeal or peanut butter — it holds its shape briefly when scooped but flows slowly into the mold when tapped. Mix in a bucket with a trowel or stir stick. Add water incrementally to the dry mix rather than adding dry mix to water — this gives you more control and prevents lumps. Mix thoroughly until no dry powder remains visible, then let it sit for two minutes before checking the consistency. The concrete will stiffen slightly on standing; this is normal. If it gets too stiff, add a tiny amount of water (a tablespoon at a time) and remix.
Pouring and Setting the Inner Mold
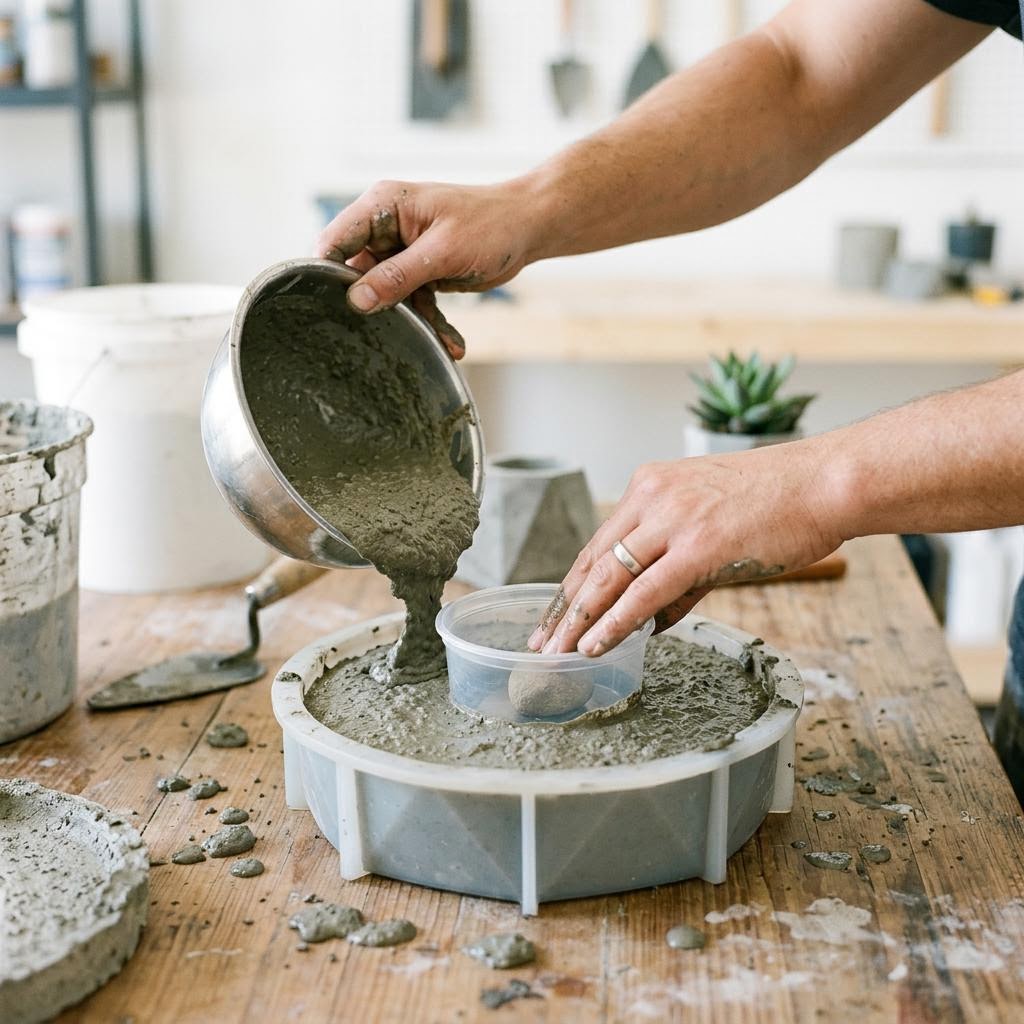
Pour a 3–4cm layer of concrete into the bottom of the outer mold — this becomes the base of the planter. Press the inner mold down into the center of this base layer until it sits flat and centered, with an equal gap all around between inner and outer mold walls. Weigh the inner mold down to prevent it floating up as you add more concrete — fill it with water, sand, or rocks, or tape it in place to the outer mold. Fill concrete into the gap between the two molds, tapping and tamping as you go to eliminate air pockets. Air pockets become holes and weak spots in the finished planter. A chopstick or skewer run around the gap between molds helps release trapped air bubbles. Fill to within 1cm of the top of the outer mold. Smooth the top surface with a wet finger or putty knife. For drainage, push one or two small pieces of dowel or cork through the base layer before the concrete sets — remove them after setting to leave drainage holes.
Curing and Unmolding
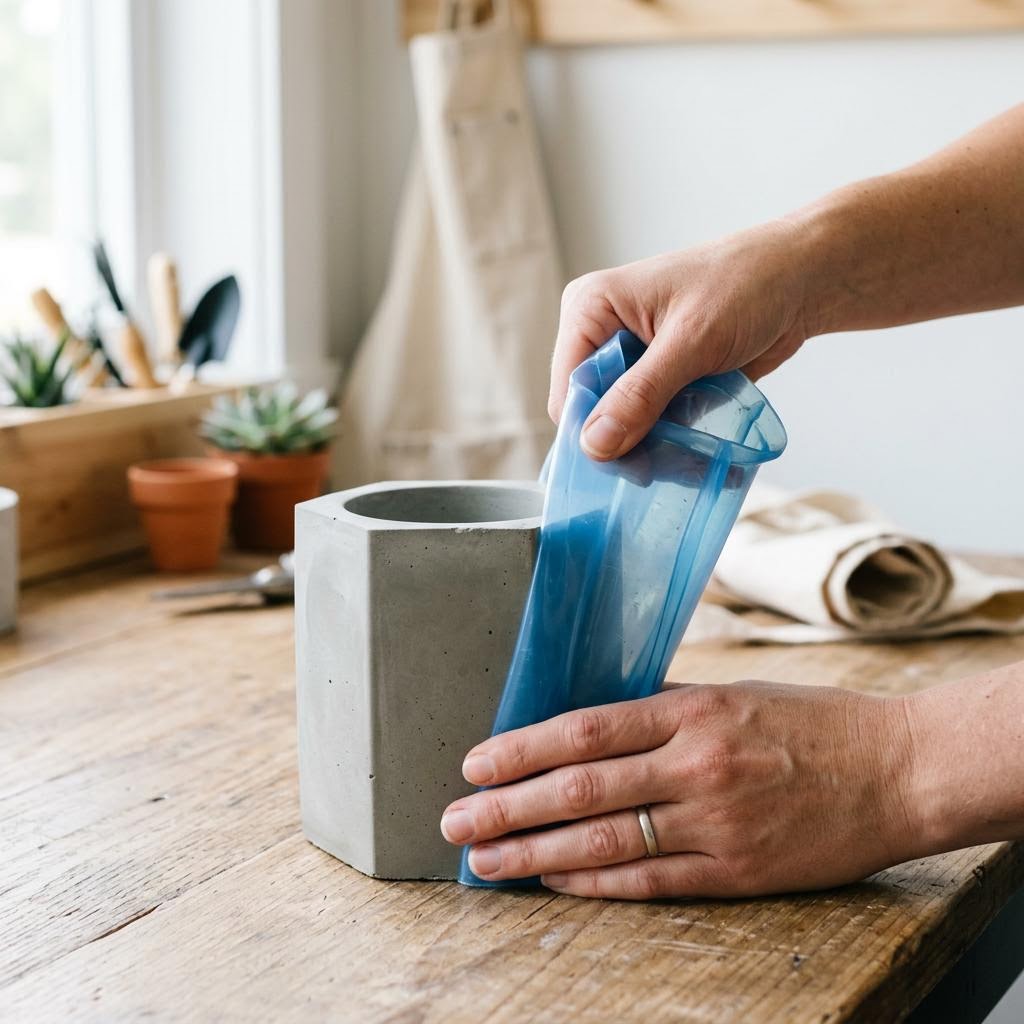
Cover the mold with plastic wrap and leave undisturbed for at least 24 hours — ideally 48. Concrete generates heat as it cures (an exothermic reaction), and this heat needs to dissipate slowly. Covering with plastic prevents moisture evaporating too fast, which causes surface cracking. Do not move the mold during this time; even slight vibration can disrupt the structure while the crystals are forming. After 48 hours, carefully remove the outer mold. For flexible molds, peel away from the concrete. For rigid molds, flex the sides, invert, and tap gently. Remove the inner mold next. If it is stuck, fill it with warm water which helps flex plastic molds slightly. Lightly sand any rough edges with 120-grit sandpaper — concrete surfaces that come off the mold are often a bit rough. Leave the planter to continue curing uncovered for at least a week before planting — wet concrete is alkaline enough to damage plant roots. Rinsing the interior several times with water and leaving it to dry speeds the neutralization.
Written by

Sophie Chen
Bath & Beauty Craft Formulator
Sophie blends cosmetic science with artisan craft. She develops small-batch skincare, soap, and bath product recipes that are safe, effective, and beautiful.