Natural Dyeing: Color Fabric with Food and Foraged Plants
Explore natural dyeing using everyday kitchen scraps and plants.
Onion skins. That's where most people start with natural dyeing, because they produce a rich, almost-too-good-to-be-true golden orange on wool, and they're basically free. But once you see that color come up in the pot — this warm amber appearing on fabric that was bone-white twenty minutes ago — you start wondering what else is sitting in your kitchen or garden that you've been throwing away.
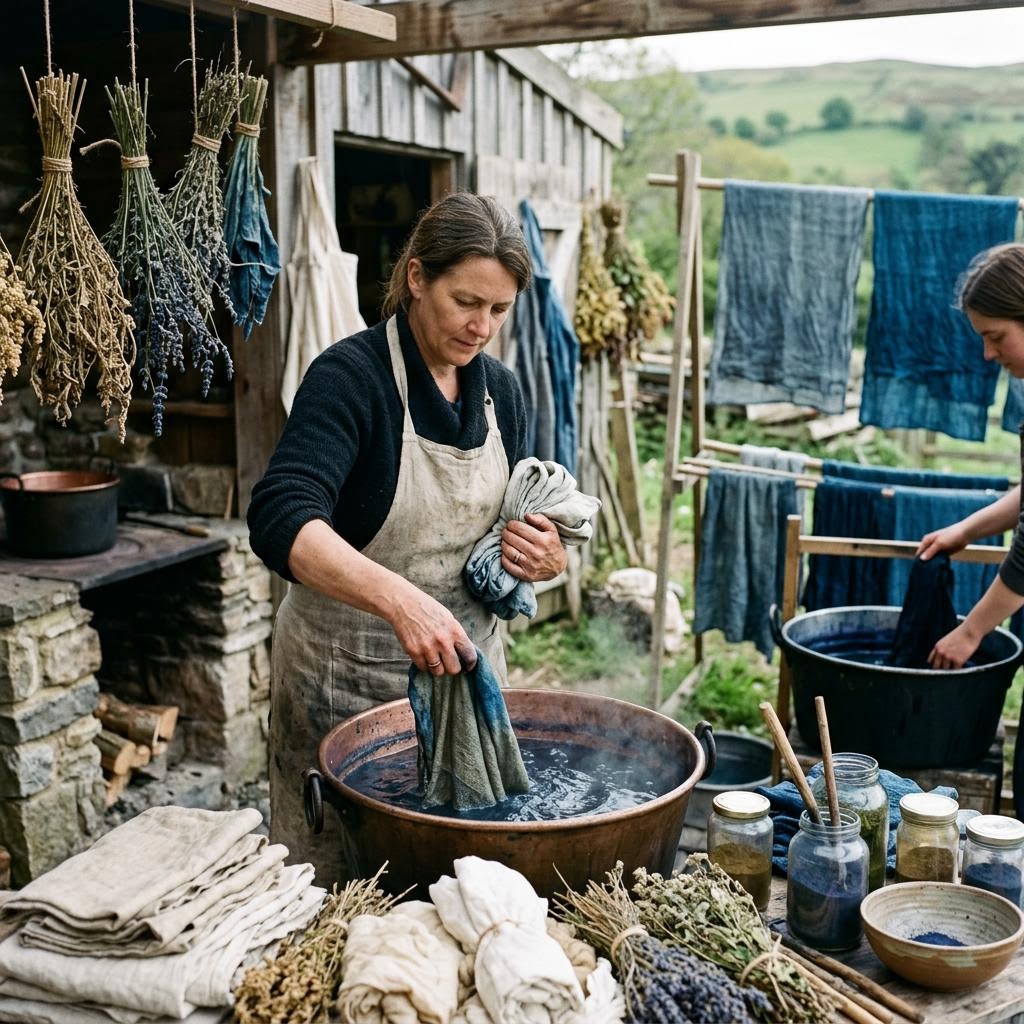
Natural dyeing is chemistry, but don't let that scare you. At its simplest, it's this: dissolve a mordant (a metal salt like alum) in hot water, soak your fiber in it so the color has something to grip, then move the fiber into a pot of dye liquid. Heat gently, stir occasionally, rinse, and dry. The results are never quite what you expect, and that's most of the charm. Natural dyeing produces soft, complex colors — dusty mauves from black beans, warm greens from nettles, deep yellows from turmeric — that are genuinely difficult to achieve with synthetic dye.
Fiber choice changes everything. Protein fibers — wool, silk, alpaca — absorb natural dye beautifully with basic mordanting. Plant fibers — cotton, linen — are more resistant and need a stronger mordant process or a tannin pre-treatment to get rich color. Wool dyed with onion skins in a single session comes out a deep, saturated gold. Cotton dyed with the same bath and the same mordant comes out pale yellow. Knowing this upfront saves a lot of disappointment.
Your dedicated dye pots should never go back to the kitchen. Even mordants considered food-safe — like alum — shouldn't share space with actual food preparation. Keep a thrift-store pot (stainless steel or enamel, never aluminum, which reacts with certain dyes), a wooden spoon, and rubber gloves specifically for dye work. Label everything clearly. This isn't overcaution; it's just good practice.
The mordant ratio most beginners use for alum on wool is 15% weight of fiber (WOF). So if you're dyeing 100 grams of wool, dissolve 15 grams of alum powder in hot water. This ratio gives good color uptake without making the fiber feel sticky or felted. Iron as a modifier (added in small amounts — about 2% WOF — to the dye bath) deepens and saddens colors beautifully; copper shifts greens warmer. Playing with modifiers is where natural dyeing becomes genuinely experimental.
The colors from natural dyeing are lightfast to varying degrees. Turmeric, for all its gorgeous intensity, fades quickly in sunlight — it's a fugitive dye. Onion skin, black walnut, and weld are much more stable. If you're dyeing something you want to last — a garment, a textile wall hanging — research the lightfastness of your dye material first. For a project you'll use indoors, even less stable dyes hold up beautifully for years.
Materials You'll Need
- Natural fiber fabric (cotton, linen, silk, or wool)
- Dye material (onion skins, avocado pits, turmeric, or black beans)
- Alum powder (mordant)
- Large stainless steel or enamel pot (not used for food)
- Strainer or cheesecloth
- Wooden spoon
Step-by-Step
Mordanting the Fabric
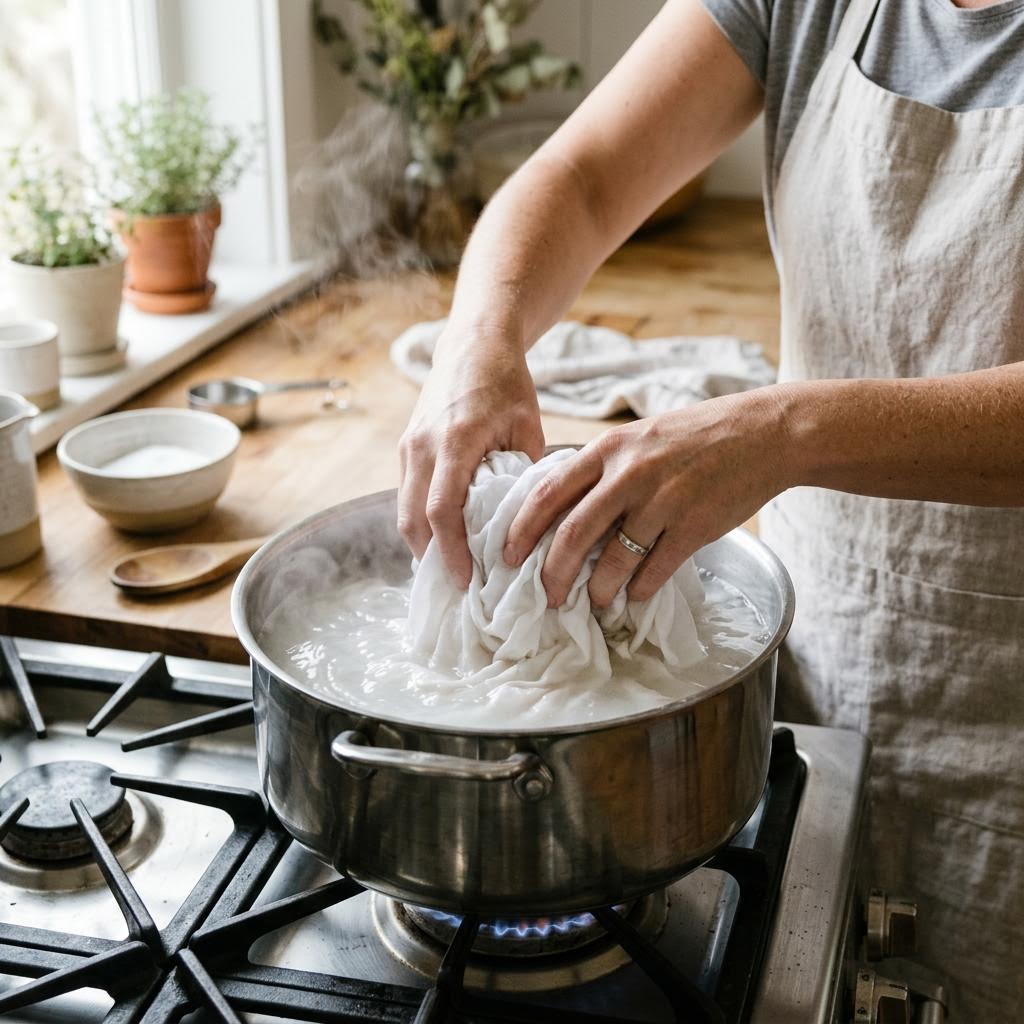
First, scour your fabric — wash it in hot water with a small amount of dish soap to remove any finishes, oils, or sizing that would block dye uptake. Rinse thoroughly and keep the fabric wet; dry fiber going into a mordant bath can cause uneven uptake. Weigh your dry fiber before wetting it so you know your WOF (weight of fiber) for calculating mordant amounts. For alum mordant on wool: dissolve 15g of alum (potassium aluminum sulfate) per 100g of fiber in a cup of hot water, then add it to your pot filled with enough warm water to let the fabric move freely. Add your wet fiber, heat slowly to around 80°C (175°F) over 30–40 minutes, and hold at that temperature for another 45 minutes. Stir gently every 10 minutes — too much agitation felts wool. Lift the fiber out, gently squeeze (don't wring), and either move it directly into your dye bath or set it aside wrapped in plastic if you're not dyeing immediately. A mordanted fiber held for a day or two stays ready. Don't rinse out the mordant — that's the whole point. The alum is now bonded to the fiber, waiting for the dye molecules to attach to it.
Extracting the Dye
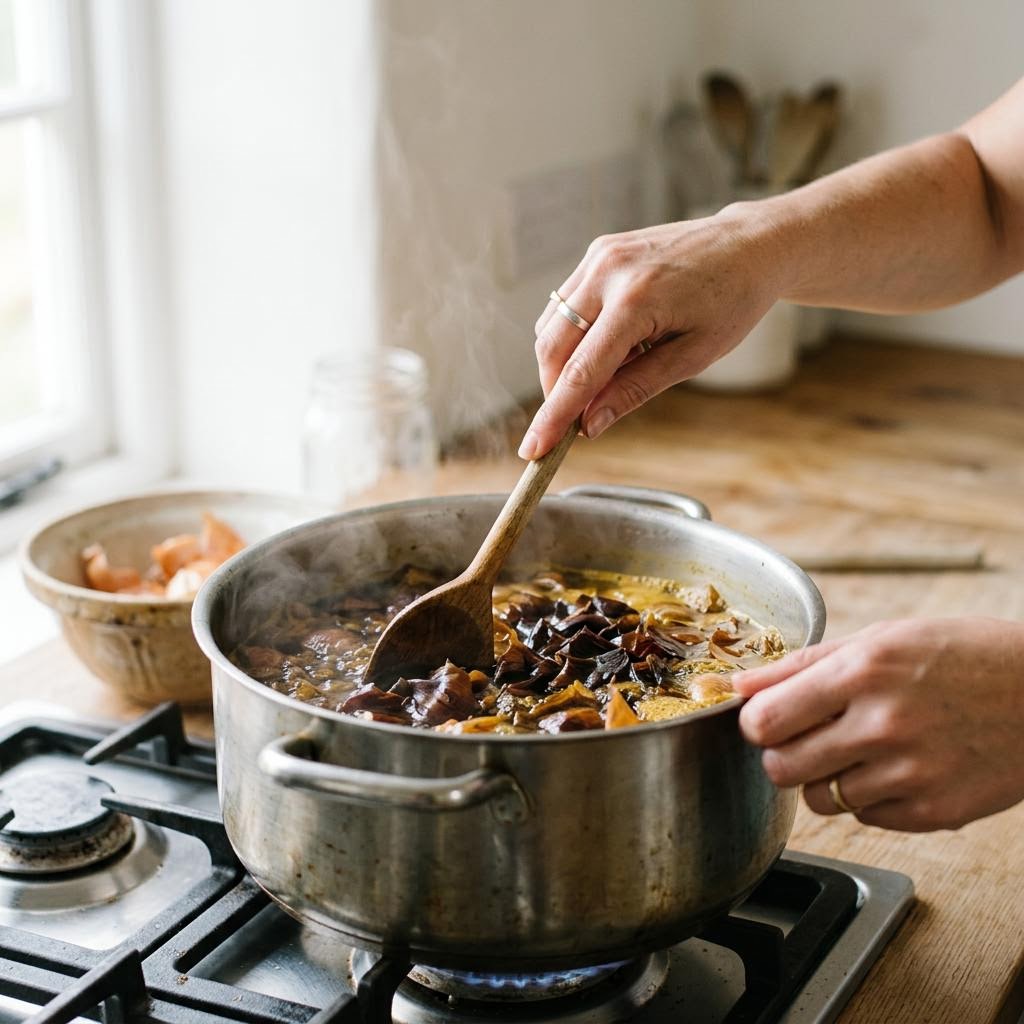
For plant-based dyes, extraction is simple: put your dye material in the pot, cover generously with water, and simmer (not boil) for 45–60 minutes. Onion skins, avocado pits and skins, dried marigold petals, and black walnut hulls all extract well this way. Use a rough ratio of equal weights of dye material to fiber — 100g of onion skins for 100g of fiber gives a strong, saturated color. After simmering, strain out all plant material using a cheesecloth or fine mesh strainer. What's left in the pot is your dye bath — a liquid that looks nothing like the final color on fiber. Onion skin liquid is a dark brown-orange; avocado pit liquid is a murky pink-brown. The colors transform and brighten dramatically once they bond with mordanted fiber, so don't judge the bath by how it looks at this stage. For fresh plant material like nettles, bracken fern, or black-eyed Susan flowers, the ratio shifts — use 2–3 times the weight of fiber in plant material to compensate for higher water content. Dried materials are more concentrated. You can also freeze dye baths to use later, or do successive dye baths with the same liquid for lighter, more exhausted color on additional skeins.
The Dye Bath
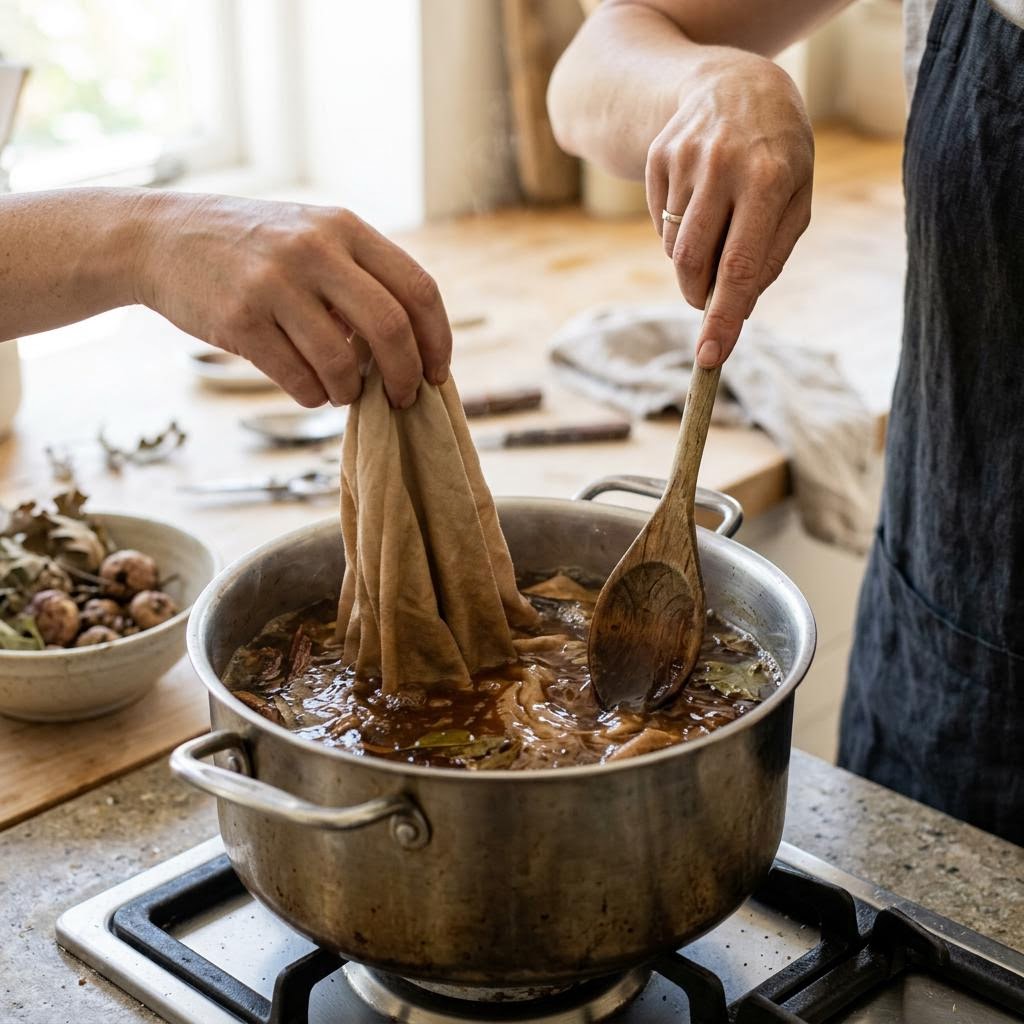
Warm your strained dye bath back to about 70°C (160°F) and submerge your pre-wetted, mordanted fiber. The fiber must go in wet — dry fiber entering a dye bath creates hard edges and blotchiness. Gently push it under the surface so it's fully covered, then heat slowly to 80°C over 20–30 minutes. Stir gently and regularly, especially during the first 15 minutes when most of the color uptake happens. Hold the temperature at 80°C for 45–60 minutes, stirring occasionally. Watch as the bath exhausts — the liquid will gradually go from rich and opaque to clearer as the dye bonds to the fiber. A fully exhausted bath means excellent dye uptake and minimal rinsing needed. If the bath is still deeply colored after an hour, your fiber has absorbed what it can; don't leave it longer hoping for more color. Optional: add an iron modifier in the last 10 minutes. Dissolve a small pinch of ferrous sulfate (about 2g per 100g fiber) in hot water and stir it into the bath. The color will shift and deepen almost immediately — greens go olive, yellows go green, oranges go brown. Iron is a powerful modifier, so use sparingly. Remove the fiber, let the bath cool slightly, then proceed to rinsing.
Rinsing and Curing
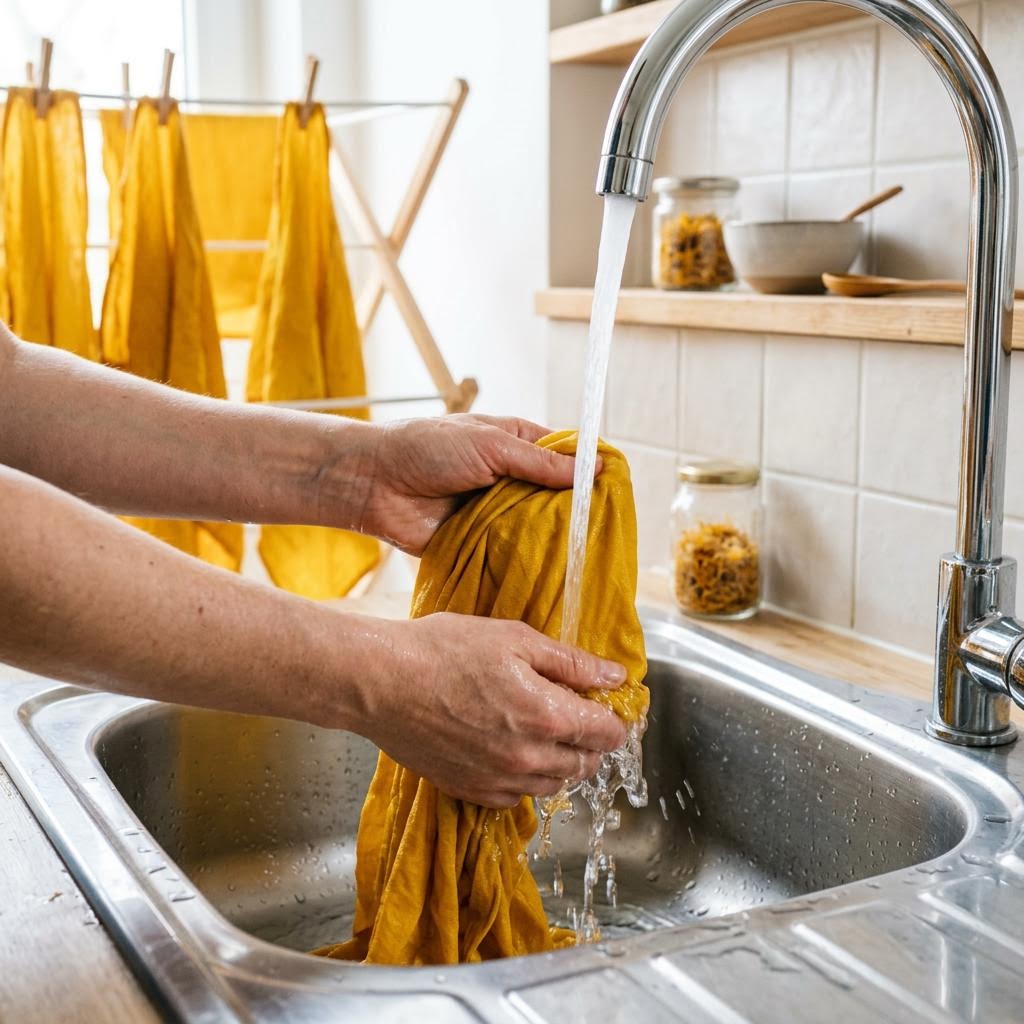
Rinse your dyed fiber in water that's close to the dye bath temperature — a dramatic temperature shift can shock wool fibers and cause felting. Start with warm water, then cool gradually through successive rinses until the water runs clear. Add a small splash of white vinegar to one of the rinses for protein fibers; it helps set the color and restores the natural pH of wool. Gently squeeze (never wring or twist) the excess water out and lay the fiber flat on a towel to roll up and press, or hang it loosely in the shade to dry. Direct sunlight will bleach and fade many natural dyes even as they're drying — be especially careful with indigo, weld, and madder. Let the fiber dry completely before assessing the color; wet fiber always looks darker and more saturated than the finished result. For the first few washes of a naturally dyed garment or yarn, wash separately in cool water with a small amount of gentle wool wash or pH-neutral soap. Some residual dye will release in early washes — this is normal and doesn't mean the color will continue to fade. After two or three washes, most well-mordanted natural dyes are stable and can be washed with other items.
Written by

Lily Andrews
Botanical & Nature Craft Artist
Lily forages, presses, and preserves the natural world. Her work bridges botanical science and handcraft, turning leaves, petals, and bark into lasting art.