Tie-Dye Techniques: A Complete Guide to Modern Patterns
All tie dye techniques rely on proper fiber preparation. Learn how to tie dye.
Tie-dye's reputation as a 1970s counterculture relic obscures a craft with deep global roots. Resist-dyeing techniques appear in West African adire, Japanese shibori, Indian bandhani, and Javanese batik — cultures separated by thousands of miles that independently discovered the same fundamental truth: bind fabric before dyeing and the bound areas stay undyed. What varies is the binding method, the dye chemistry, and the aesthetic tradition. What modern tie-dye brought to the mix was fiber reactive dye, which bonds permanently to natural fibers at room temperature and produces colors that stay vivid through hundreds of washings.
Fiber reactive dye is entirely different from the all-purpose dye packets (Rit, Dylon) most people have used. All-purpose dyes use heat and salt to drive dye into fiber and are not truly permanent — they fade noticeably after ten to twenty washes. Fiber reactive dyes form a covalent chemical bond with cellulose fibers (cotton, linen, rayon) when activated by an alkaline environment (soda ash) at room temperature. The bond is genuinely permanent; properly dyed cotton will outlast the garment. The trade-off is that fiber reactive dyes only work on natural fibers — polyester, nylon, and synthetics will not take the dye at all.
Soda ash — sodium carbonate, available as pool pH increaser — is the activator. Soaking fabric in a soda ash solution before dyeing raises the pH and opens the fiber so the dye can penetrate and bond. The sequence matters: soda ash first, then dye, not simultaneously. Some tutorials add soda ash directly to the dye solution, which works but gives you less open time as the reaction begins immediately. Pre-soaking the fabric separately gives you more control over the timing.
The color wheel is your most important reference when planning a tie-dye piece. Colors that are adjacent (analogous) blend beautifully at their meeting edges. Colors that are opposite (complementary) create muddy brown where they overlap. Understanding this prevents the most common beginner disappointment: a beautiful red-yellow-blue spiral that turns into a muddy mess at every intersection. The solutions are to leave gaps of white space between sections, choose only analogous colors for a piece, or deliberately plan for the blended colors as part of the design.
Drying time is underrated. Most fiber reactive dyes need six to twenty-four hours at room temperature to complete their bond to the fiber. Pulling the wrapping off after two hours and rinsing produces pale, washed-out results compared to the same piece rinsed after an overnight rest. Warmth accelerates the reaction — a bag of damp, dyed fabric left on a warm surface or in a warm room will be richer and more saturated than the same piece left in a cool basement.
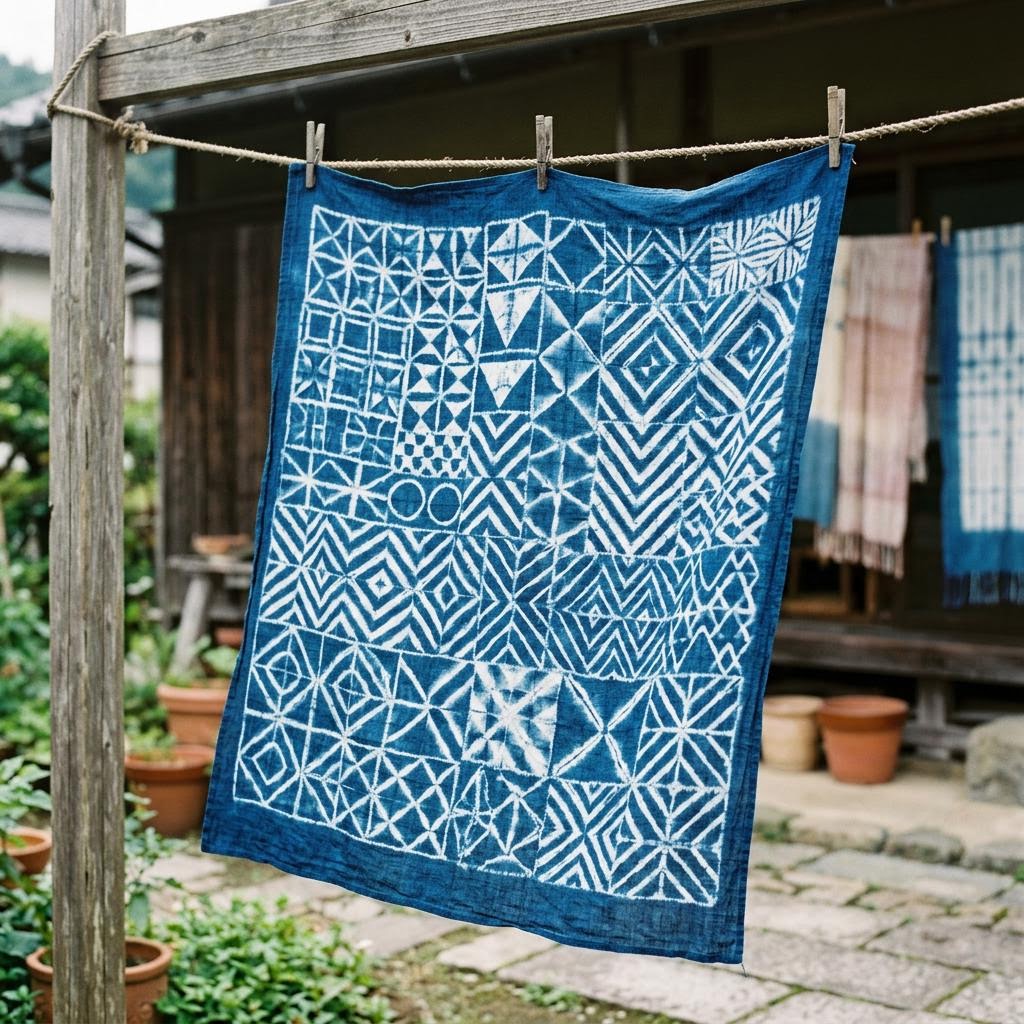
Once you are comfortable with the basic patterns — spiral, bullseye, accordion — the natural next step is combining techniques on a single piece, working with ice dyeing (dye powder placed on ice melts and flows in unpredictable, beautiful patterns), or exploring the Japanese shibori tradition which uses clamping, stitching, and more precise folding to create geometric patterns. The chemistry is identical; the aesthetic vocabulary is completely different.
Materials You'll Need
- White cotton fabric or garments (pre-washed)
- Fiber reactive dyes
- Soda ash (sodium carbonate)
- Rubber bands
- Squeeze bottles
- Plastic bags or wrap
- Gloves
- Large plastic bins
Step-by-Step
Pre-Treat Fabric with Soda Ash
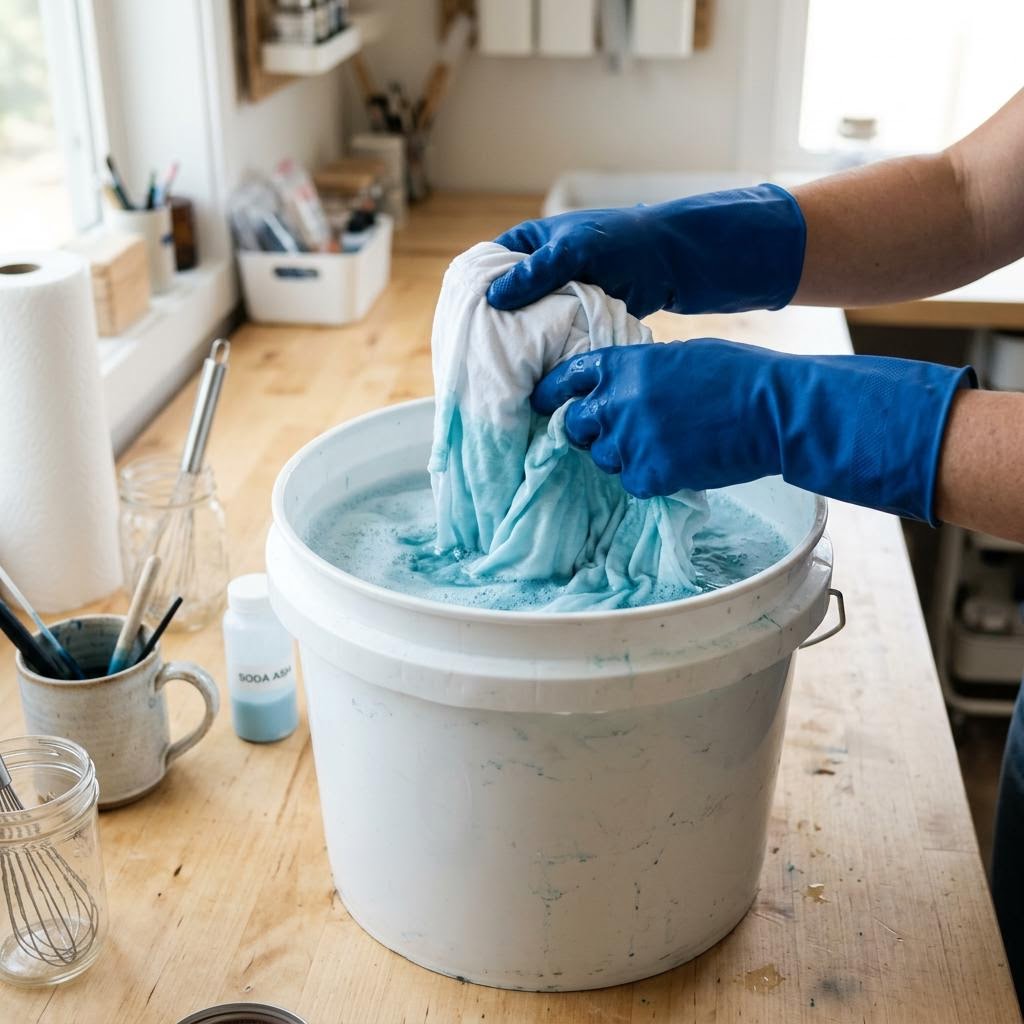
Soda ash — sodium carbonate — raises the pH of your fabric, which opens the fiber and allows fiber reactive dye to bond permanently rather than just sitting on the surface. Without this step, colors wash out within a few launderings. Dissolve one cup of soda ash in a gallon of warm water, submerge your pre-wetted fabric, and let it soak for twenty minutes. Wring it out but do not rinse — the soda ash needs to remain in the fabric when you apply the dye. Only natural fibers take fiber reactive dye: cotton, linen, rayon, hemp, and bamboo. Polyester, nylon, and most synthetic blends will not absorb the dye and will wash out completely. Check your garment's tag before investing time in the process — a fabric labeled 50% cotton/50% polyester will dye only the cotton fibers, producing a heathered, washed-out effect rather than saturated color. Pure cotton gives the most vibrant, saturated results, and pre-washed (to remove sizing) gives more even dye uptake than new unwashed fabric.
Fold and Bind
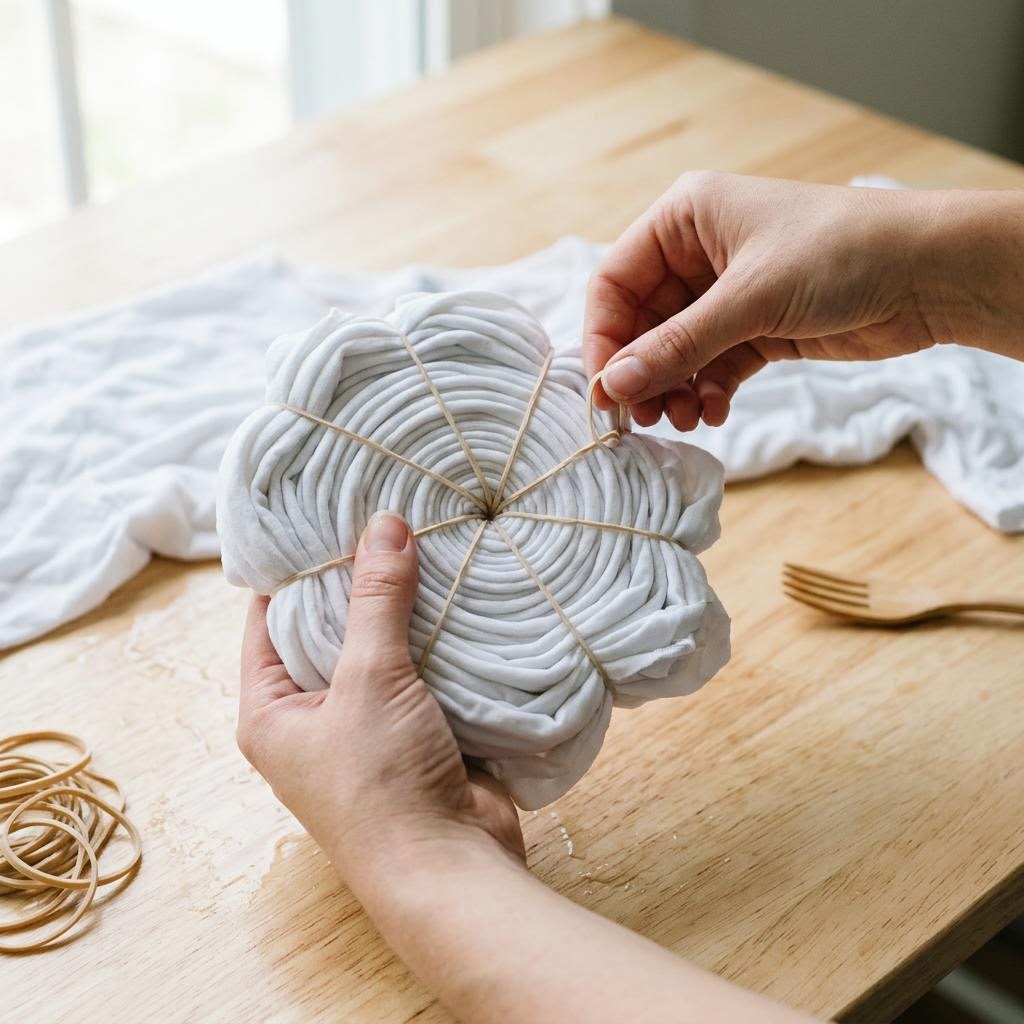
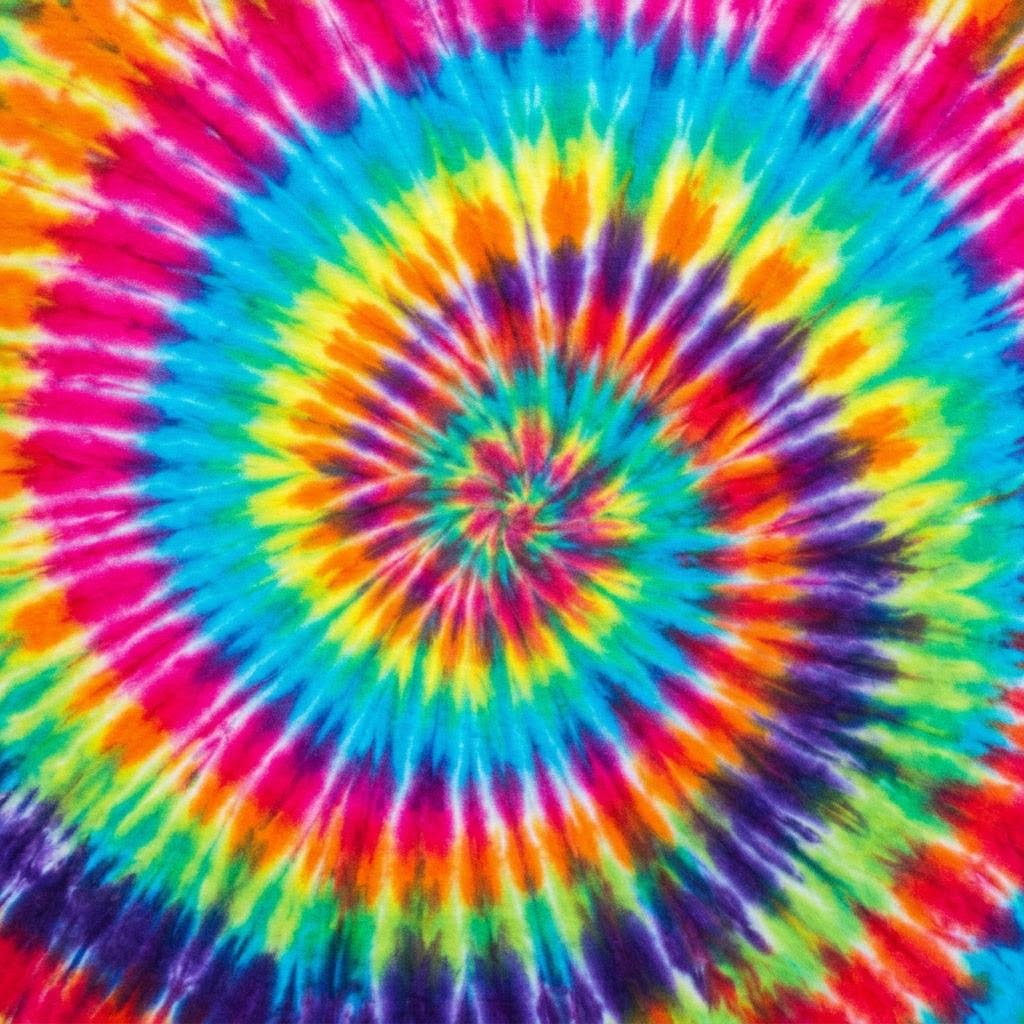
The fold or manipulation pattern you choose determines where dye penetrates and where it is blocked — the dye-resist principle at the heart of tie-dye. A spiral starts by pinching the center of the damp fabric and twisting into a flat disc, then securing with rubber bands in three directions across the disc like spokes. A bullseye is made by pinching a point and scrunching the fabric down in concentric rings, then binding with rubber bands at intervals. An accordion pleat produces parallel stripes; a crumple fold is essentially random and produces an all-over mottled effect. Apply rubber bands firmly enough to resist dye penetration but not so tightly that they cut through wet fabric. The tightness of the binding determines how much undyed white space appears in the finished piece. Very tight binding creates crisp, defined resist lines; looser binding blurs the boundary between dyed and undyed areas. Wet fabric before folding if you want softer blends; fold dry fabric if you want sharper color boundaries. Most patterns work with either, but wet fabric is easier to manipulate into even spirals.
Apply the Dye
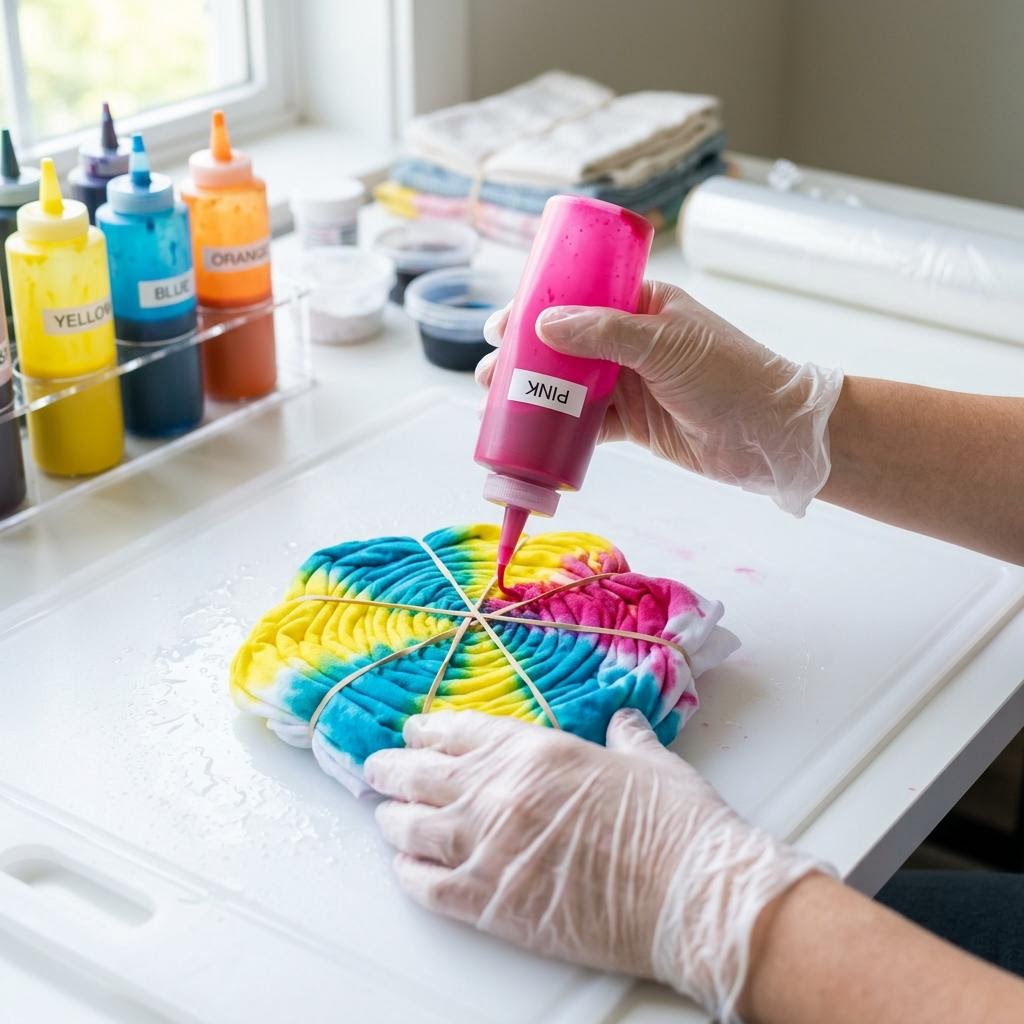
Mix fiber reactive dyes according to the package instructions — typically dissolving dye powder in warm water and adding a small amount of urea to help the dye penetrate in dry conditions. Fill squeeze bottles with your prepared dye colors and apply them to the bound fabric, saturating each section thoroughly. For a spiral, divide the disc into wedge-shaped sections and apply a different color to each section. For a bullseye, apply colors in rings working outward from the center. Color theory matters more in tie-dye than most beginners expect. Adjacent colors on the color wheel blend pleasantly where they meet (blue and yellow make green at the border, red and blue make purple). Complementary colors placed next to each other (red next to green, blue next to orange) blend into muddy brown where they meet. If you want clean color separations with white between them, leave sections of fabric unbanded and undyed, or apply colors carefully without letting them touch. Apply dye to both sides of folded fabric — dye that only penetrates the outer layer leaves the interior undyed.
Set and Rinse
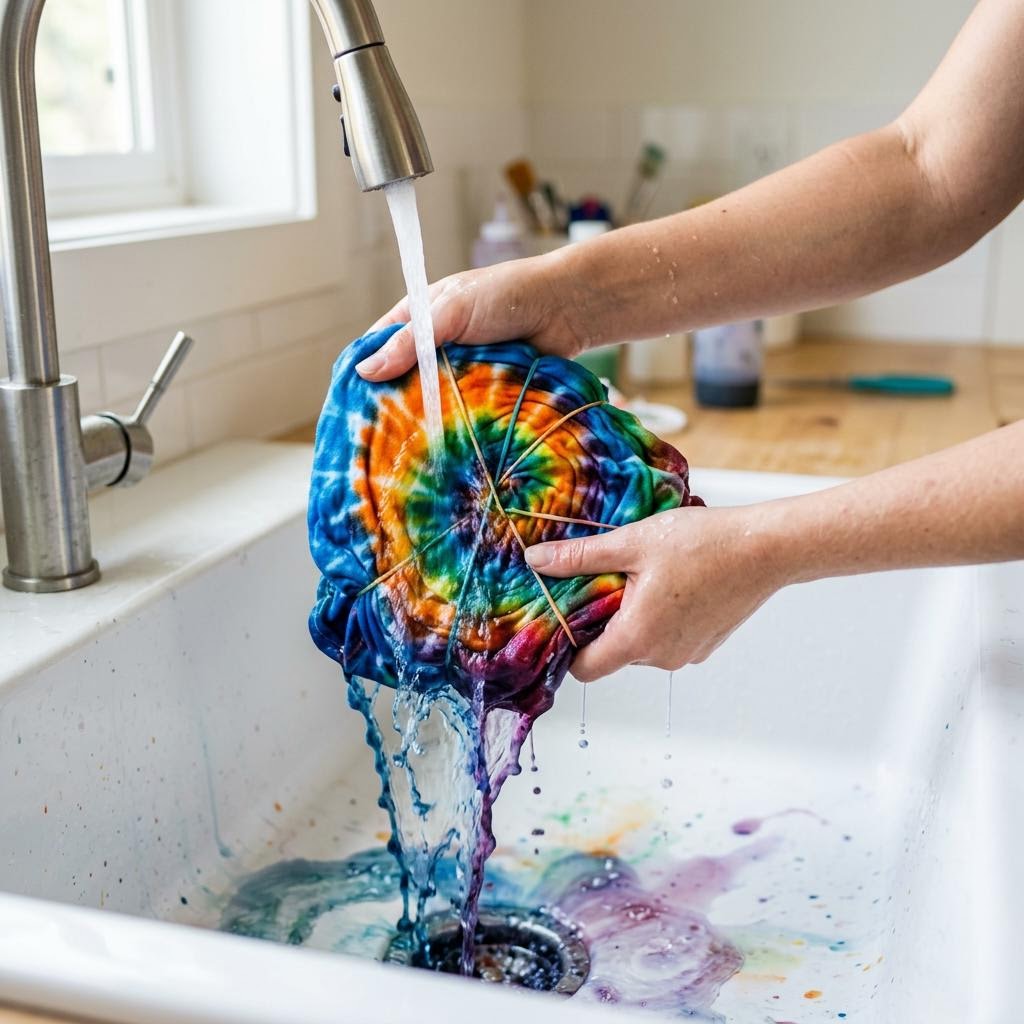
Once dyed, place the fabric in a zip-lock bag or wrap tightly in plastic wrap to keep it moist. The dye needs to bond to the fiber in a moist environment — if it dries out during the setting period, the reaction stops early and colors will be pale. Leave at room temperature for a minimum of six hours; twelve to twenty-four hours gives the deepest, most saturated colors. Warmer temperatures accelerate the reaction — placing the wrapped fabric in a warm spot (around 30°C) speeds setting significantly. Rinse with cool water first (warm water opens the fiber and releases more unbonded dye), then progressively warmer water until the rinse runs clear. Remove the rubber bands while rinsing rather than before — keeping the fabric bound during the initial rinse prevents dye from bleeding across the white resist areas. Once the water runs clear, wash in warm water with a small amount of synthrapol or regular dish soap to remove any remaining surface dye, then machine wash separately on the first few washes. Colors will be slightly less saturated after washing than when wet, which is the true finished result.
Written by

Zoe Turner
Textile & Embroidery Artist
Zoe embroiders the world she wants to see. Her hoop art blends traditional needlework stitches with contemporary illustration and botanical motifs.