12 Creative Washi Tape Crafts for Organization and Decor
Discover clever washi tape crafts to brighten your home and workspace.
Washi tape crafts are the gateway drug of the craft world. You buy one roll because you need to label a jar, then suddenly you have 47 rolls and you're re-doing your entire home office. I say this without judgment, because I've been there, and also the home office looked great.
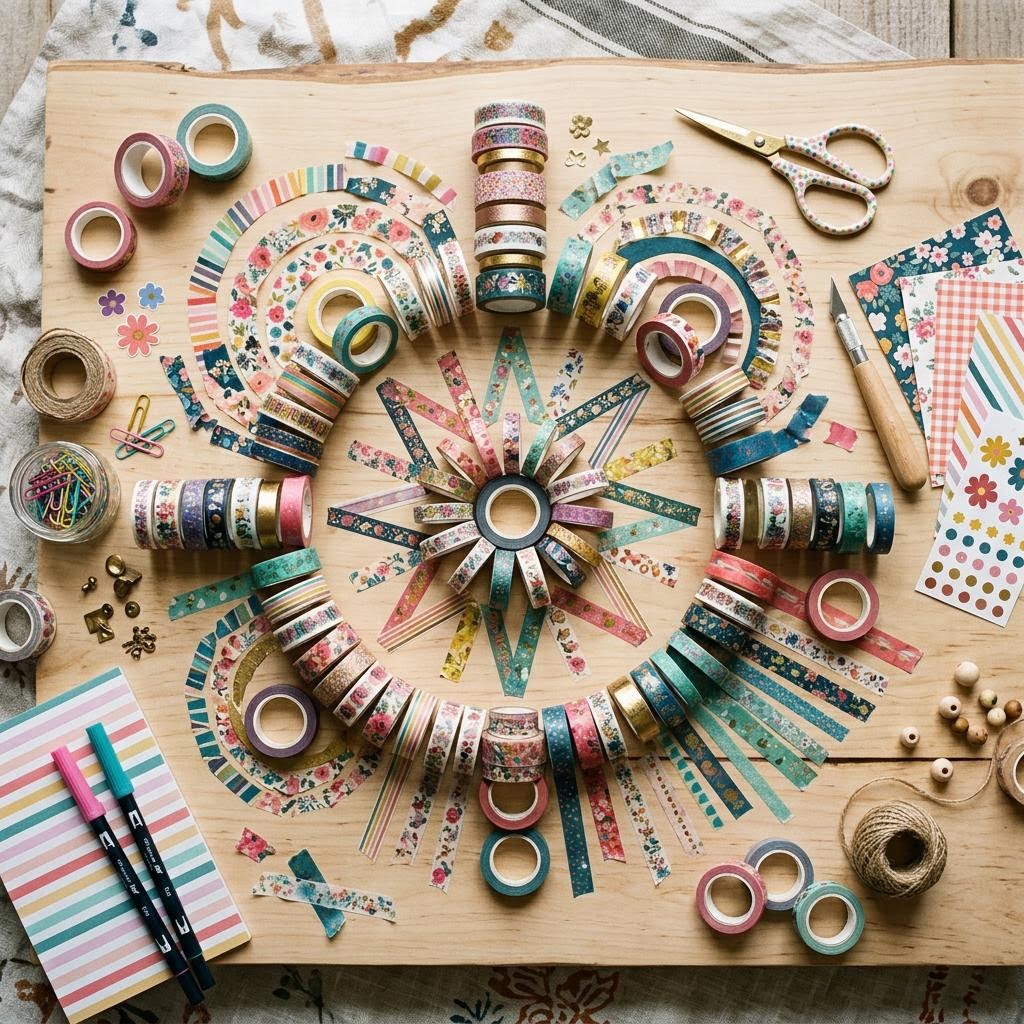
Washi tape is a Japanese paper-based masking tape with a slightly translucent, matte finish and a repositionable adhesive that comes off most surfaces without leaving residue or tearing paint. It was designed for painter's masking but rapidly got adopted by the stationery and craft world because the patterns are gorgeous — florals, geometrics, stripes, watercolors, metallics — and because it's genuinely low-stakes. If you apply it crooked, you peel it off and try again.
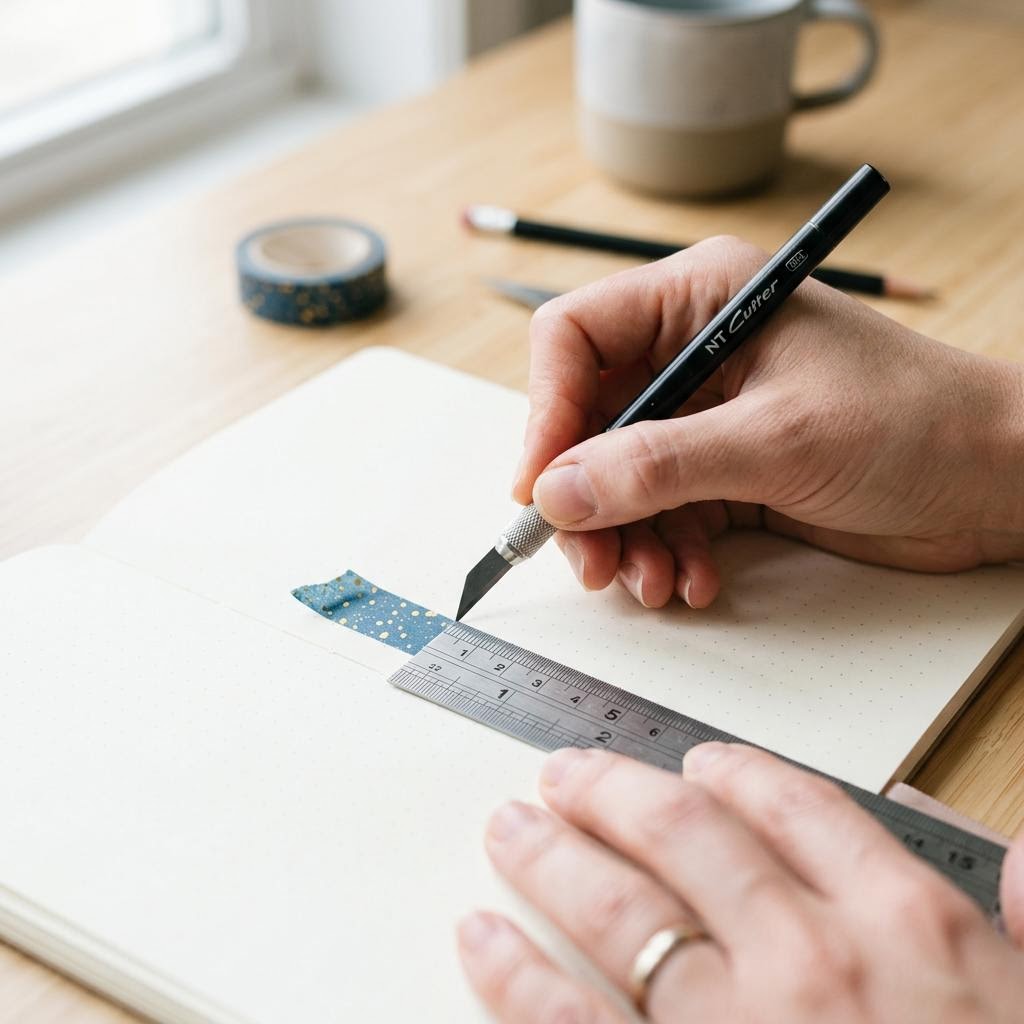
The most underrated quality of washi tape crafts is that they require almost no skill to look polished. Clean straight lines, good color coordination, and taking ten seconds to cut the tape neatly rather than tearing it — that's about 80% of the difference between a project that looks considered and one that looks chaotic. A craft knife and a cutting mat make the whole thing much cleaner than scissors.
For wall applications, washi tape adheres best to smooth, matte-painted surfaces. It can lift slightly on textured walls or semi-gloss paint — in those cases, press the tape firmly along its full length with a credit card or bone folder. On most interior walls, it removes cleanly for up to a year. Beyond a year, the adhesive can degrade and leave marks, so if you're doing a semi-permanent installation, plan to refresh it annually.
The best washi tape projects work with the tape's properties rather than against them. Use the translucency to layer colors and create new hues. Use the repositionable adhesive to mock up a pattern on paper before committing it to a wall or notebook. Mix widths — 6mm, 15mm, and 30mm rolls together — for geometric compositions that look complex but are surprisingly easy to execute.
A matte spray sealer (like Mod Podge Matte or a clear acrylic spray) applied over washi tape work on paper, wood, or cardboard dramatically increases durability and prevents edge lifting. For items that see daily handling — phone cases, laptops, water bottles — two thin coats of sealer are the difference between a decoration that lasts a week and one that lasts six months. Let each coat dry fully before adding the next.
Materials You'll Need
- Assorted washi tape rolls
- Scissors or craft knife
- Items to decorate (notebooks, chargers, keyboards, picture frames)
- Clear Mod Podge (optional, for sealing)
Step-by-Step
Planning Your Patterns
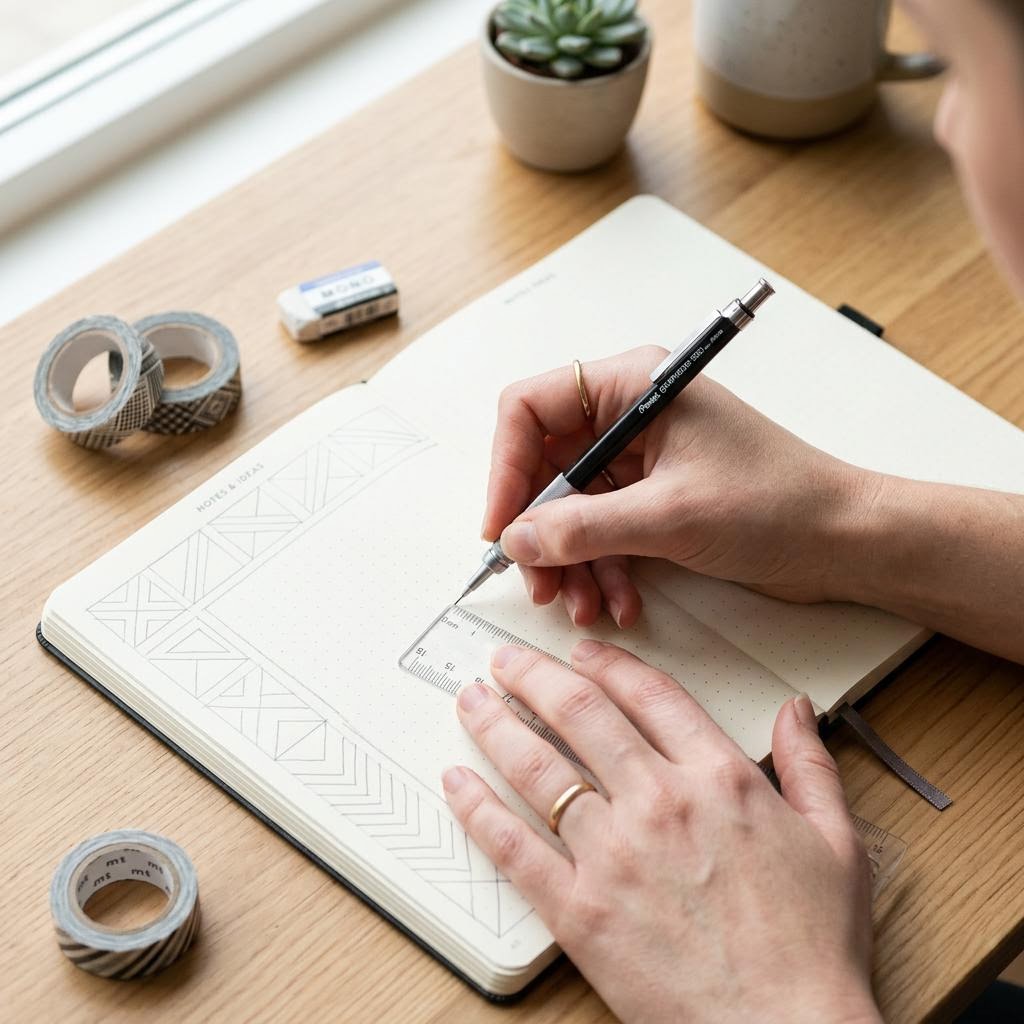
Before you cut a single piece of tape, lay your chosen rolls out side by side and look at them together. Color and pattern relationships that look good on individual rolls can clash or compete when combined. For a harmonious palette, limit yourself to 3–4 rolls maximum. Choose one dominant tape (widest, most colorful), one secondary tape (complementary color or neutral), and one or two accent tapes (narrower, used sparingly). Mock up your pattern on a piece of paper or cardboard before applying to your actual surface. This is especially important for geometric or grid-based designs where proportions matter. Measure the surface you're decorating and sketch the design lightly in pencil, noting where each tape will run. Diagonal lines typically look best at 30- or 45-degree angles; anything between tends to look accidentally crooked. For layered or overlapping designs, plan your application order — bottom layers go on first. Washi tape laid over another piece of washi tape can bubble or lift at the overlap, especially on vertical surfaces. Pressing firmly along the full length of each overlap with a flat tool (a ruler edge or bone folder) prevents this. If you're working on a notebook cover or flat surface, this is rarely an issue; walls and three-dimensional objects need more attention.
Applying Tape Smoothly
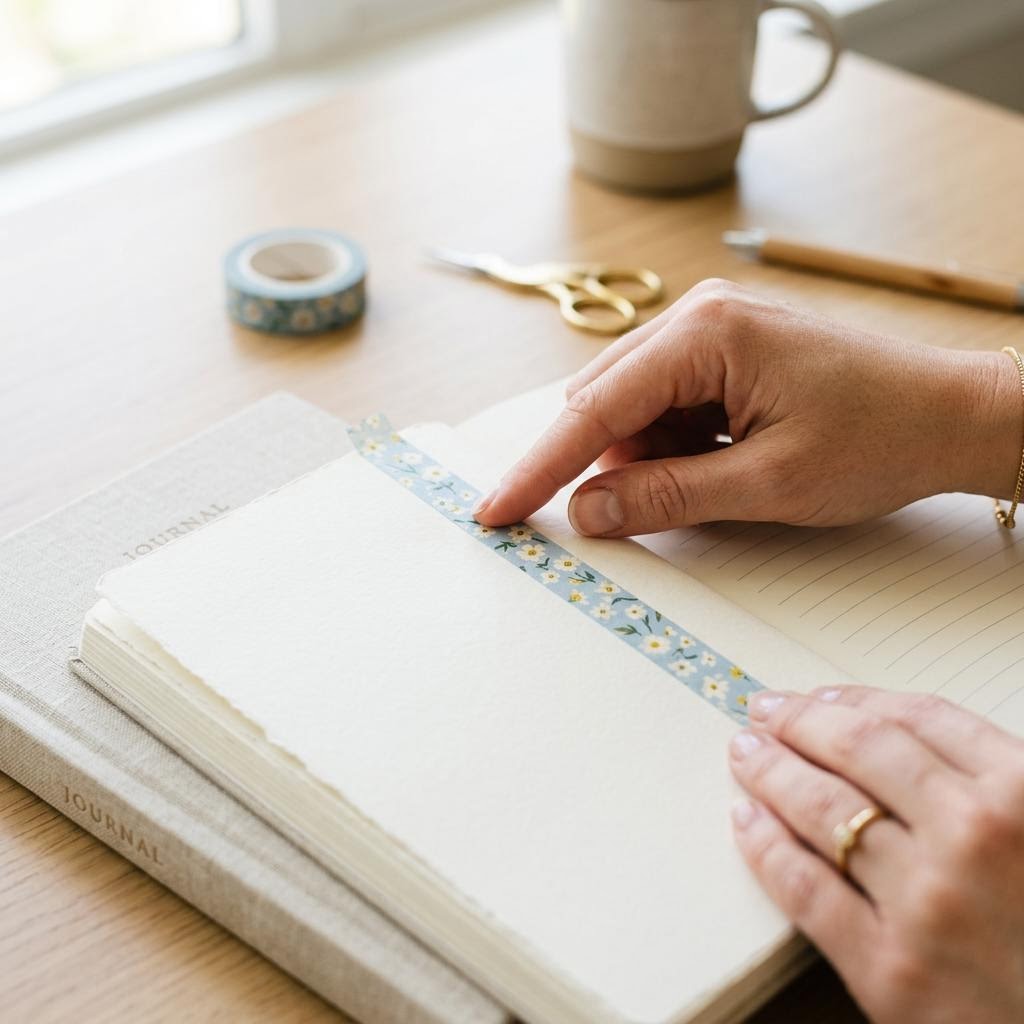
Start taping at one end of the line rather than the middle. Unroll 3–4cm of tape, position it carefully at your starting point, press lightly, then gradually unroll and lay the tape across the surface with gentle tension — not stretched tight, just taut enough to prevent sagging. Keep your fingers just ahead of where the tape meets the surface so you can adjust before it fully adheres. For long straight lines on walls, use a level or a chalk snap line to mark your guide before taping. Even 2–3mm of drift becomes very visible on a long straight run. Press the tape firmly along its length with a credit card or the flat edge of a ruler; pay extra attention to the edges, which are most likely to lift over time. On paper projects, run a bone folder along the center, then work outward to each edge. When cutting, use a craft knife against a metal ruler rather than scissors for clean, perfectly perpendicular ends. Scissors compress and distort the edge of washi tape, creating a slight fringe or wave that's visible up close. For diagonal cuts, mark the angle lightly with a pencil on the tape's backing, then cut. Remove the pencil mark with a soft eraser — it will come off washi tape without tearing.
Creating a Gallery Wall Feature
A washi tape gallery wall uses strips of tape to create the appearance of frames, borders, or geometric shapes directly on a wall — no hammers, no holes, no commitment. Decide on your arrangement first: a grid of same-sized rectangular frames looks clean and modern; a mix of sizes and angles feels more eclectic. Use painter's tape as a placeholder to rough out the positions before committing with washi tape. For clean rectangle frames: apply four pieces of tape — top, bottom, left, right — butting the corners tightly. At each corner, overlap slightly, then trim with a craft knife at a 45-degree angle against the wall for a mitered corner that looks intentional and tailored. This step takes two minutes and makes an enormous visual difference compared to a blunt corner overlap. Photographs, prints, and cards can be attached inside the tape frames using small loops of double-sided tape on the back. This keeps the display flexible — swap images in and out without disturbing the washi tape frame. For a cohesive look, photograph everything with consistent cropping or print at standard sizes (4×6 or 5×7 inches) so the frames feel like a coordinated system rather than a random assortment.
Sealing for Longevity
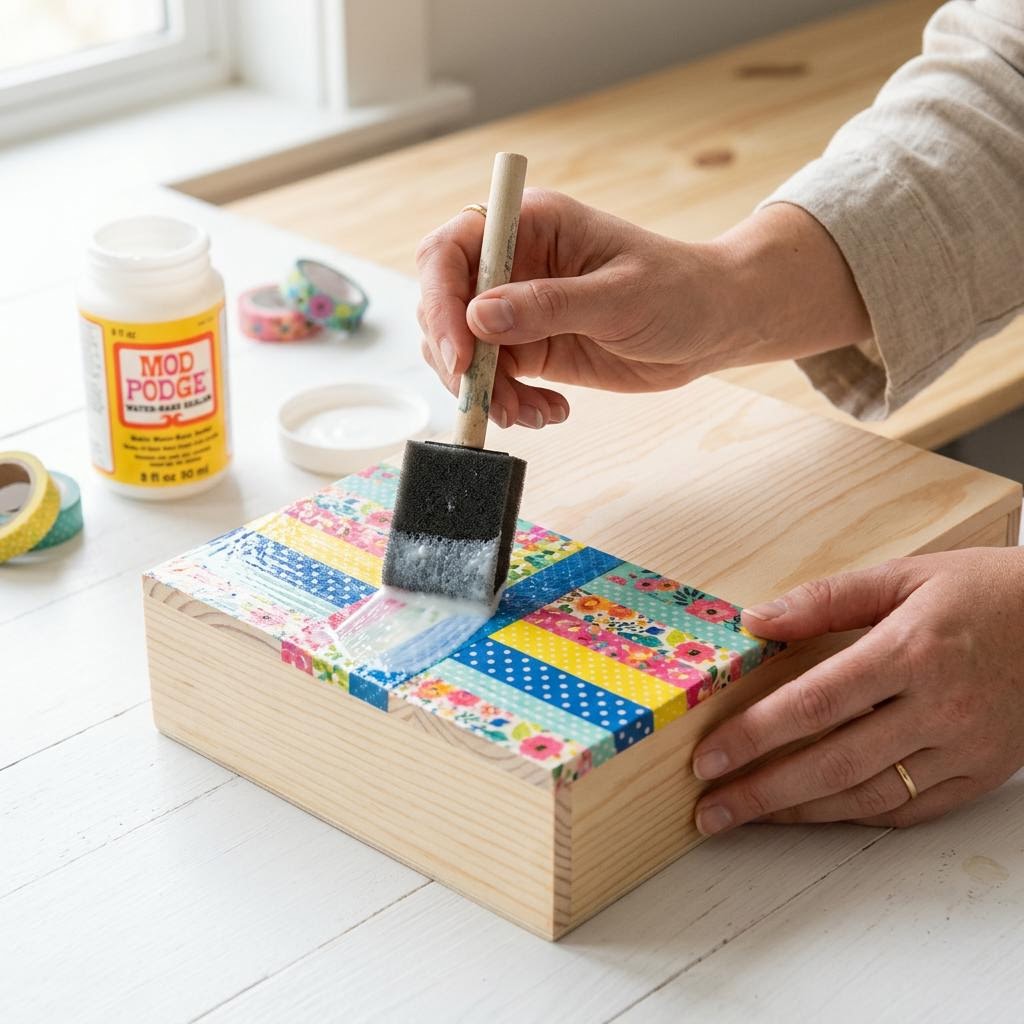
Washi tape is made of paper, not plastic, and will eventually lift and yellow without protection — especially on high-traffic surfaces or in humid rooms. For decorative items that will stay in a fixed location (a gallery wall, a picture frame), a coat of clear matte varnish brushed carefully over the tape surface locks it in place and prevents edge lifting. Use a foam brush and work in one direction to avoid dragging the tape. For functional surfaces (light switches, furniture edges, laptop lids), apply two coats of decoupage medium or Mod Podge over the tape once your design is complete. The medium dries clear and flexible, keeps the tape from peeling, and adds slight water resistance. Avoid Gloss formulas on tape with metallic or foiled patterns — they can cloud the metallic surface. Test on a small patch first if you are unsure. For temporary applications like seasonal decorating, skip sealing entirely and the tape will come off cleanly (on most surfaces) when you choose to remove it — this is one of washi tape's greatest advantages over paint.
Written by

Clara Jensen
Scandinavian Home Craft & Candle Maker
Clara brings Nordic simplicity and warmth to home crafting. She specializes in soy candles, beeswax wraps, and hygge-inspired home accessories.