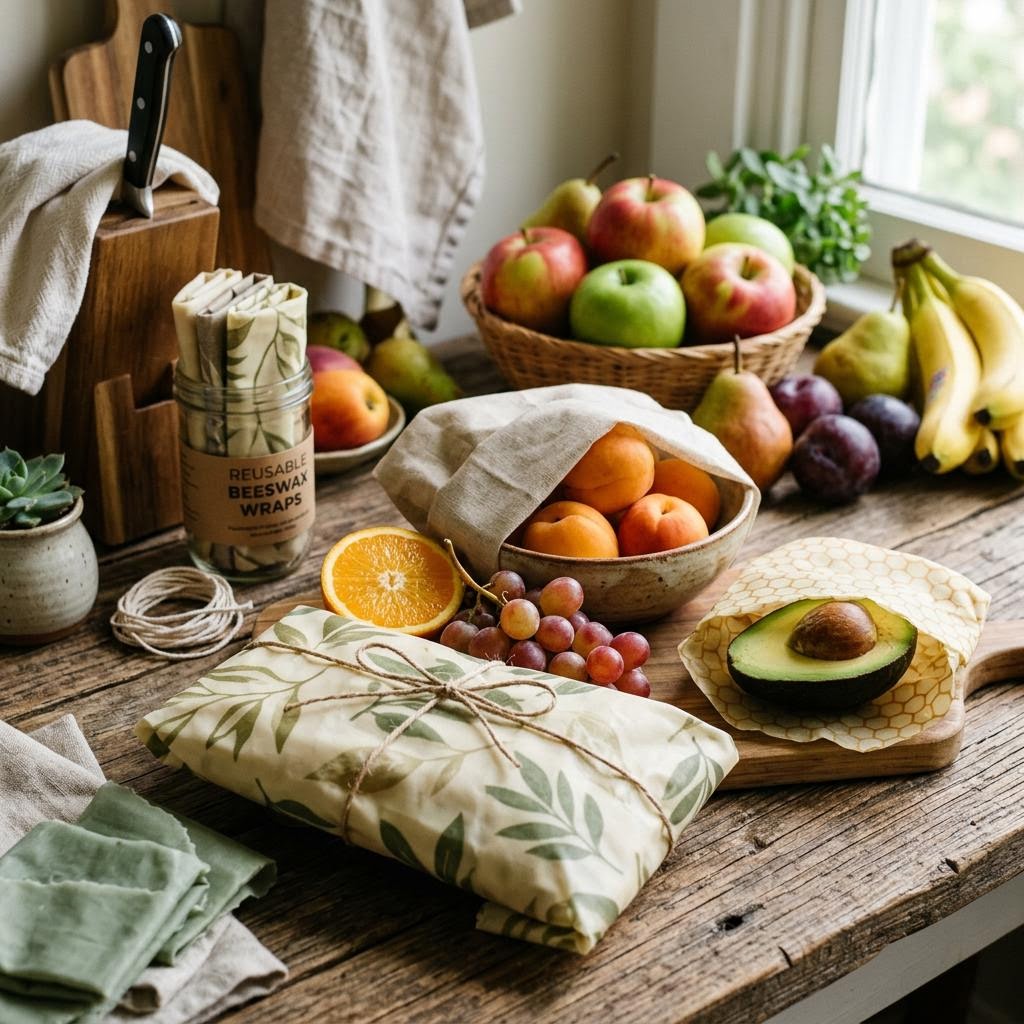
Learn how to make beeswax wraps to replace single-use plastic in your kitchen.
Beeswax wraps are one of the more genuinely practical sustainability crafts: they produce a functional object that directly replaces single-use plastic wrap in everyday kitchen use, and they last long enough (approximately one year with regular use) that the environmental calculation is clearly positive. A single homemade beeswax wrap replaces several boxes of cling film over its lifespan. The wraps work because beeswax is naturally water-resistant and because the warmth of your hands softens it just enough to mold it around whatever you are wrapping.
The chemistry is simple. Beeswax provides the waterproofing and the base. Pine resin (or damar resin) provides tackiness — this is what allows the wrap to cling to itself and to the rim of a bowl. Without resin, a beeswax-only wrap will not stay in place. Jojoba oil (or coconut oil) keeps the wrap pliable at room temperature — without oil, a cold beeswax wrap would be brittle and crack when folded. The ratio of these three ingredients affects the character of the finished wrap: more resin means more cling (useful for securing bowl coverings), more oil means more flexibility (useful in cold climates), more wax means firmer structure.
Fabric choice is restricted to natural fibers — cotton, linen, or hemp. Synthetic fabrics (polyester, nylon) do not absorb the wax mixture because they have no natural porosity; the wax sits on the surface and peels off. 100% cotton is the most widely available and easiest to work with. The weight of the cotton matters slightly: lightweight muslin (80gsm) produces a more pliable wrap that molds easily around irregular shapes; medium-weight quilting cotton (120gsm) produces a sturdier wrap that holds its shape better around bowls. Both work — the choice is aesthetic and practical preference.
Care instructions are important for longevity. Wash only in cool water — warm water melts the wax and the wrap becomes a sad blob. Mild dish soap in small amounts is fine; heavily perfumed soap can affect the natural scent of the beeswax. Pat dry rather than wringing. Store flat or loosely rolled, not folded sharply — sharp folds in the same place repeatedly cause the wax to crack at the fold line. Keep away from direct heat (not for hot foods, not in the microwave). Following these rules, a well-made wrap lasts twelve to eighteen months.
The renewal property is often overlooked as a feature. When a beeswax wrap loses its cling and no longer seals well, you can simply remelt fresh wax mixture onto the fabric and restore it completely. The fabric backing does not wear out nearly as quickly as the wax coating, so renewals extend the functional life of the wrap significantly. Some makers renew their wraps two or three times before the fabric finally shows enough wear to retire it, effectively getting two to four years of use from one piece of fabric.
Scaling up production is easy and satisfying. Once you have the process figured out, making a dozen wraps takes about the same setup time as making two or three. The oven method scales particularly well — a full baking sheet holds four to six wraps simultaneously. Making a batch as gifts is practical because the materials cost for a set of three wraps (small, medium, large) works out to under £5, and the finished set has a retail value of £15–25. Wrap them in twine or pack them in a reusable cloth bag for a genuinely useful, thoughtful gift.
Materials You'll Need
- 100% cotton fabric (washed and cut to size)
- Beeswax pellets (approx. 1/2 cup per 12x12 inch wrap)
- Pine rosin (optional, adds stickiness)
- Jojoba oil (optional, adds pliability)
- Parchment paper
- Iron or baking sheet
- Pinking shears (optional)
Step-by-Step
Prepare the Fabric and Workstation
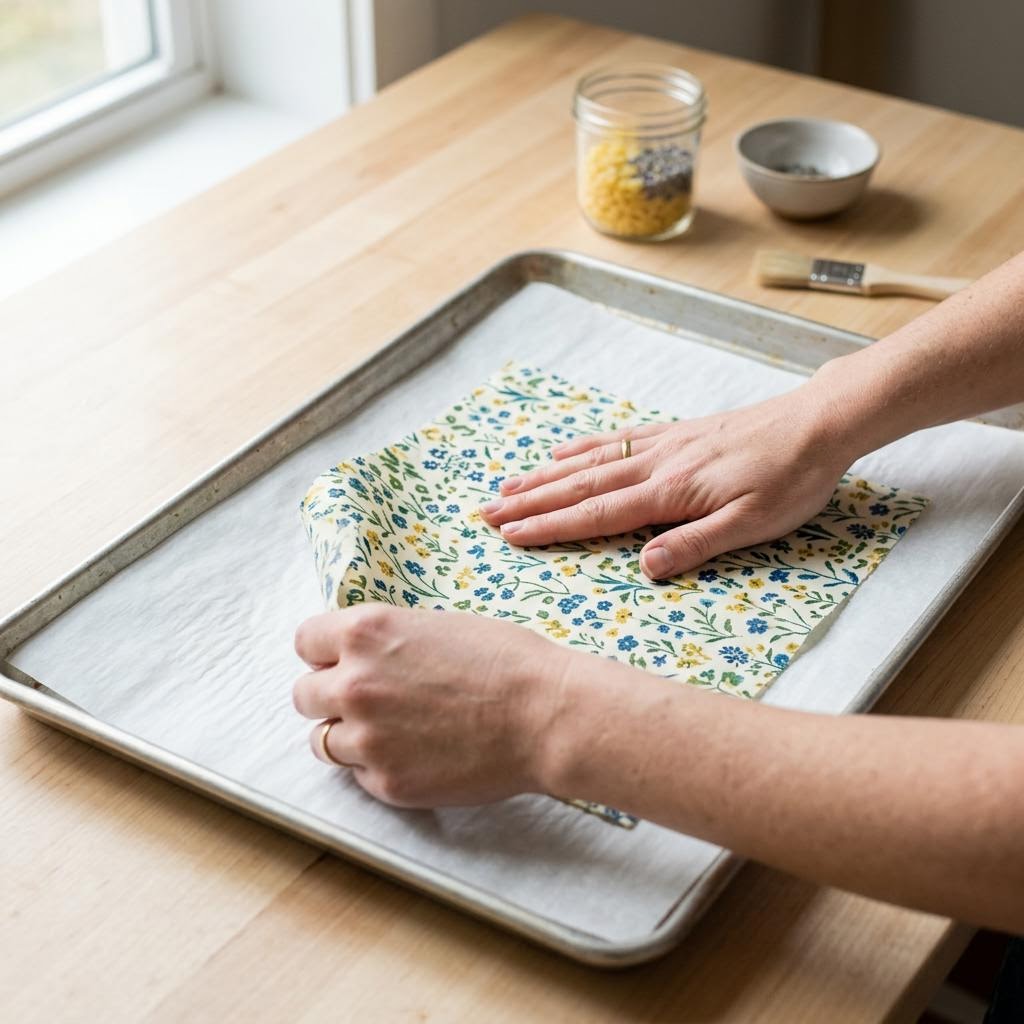
Choose 100% cotton fabric — beeswax wraps do not work on synthetic fabrics because synthetics do not absorb the wax mixture. Lightweight cotton muslin, quilting cotton, or cotton poplin all work well. Cut your fabric into useful sizes: 20×20cm for snacks and small items, 30×30cm for sandwiches, 35×35cm for bowls. Pre-wash the fabric without fabric softener (fabric softener leaves a residue that repels the wax), then iron it dry. Cover your work surface with baking parchment — wax is almost impossible to remove from tables and the iron soleplate. For oven method: preheat to 90°C (fan) and line a baking tray with parchment. For iron method: have an old iron on its lowest setting and another sheet of parchment to lay over the wax-dotted fabric. The wax mixture is beeswax (the waterproofing agent), pine resin or damar resin (the tackiness that makes the wrap cling to itself and bowls), and jojoba oil or coconut oil (for pliability). Pre-grated beeswax with resin mixed in is sold specifically for this purpose and is the easiest starting point.
Distribute the Wax Mixture
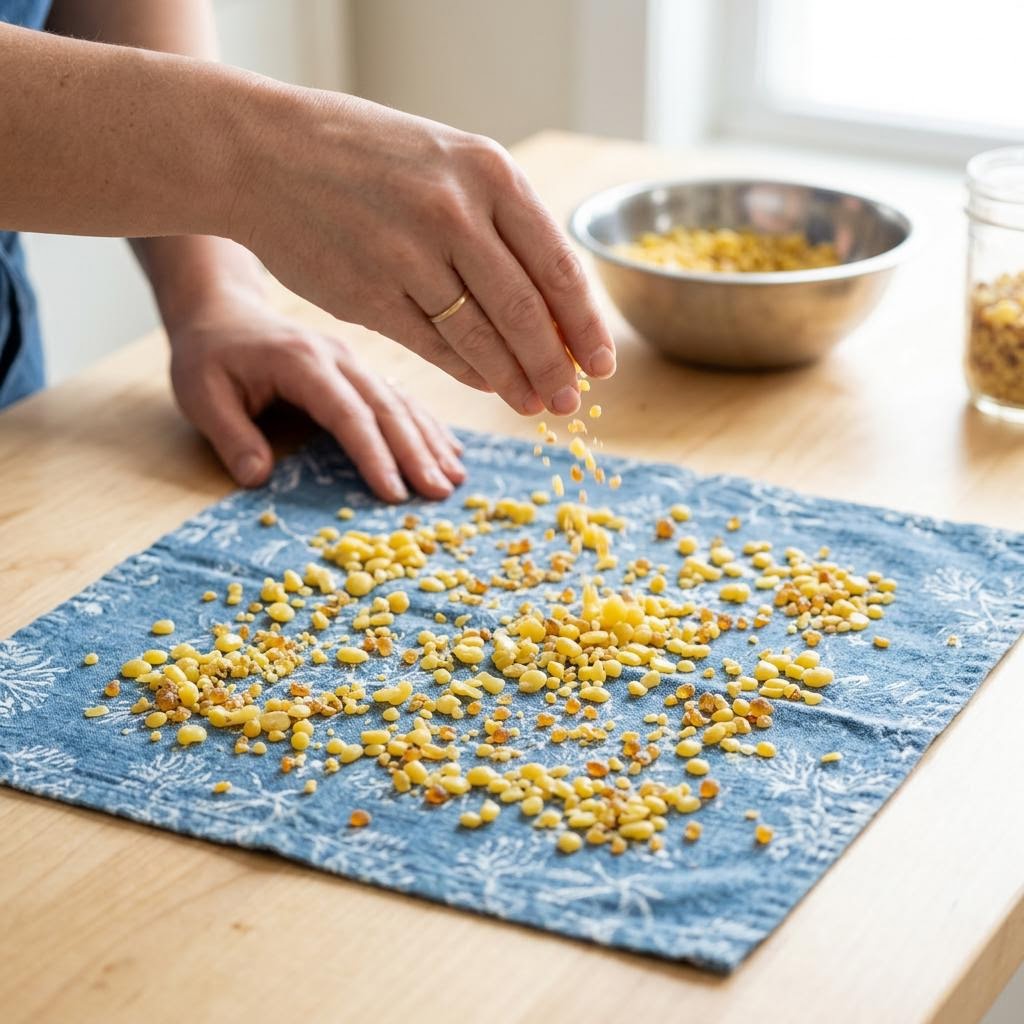
Lay the fabric flat on your prepared parchment surface (baking tray or ironing board covered with parchment). Scatter the wax mixture evenly across the fabric — if using grated beeswax, grate it finely and distribute the gratings so no area has piles while others are bare. Aim for thin, even coverage with no bare patches. About 15–20g of wax mixture covers a 30×30cm piece of fabric adequately; you will see what is right when the wax melts. For the resin and oil: if using a pre-mixed product, follow the manufacturer's ratios. If mixing your own, a common ratio is 4 parts beeswax : 1 part pine resin : 1 part jojoba oil by weight. The resin is what gives the wrap its cling — without it, the wrap will not stay in place on bowls or over dishes. Too much resin makes the wrap stiff and brittle in cold weather. The oil keeps the wrap pliable when cold; without it the wax cracks when you try to fold the wrap.
Melt the Wax (Oven or Iron Method)
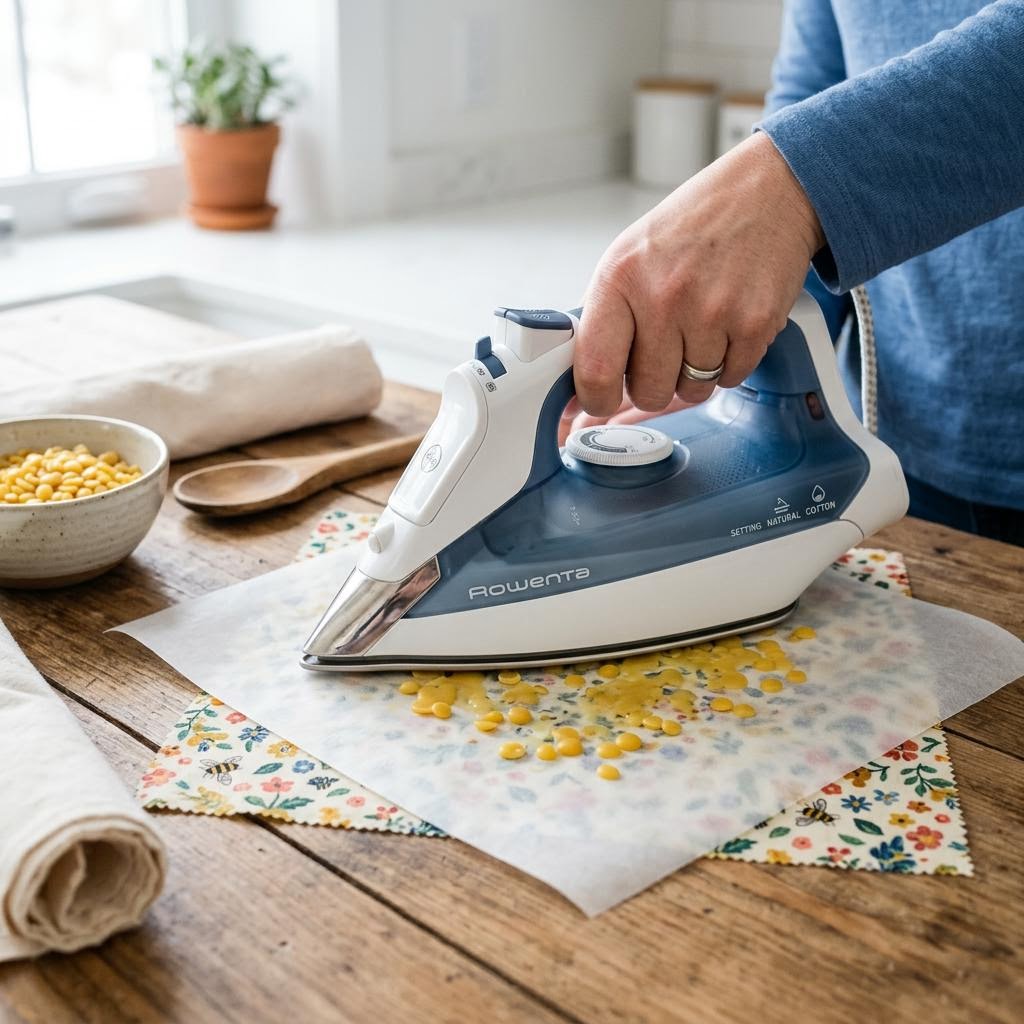
Oven method: place the wax-scattered fabric (on its parchment-lined tray) in the preheated oven for 3–5 minutes until the wax is fully melted and spread. Remove the tray — the fabric will look uniformly glossy when the wax has melted properly. Use a pastry brush to quickly spread any uneven areas across the fabric, pushing wax into the edges and corners before it starts to cool. Work fast; the wax begins to set within a minute of leaving the oven. Iron method: lay the wax-scattered fabric on parchment, place another sheet of parchment on top, and iron slowly over the top parchment. The iron melts the wax, which spreads between the layers. Peel back the top parchment to check for even coverage; re-cover and iron any uneven areas. The iron method lets you melt small batches and is easier to control for first-timers. Both methods work equally well — oven is faster for multiple wraps, iron is more accessible if you do not want to dedicate oven time to craft projects.
Cooling and Using Your Wrap
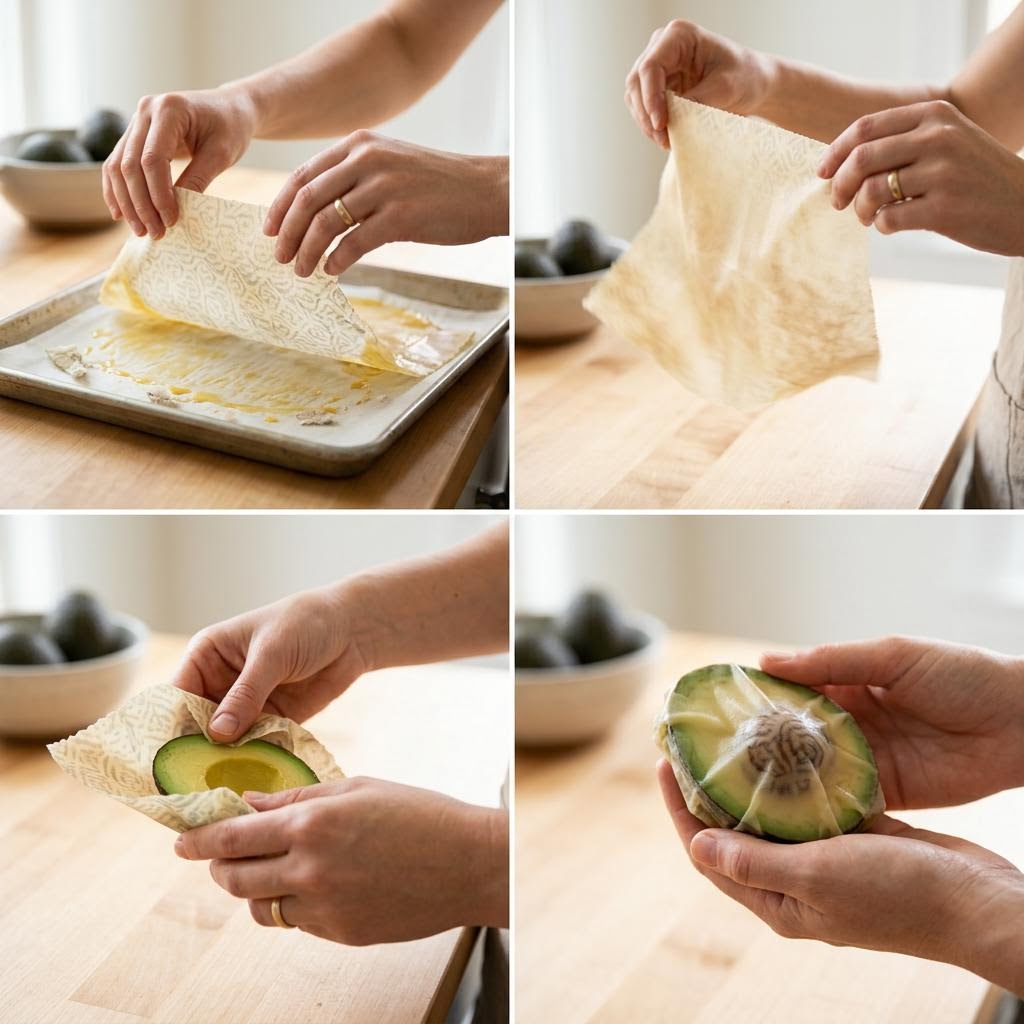
Lift the finished wrap from the parchment immediately and wave it in the air for 30–60 seconds — this cools and sets the wax while keeping the fabric from sticking to itself as it hardens. You will see it transform from limp and glossy to a stiff, slightly crinkled textile with a pleasant honey smell. If any areas look thin or have bare patches (you can see through to the other side), reheat the entire wrap and add a little more wax to those spots before cooling again. To use: the warmth of your hands softens the wax slightly, which allows the wrap to mold around bowls, cover half-cut fruit, or wrap sandwiches. The wrap clings to itself and to the rim of bowls via the resin component — press and hold for five seconds and the wrap will stay in place. Wash in cool water with a small amount of dish soap; hot water melts the wax. Pat dry rather than wringing. Store loosely rolled or flat. Beeswax wraps last approximately a year with regular use; when they lose their cling, melt fresh wax mixture onto them and they are as good as new.
Written by
Natalie Brooks
Paper Craft & Origami Designer
Natalie transforms paper into architecture. From intricate origami to large-scale paper installations, her work explores geometry, patience, and the beauty of a single fold.