Upcycling clothes is a sustainable way to refresh your wardrobe.
If you have a bag of clothes waiting for a charity shop run that keeps getting bumped to "next weekend," this is for you. Upcycling clothes — particularly old denim — is one of those activities that sounds virtuous and turns out to actually be fun. Jeans are the perfect starting material: the fabric is incredibly forgiving, it's already worn-in and interesting, and it doesn't fray catastrophically the moment you cut it (mostly).
The single most useful thing you can have for this is a pair of really sharp fabric scissors. Not kitchen scissors, not the craft scissors your kids have used on cardboard — proper dressmaker's shears that haven't been used on anything except fabric. Dull scissors chew and distort denim and make every cut look ragged. Beyond that, you need pins, chalk or a washable marker, and either a sewing machine or a willingness to hand-sew. The machine is faster but plenty of projects are entirely hand-sewn.
Before you do anything, wash whatever jeans you're working with. Pre-shrinking means your finished project won't warp in the first wash. While they're in the machine, spend a few minutes thinking about what you actually want to make. The most common transformation is cutting jeans into shorts — and while that's perfectly valid, there's a lot more you can do: tote bags, patchwork, decorative pillows, a denim apron. The seams and pockets of jeans are practically purpose-built components you can use as-is.
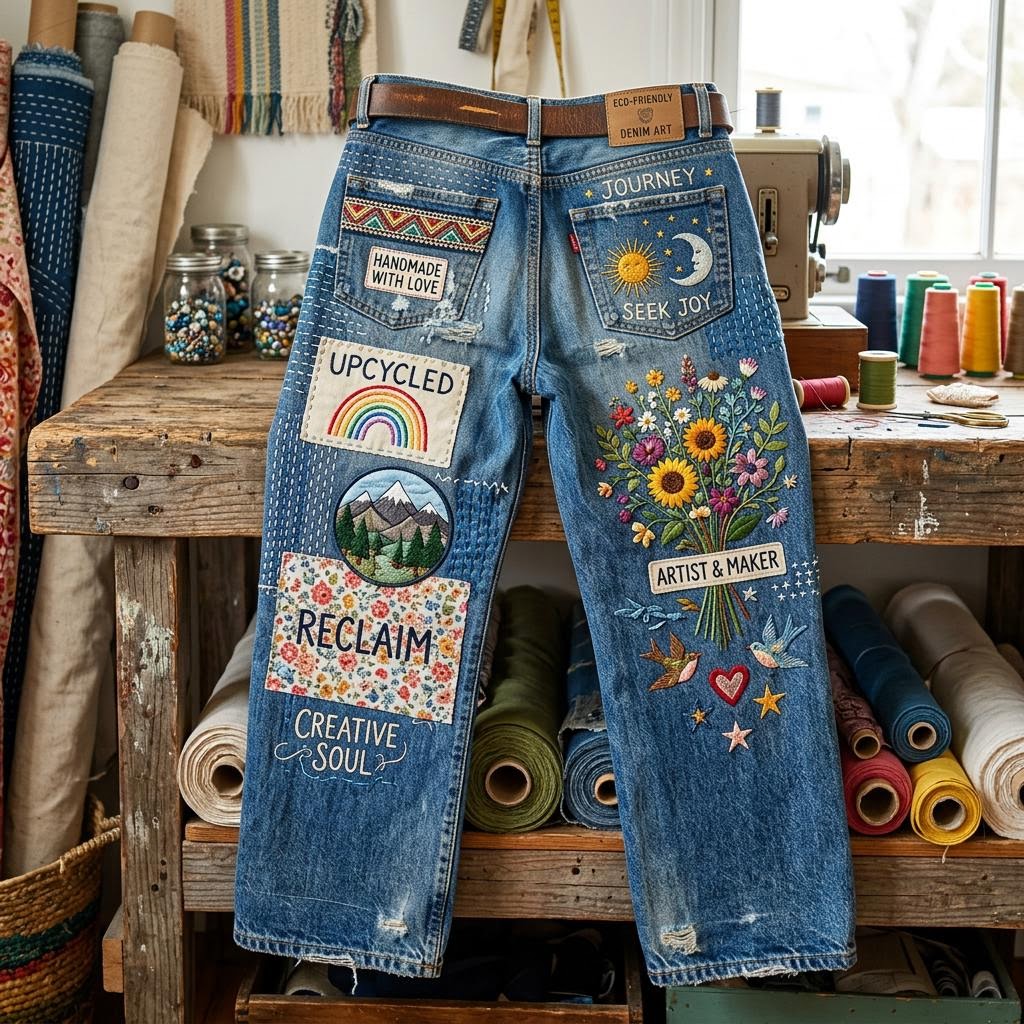
Visible mending is the most creatively satisfying corner of upcycling clothes. Instead of hiding repairs, you celebrate them — sashiko-style running stitches in bold thread over worn patches, embroidered flowers over holes, colorful fabric scraps darned over thin areas. Japanese boro textiles work on exactly this principle: fabric that got more beautiful the more it was repaired. You don't need perfect stitches for this. Honest, hand-done lines have their own appeal.
Patching denim onto denim is almost cheating with how well it works. Cut panels from worn-out jeans and stitch them onto other garments for reinforcement, decoration, or patchwork effects. The key is to keep the grain lines consistent — horizontal threads on the patch should run horizontally on the base fabric — otherwise the patch distorts over time. Iron-on interfacing behind thin patches gives them extra body before you sew.
The thing about upcycling clothes is that it gets addictive fast. Once you make your first tote bag from a pair of jeans you'd have thrown out, you start seeing every old garment as raw material. Old shirts become quilt squares. Pocket detailing from worn jeans gets stitched onto a new jacket. Nothing gets wasted. It won't save the planet single-handed, but it makes you pay more attention to fabric, and that's a genuinely worthwhile shift in how you think about what you own.
Materials You'll Need
- Old denim jeans
- Fabric scissors
- Sewing machine or needle and thread
- Pins and chalk
- Embroidery floss (optional)
- Fabric patches (optional)
Step-by-Step
Assess and Deconstruct
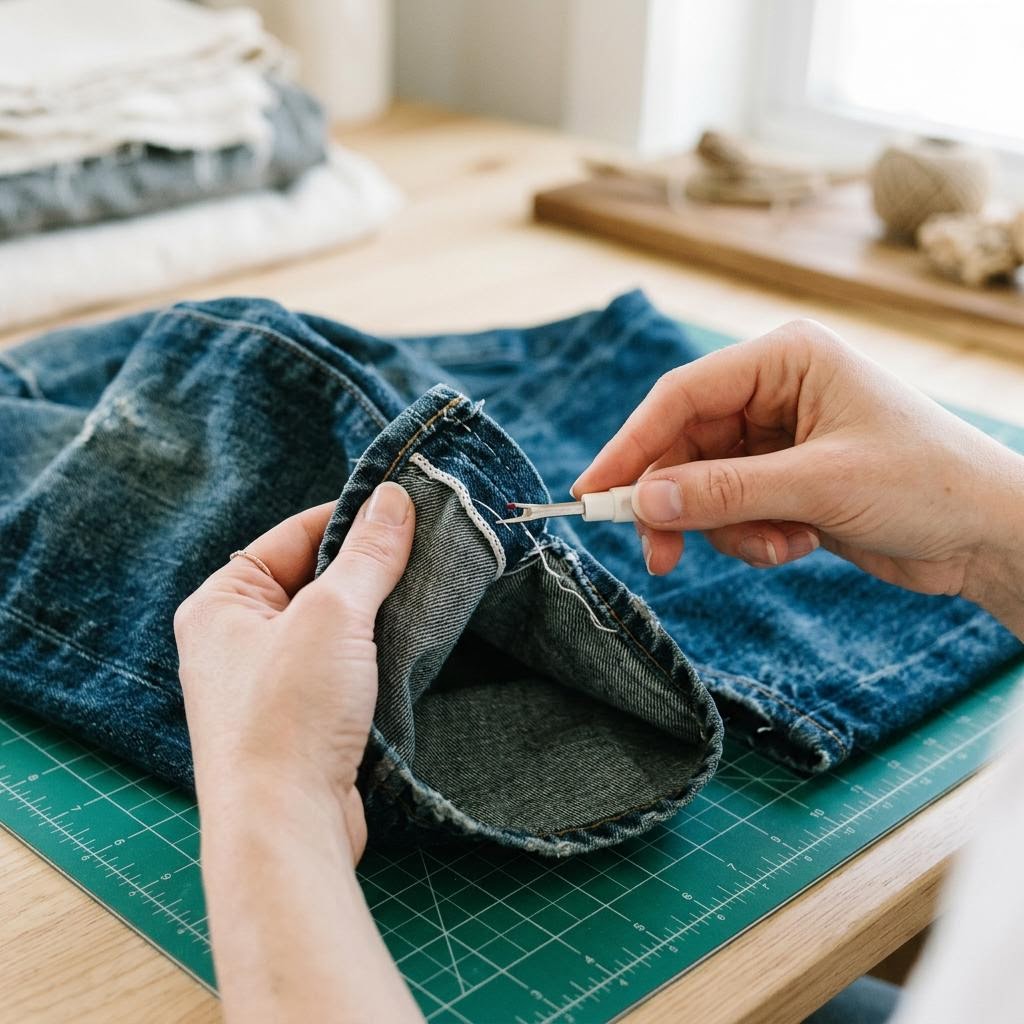
Lay the jeans flat and look at them honestly. Note where the fabric is thickest and in the best condition (usually the upper thighs and back panels) — these will be your usable material. Mark wear holes, thin patches, and seam lines with chalk. Take measurements of the leg panels and seat area so you know how much flat fabric you're actually working with before committing to a project size. Use a seam ripper to open the inseam and outseam if you need flat panels for a tote bag or patchwork project. Go slowly — denim seams are double or triple stitched and it's easy to nick the fabric. Alternatively, cut cleanly along the seam with sharp scissors and trim off the seam allowance afterward. Keep the pocket pieces — they're useful as ready-made pockets in new projects. Wash and press your deconstructed denim flat before proceeding. Ironing is boring but important here: flat fabric is much easier to cut accurately and sew straight. Press seams open or to one side depending on what they'll be used for. If you're making a bag, you want to know exactly how much flat fabric you have before you start cutting.
The Denim Tote Bag Transformation
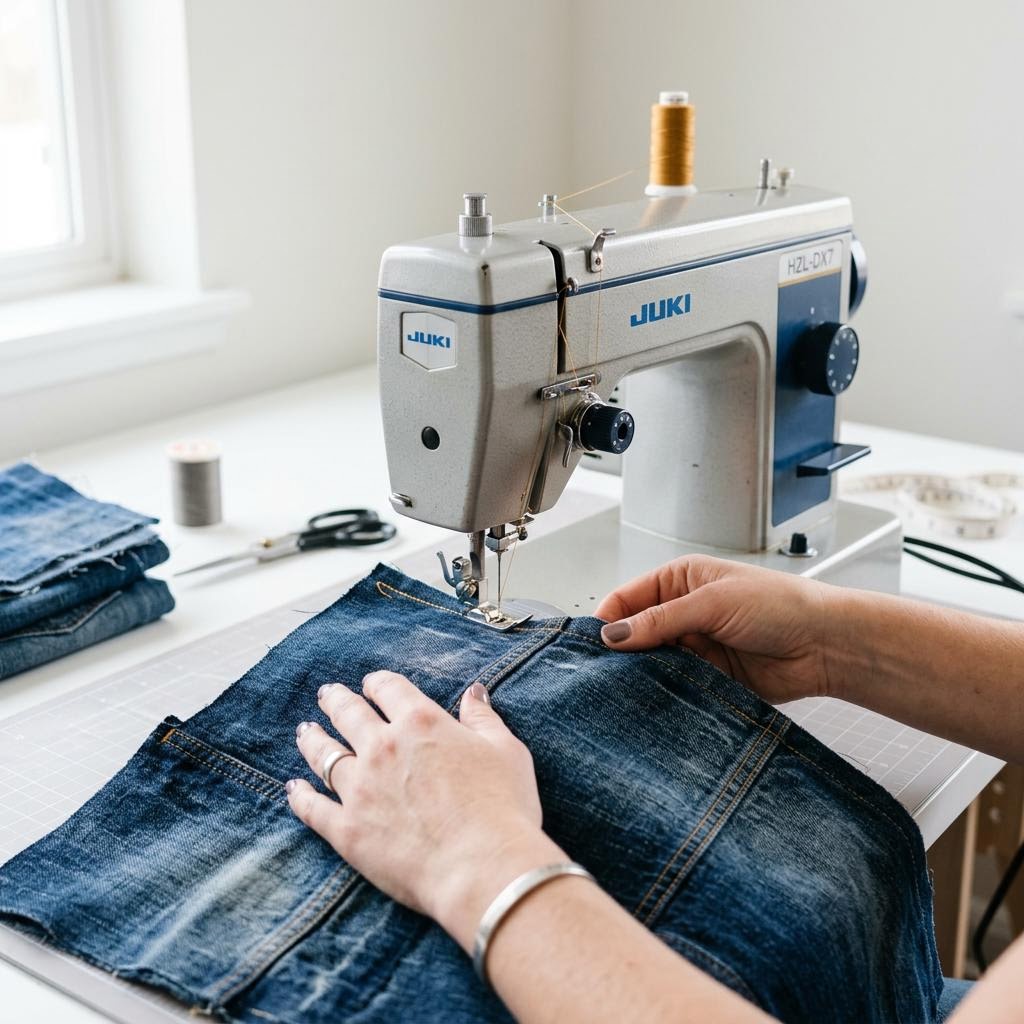
Cut two rectangles of equal size from the leg panels — 35cm x 40cm is a good market-bag size. Pin them right sides together and sew around three sides using a 1.5cm seam allowance, leaving the top open. Denim is thick, so use a heavy-duty needle in your machine (size 16 or 18) and go slowly around the bottom corners — this is where cheap machines struggle. For boxed corners that give the bag a flat bottom, flatten one bottom corner into a triangle, measure 4cm from the point, draw a line perpendicular to the seam, and sew across that line. Cut off the triangle 1cm beyond the stitch. Repeat on the other corner. This simple trick turns a flat bag into something that actually stands up and holds a grocery run comfortably. Cut two strap pieces at 60cm x 8cm, fold in thirds lengthwise, and topstitch along both edges for sturdy handles. The original belt loops of the jeans, if intact, can be reused as bag handles for shorter bags or market totes — they're already neatly finished and load-bearing. Attach handles to the inside top edge of the bag, overlapping by 4-5cm, and sew a box-stitch reinforcement (a rectangle with an X inside) for strength.
Visible Mending and Embroidery
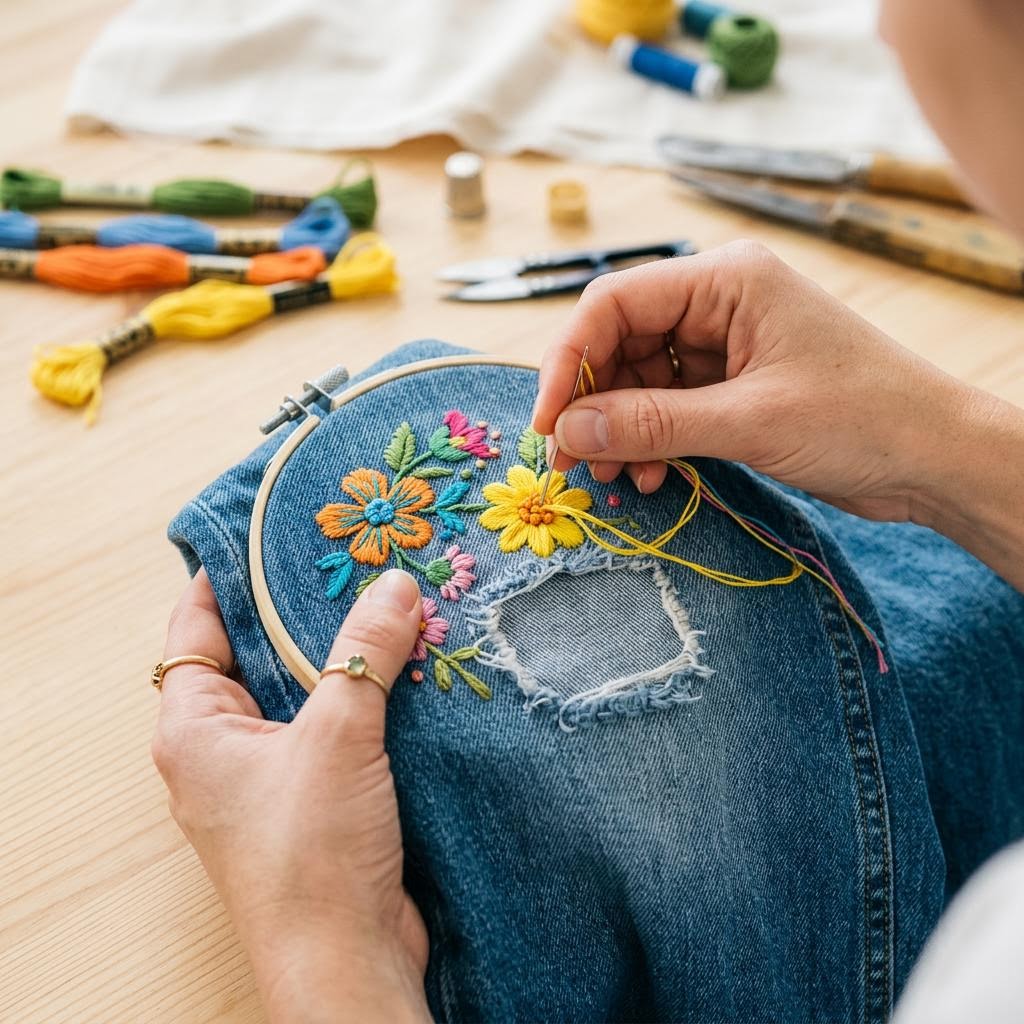
For holes or very thin patches on a garment you're keeping, back the damaged area with a small piece of scrap denim or iron-on interfacing on the inside. This gives your needle something to catch on and prevents the mend from pulling out. Use an embroidery hoop to keep the fabric taut while you work — even on thick denim, the hoop makes a real difference. Sashiko-style running stitches are the most satisfying mending technique for denim. Use perle cotton thread or thick embroidery floss in a contrasting color — white or cream on dark denim is classic, but red, mustard, and bright blue all look great. Work in horizontal rows spaced about 4mm apart, stitching straight across and over the damaged area. The stitches secure the backing fabric and add a graphic textile quality at the same time. For decorative embroidery on a pocket or knee panel, simple motifs work best — botanical stems, geometric patterns, block letters. Use a water-soluble pen to sketch your design first. Denim's tight weave means you'll need a slightly larger embroidery needle than usual; a size 3 or 4 crewel needle handles the fabric well. Keep stitches short and consistent; long stitches snag and pull on a fabric you're actually going to wear.
Finishing Edges and Details
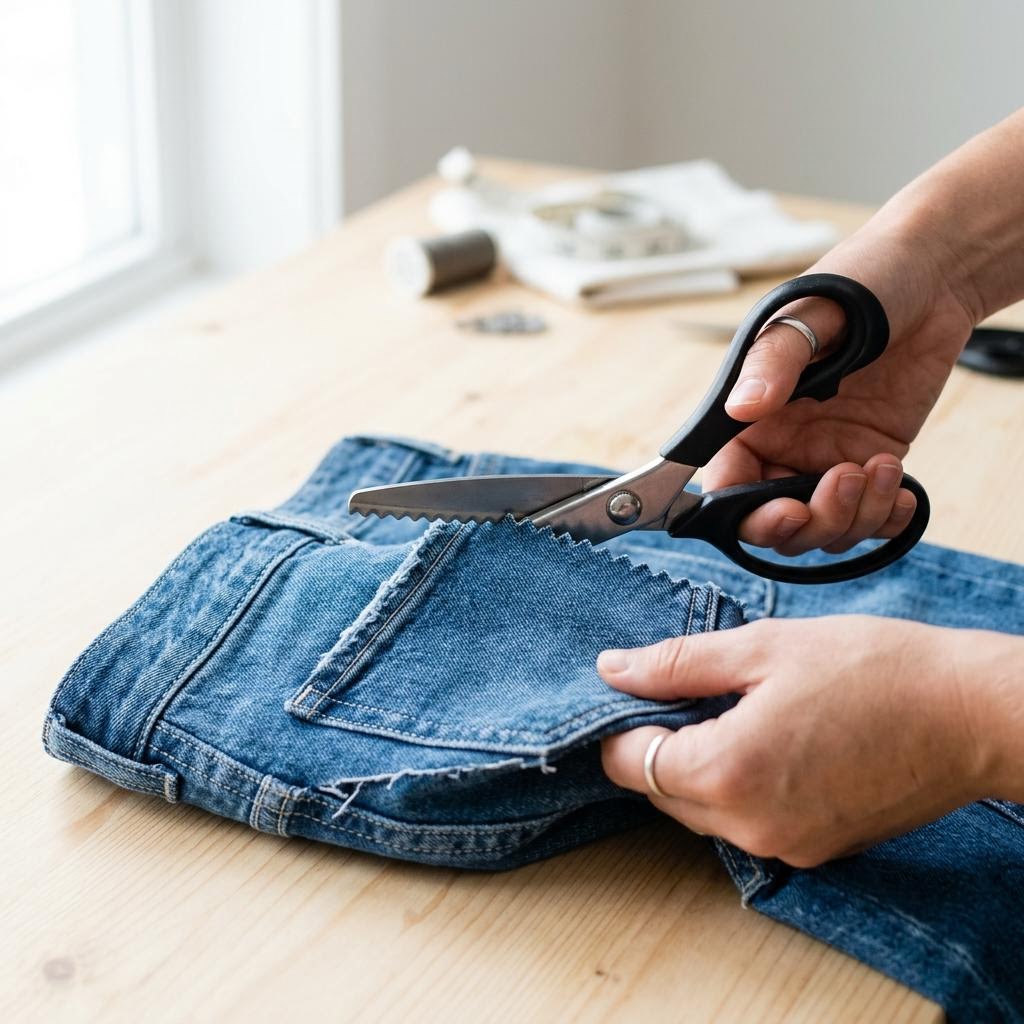
Raw denim edges fray — sometimes that's exactly what you want, sometimes it isn't. For a clean edge on a bag or hemmed shorts, zigzag stitch along the raw edge with your machine, or use a serger if you have access to one. For a deliberately frayed edge on shorts, cut to length and then put them through a wash cycle; pull out the loose threads by hand until you have the fringe depth you want. For bag openings and top edges, fold the raw edge 1cm then 2cm to the inside and topstitch close to the fold. This creates a neat finished edge that hides the raw fabric and gives the bag some structure. If you want a more polished look, cut a 4cm wide strip of denim on the bias, fold it in half over the raw edge, and topstitch through all layers — this is the binding technique and gives a very tidy, professional result. Finally, press your finished piece with a damp cloth over it — denim responds really well to steam. Check all your seams, trim any loose threads, and give it one final once-over. The beauty of denim is that minor imperfections and crooked lines read as craft character rather than sloppiness. Wash it on a gentle cycle before first use to relax any stiff seams.
Written by

Zoe Turner
Textile & Embroidery Artist
Zoe embroiders the world she wants to see. Her hoop art blends traditional needlework stitches with contemporary illustration and botanical motifs.