How to Crochet a Blanket for Beginners: Granny Square Method
Crochet for beginners begins with the basics.
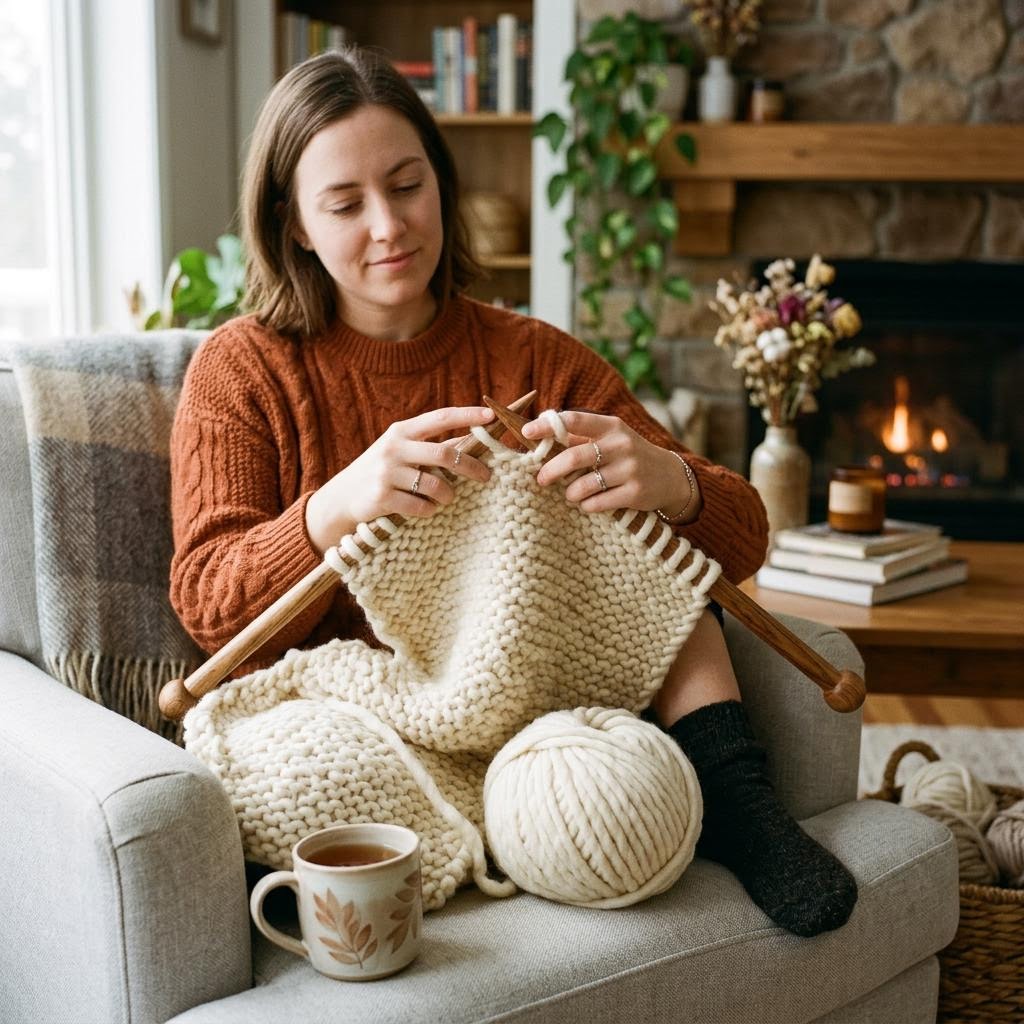
Crochet and knitting are both yarn crafts, but they work fundamentally differently. Knitting uses two or more needles and keeps multiple live loops active at once; crochet uses a single hook and keeps only one active loop at any moment. This means a dropped stitch in crochet falls off the hook and stays where it lands — it does not ladder down the way a dropped knitting stitch does. For beginners, this is a significant practical advantage. Crochet is generally faster to pick up, more portable (one hook versus two needles), and easier to modify on the fly.
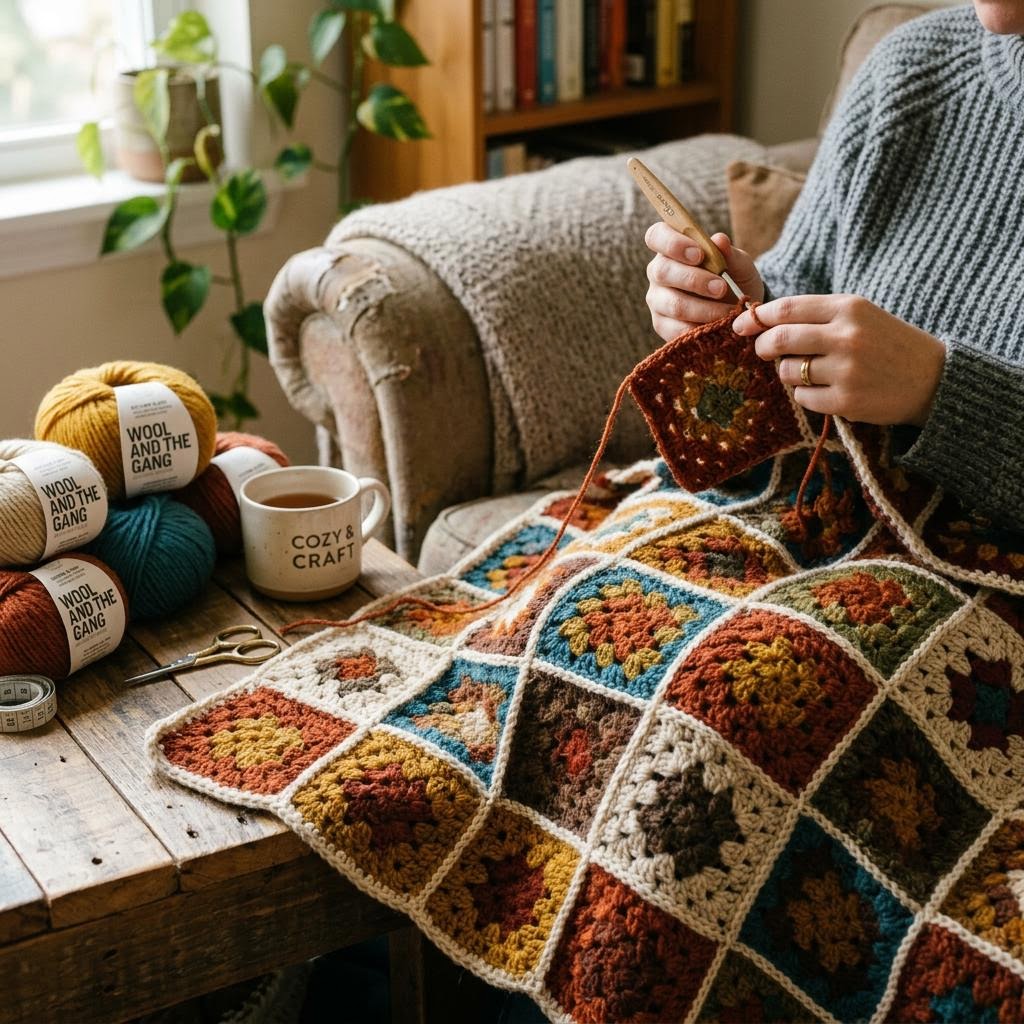
The granny square is the ideal first crochet project because it is modular. You learn every essential stitch — the slip knot, chain stitch, slip stitch, double crochet — in the context of a small, self-contained square that takes fifteen to thirty minutes to complete. If it goes wrong, you have lost thirty minutes and a small amount of yarn, not hours of work on a half-finished scarf. Completing each square gives you a clear sense of progress, and the accumulated squares become a blanket when joined — a completely satisfying beginner project at both the micro (one square) and macro (finished blanket) scale.
Hook size and yarn weight are paired. The label on every ball of yarn includes a recommended hook size — use this as your starting point. Going up a hook size from the recommendation produces a looser, drapier fabric; going down produces a tighter, stiffer fabric. Neither is wrong; they produce different results for different purposes. A tighter gauge is better for bags and structural items; a looser gauge is better for shawls and baby items. The only way to know whether your tension matches the pattern's is to make a gauge swatch — four inches of stitches measured against the pattern's specified gauge.
Color is one of crochet's great pleasures. Granny squares make color mixing easy: because you change yarn at the end of a round rather than mid-row, you can introduce a new color every round without any complex color-work techniques. Solid squares, gradient squares, and scrappy squares (using leftover yarn from other projects) can all be combined in a single blanket. The arrangement of squares across the blanket creates a secondary pattern beyond the individual square design — a checkerboard, a diagonal stripe, or a random mosaic are all achievable just by choosing which squares sit next to which.
Joining squares is where many beginners slow down. The three main methods are: sewing with a tapestry needle (strongest join, least visible from the front), slip stitch joining with a hook (fast, produces a ridge on one side), and join-as-you-go (joining happens during the last round of each square, eliminating all sewing). For a first blanket, join-as-you-go is the most satisfying because there is no pile of finished squares waiting to be assembled — the blanket grows one square at a time as you work.
Blocking is the step that distinguishes a handmade item that looks handmade from one that looks intentional and professional. Wet the finished blanket, press out excess water in a towel, pin to a foam mat at the correct dimensions, and leave to dry. The stitches relax and even out; the corners lie flat; the overall dimensions settle. A blocked crochet blanket looks like a different object from an unblocked one — more polished, more even, and significantly larger. It is worth the wait.
Materials You'll Need
- Chunky or bulky yarn (multiple colors)
- 5.5mm or 6mm crochet hook
- Yarn needle
- Scissors
Step-by-Step
Hold Your Hook and Make a Slip Knot
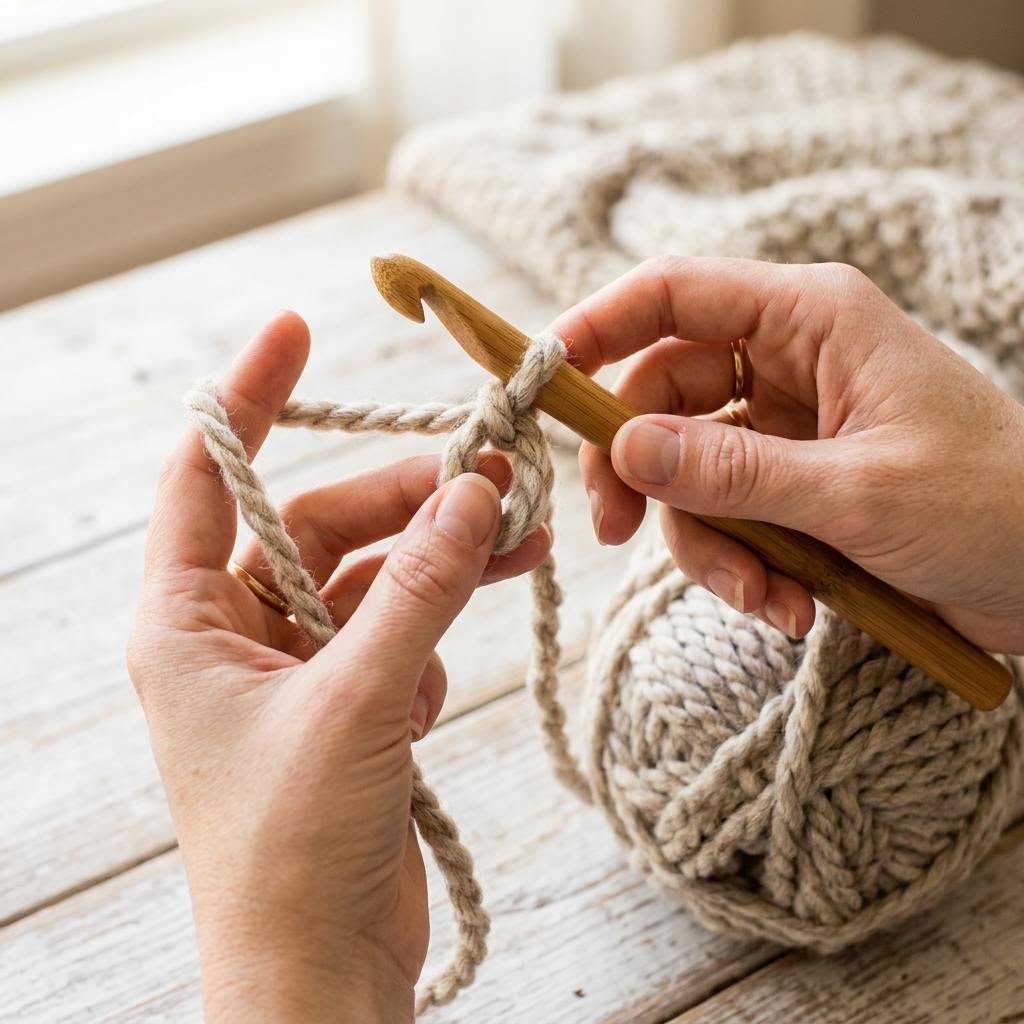
Hold the crochet hook in your dominant hand like a pencil — pinched between your thumb and index finger with the hook pointing down. Your non-dominant hand controls the yarn tension: drape the yarn over your index finger, under your middle and ring fingers, and over your little finger. This yarn hand maintains consistent tension as you pull loops through. If the hook hand feels stiff, try the knife grip instead (hook resting across your palm) — either is correct, and personal comfort determines which works best for you. To make a slip knot, create a loop with the yarn about 15cm from the end, cross the working yarn behind the loop, pull a new loop through, and tighten onto the hook. Chain stitches follow: yarn over the hook (wrap the working yarn counterclockwise around the hook), then pull the yarn through the loop already on the hook. Repeat. Make a foundation chain of fifteen stitches to practice — count each stitch to build the habit. Consistent chain stitch size is the foundation of consistent crochet; if your chains vary in size, your finished fabric will be uneven.
Chain and Make Your First Square
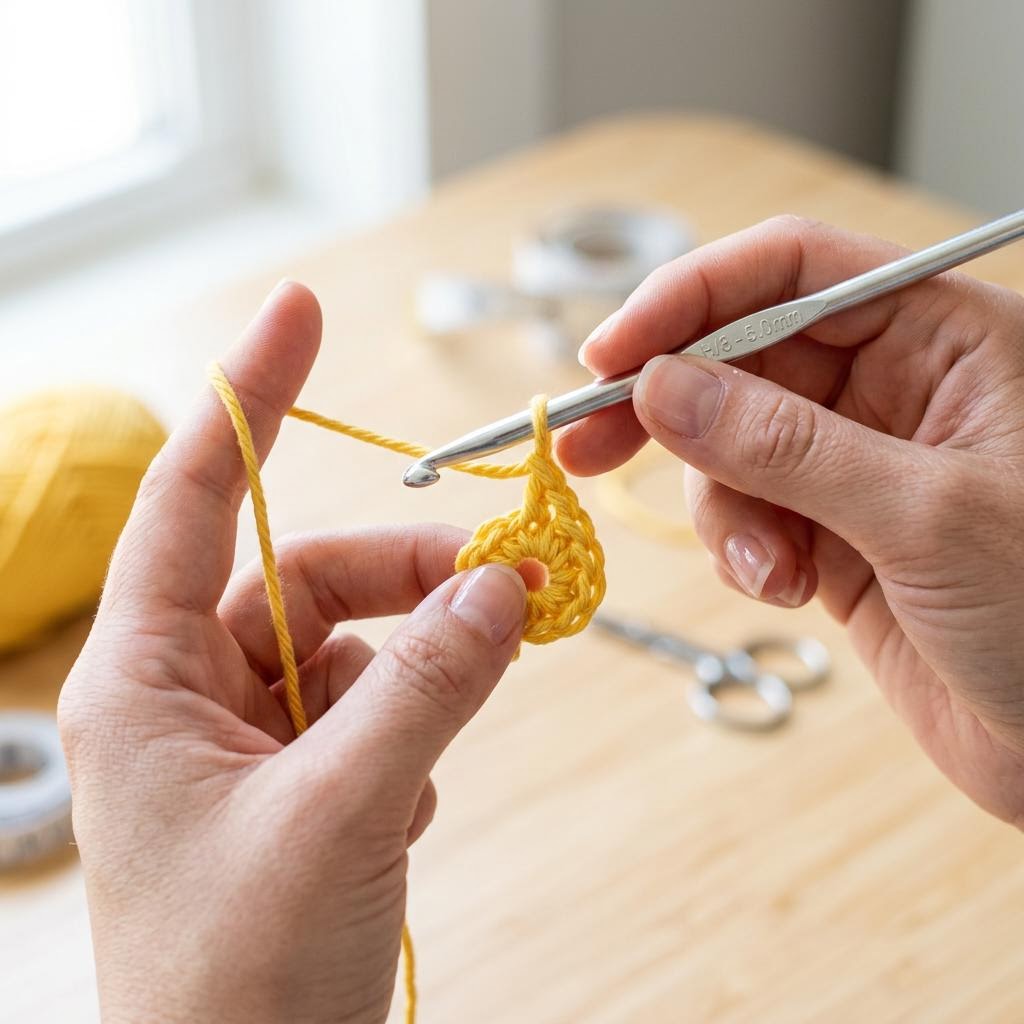
A classic granny square begins with a magic ring (also called a magic circle): wrap the yarn twice around your index finger, insert the hook through the ring, pull a loop through, chain three. This creates the center ring that all subsequent rounds build from. Work twelve double crochet stitches into the ring, then pull the tail end to close the ring tight. Join with a slip stitch to the top of the starting chain-three. Your center ring is complete — a small flat disc with twelve stitches around the edge. Round two creates the corners and establishes the square shape. Work three double crochet stitches in each stitch, but in every third stitch work a corner: three double crochet, chain two, three double crochet. Repeat this corner sequence four times evenly around the ring, and you will see the square begin to form as you work. Join and turn. The size of the finished square depends on your yarn weight and hook size — a 5.5mm hook with DK weight yarn typically makes a 10cm square, while bulky yarn and a 6mm hook makes closer to 15cm.
Complete the Granny Square
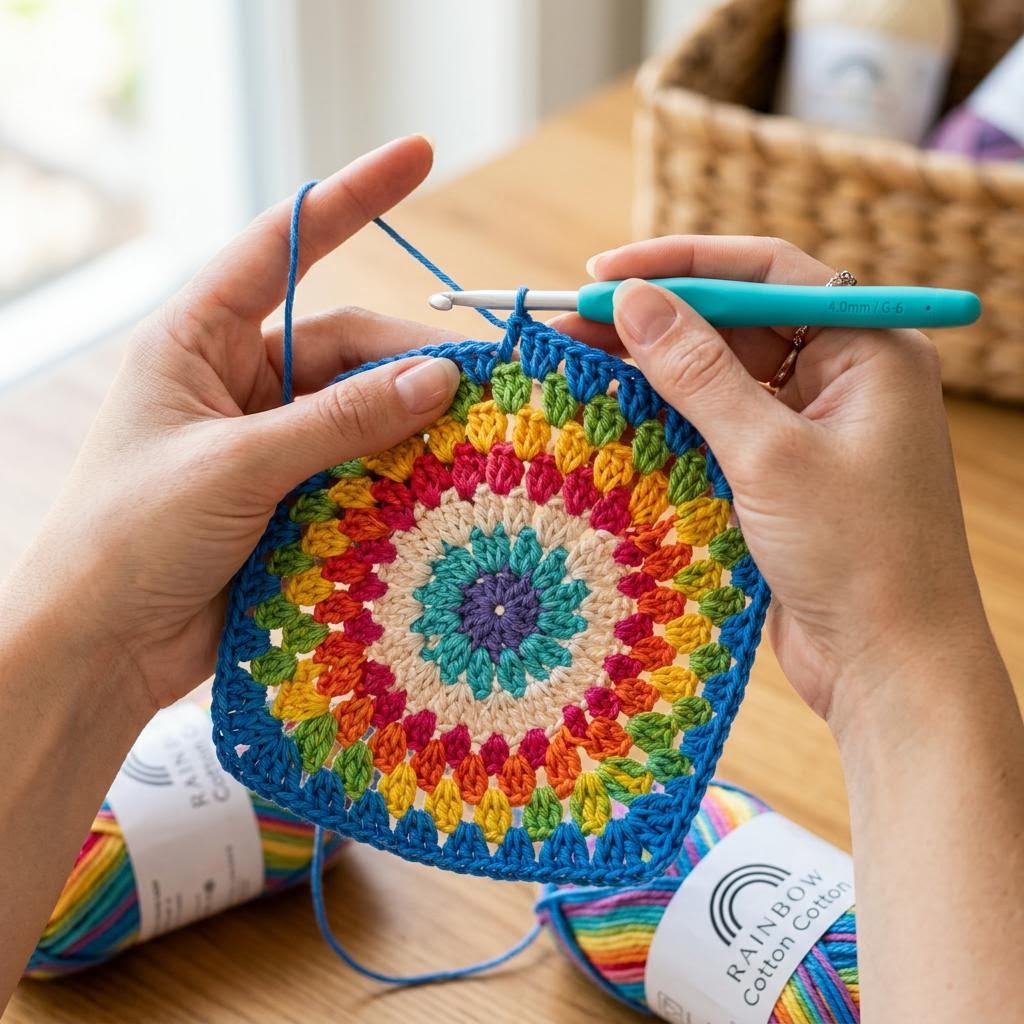
Continue adding rounds to build the granny square to your desired size. Each round adds more clusters of three double crochet stitches along the sides and a corner cluster of three-chain-two-three at each of the four corners. The corner chain-two spaces are what keeps the square flat — if you skip or shorten these spaces, the corners will curl up. Count stitches after each round to catch errors before they compound; it is far easier to undo one round than three. Change colors at the end of a round by working the last yarn over of the last stitch in the new color — this positions the color join at the edge of the round rather than mid-side. Leave a 15cm tail when cutting yarn for weaving in later. A four-round granny square made with worsted weight yarn is a practical target for a blanket: large enough to make progress feel fast, small enough that you need many (think forty-nine squares for a lap blanket) which gives you plenty of practice repetition before joining begins.
Join Squares and Add Border
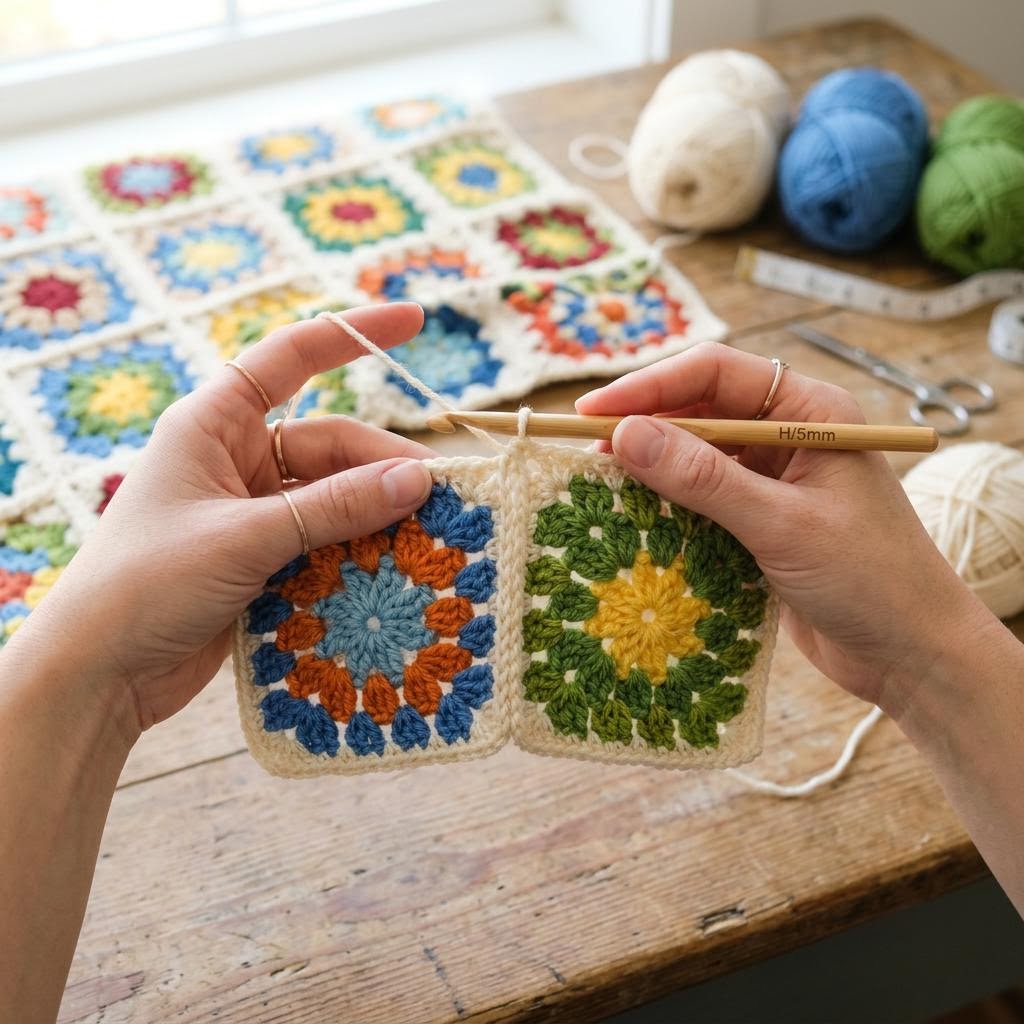
The join-as-you-go method is the most beginner-friendly: as you complete the last round of each new square, slip-stitch into the corresponding stitches of its neighbor rather than working free. This eliminates sewing entirely and produces a flat, flexible join. Lay your squares out in the final arrangement before joining anything so you can verify color placement and ensure the overall design works — once joined, undoing and rearranging is time-consuming. A border ties the whole blanket together and hides any edge inconsistencies. Work a round of single crochet all the way around the joined blanket, placing three single crochets into each corner space to keep the corners flat. A second round of shell stitches or a simple picot edge adds a finished look without complexity. Block the completed blanket: pin it to size on a foam mat, mist with water, and leave to dry. Blocking relaxes the stitches, evens out tension inconsistencies, and can increase the finished dimensions by ten to fifteen percent.
Written by
Hannah Williams
Upcycling & Sustainable Craft Advocate
Hannah makes beautiful things from things other people throw away. Her upcycling projects champion sustainability without ever sacrificing style.