10 Basic Hand Embroidery Stitches Every Beginner Should Know
Mastering basic hand embroidery stitches opens up endless possibilities.
My grandmother kept a biscuit tin full of floss — little paper-wrapped skeins in every color, organized by some logic only she understood. Hand embroidery stitches were her Sunday afternoon thing, and watching her turn a plain tea towel into something genuinely beautiful planted a seed that took me twenty years to act on. When I finally bought my first hoop and a pack of needles at age thirty-two, I was completely hooked within a week. The good news is that the learning curve is short and the satisfaction is immediate.
You don't need much to start. A 6-inch wooden hoop, some medium-weight cotton or linen fabric, and a few skeins of stranded cotton floss will do it. DMC is the standard, and their color range is enormous — but honestly, even a grab-bag pack from the craft store will get you through your first few projects. Needles matter more than people realize: an embroidery needle (sizes 5 through 7 work well for beginners) has a bigger eye than a sewing needle and a blunter tip, which makes it much easier to work with multiple strands of floss.
There are maybe a dozen stitches that cover 90% of everything you'll ever want to make. The running stitch, back stitch, satin stitch, stem stitch, French knot, chain stitch, and lazy daisy will carry you incredibly far. Learning them in that rough order makes sense — each one builds a little on the muscle memory of the last. Don't try to memorize all of them at once. Pick two, practice them until they feel natural, then add a third.
Here's the thing about tension that nobody mentions enough: it's everything. Fabric that's too loose in the hoop produces puckered, wobbly stitches. Too tight and the fabric distorts. You're looking for a drumhead feel — taut but not strained. Tighten the outer ring's screw while pressing the inner ring into the fabric, then gently tug the fabric edges even around the circumference. Check it again after a few minutes of stitching; cotton fabric relaxes as you work.
The mistake I made for months was using all six strands of floss at once. Stranded cotton comes in six very fine strands twisted together, and you separate them yourself before threading the needle. Two or three strands give you clean, detailed lines. Six strands are great for bold fills but make fine line work look lumpy and amateurish. Experiment — the number of strands you use is one of your main design decisions, not just a technical detail.
Once you have the basics, the rabbit hole opens up fast. You'll start seeing embroidery patterns everywhere — in botanical illustration, folk art, vintage clothing. You'll begin designing your own motifs instead of following templates. You'll develop opinions about floss brands and hoop materials. Some people never go beyond a handful of stitches and make completely stunning work because they've mastered those few things completely. There's no wrong way to do this as long as the needle keeps moving.
Materials You'll Need
- Embroidery hoop (6 inch)
- Cotton or linen fabric
- Embroidery floss
- Embroidery needles (size 5 or 7)
- Small sharp scissors
- Water-soluble transfer pen
Step-by-Step
Prepare Your Hoop and Thread
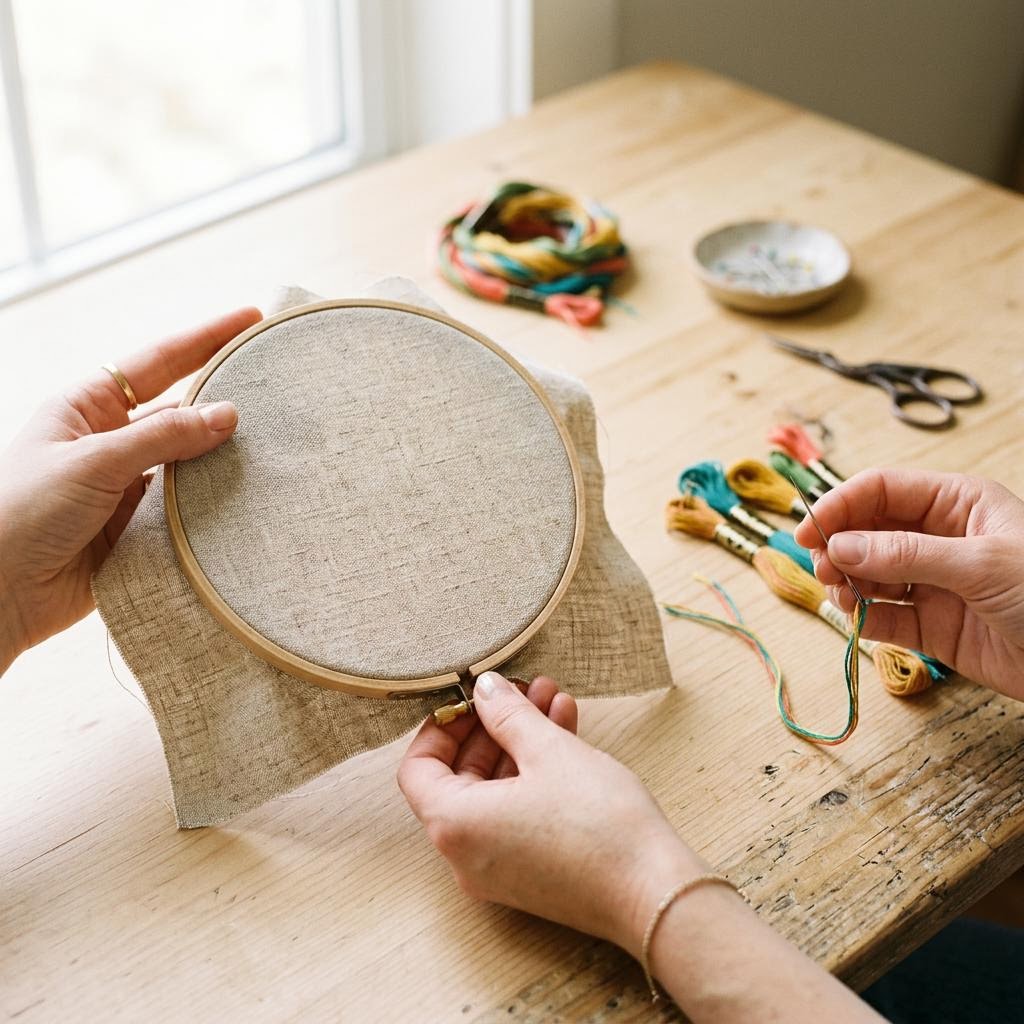
Separate your floss before you do anything else — pull out one strand at a time from the skein rather than yanking them all at once, or you'll get a tangled mess. Work with lengths no longer than 45cm (about 18 inches); longer thread frays and knots constantly. Thread your needle with 2 strands for line work, 3 for a slightly bolder look. Mount your fabric in the hoop by placing the inner ring flat, laying the fabric over it, then pressing the outer ring down and tightening the screw gradually while pulling the fabric taut from all sides. It should feel like a small drum. If your fabric has a printed or transferred design, make sure it's centered and clearly visible before you tighten fully. Transfer your design using a water-soluble fabric pen — draw directly onto the fabric, since the lines wash out completely when you're done. If you're nervous about freehanding, trace your design onto tracing paper first, pin it to the fabric, stitch through both layers along the lines, then tear away the paper. Old trick, still works perfectly.
The Running Stitch and Backstitch
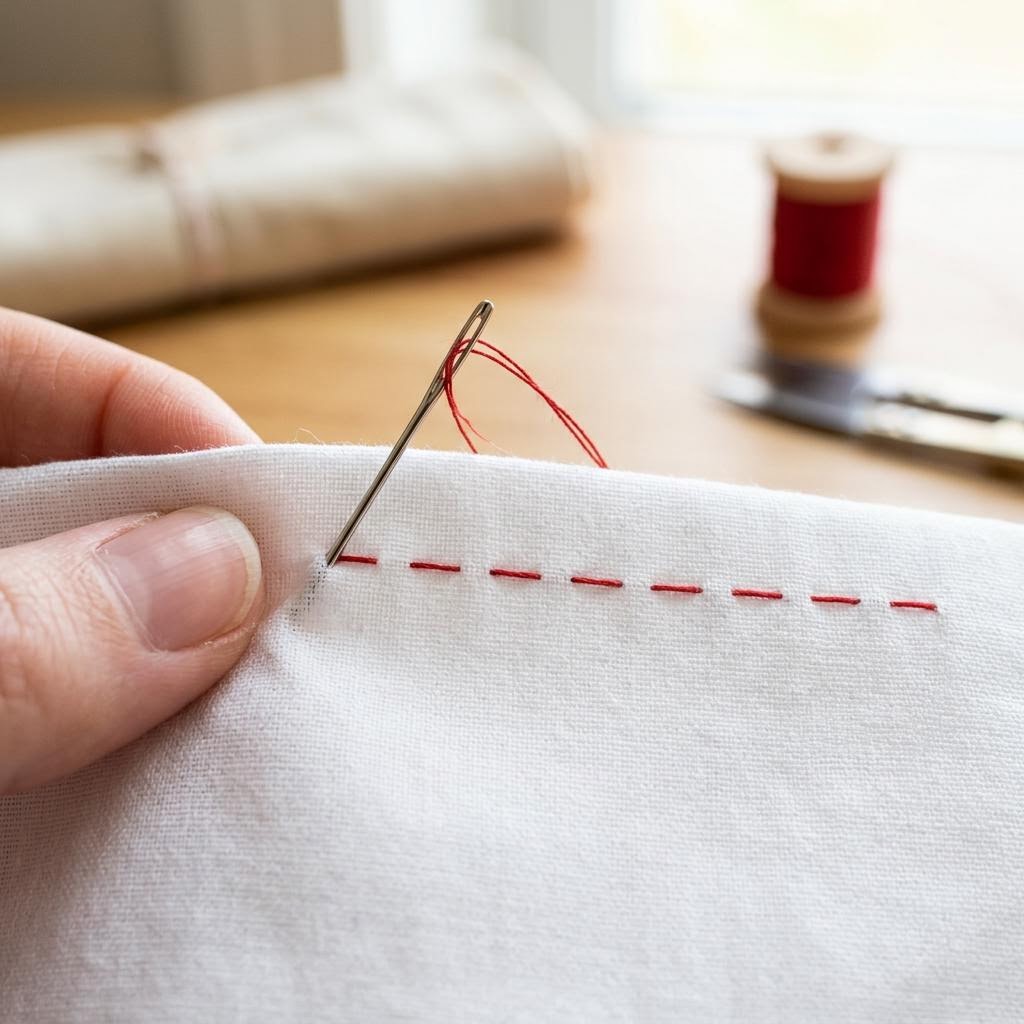
The running stitch is literally just in-and-out: push the needle through from the back, then back through to the back again about 4mm along, and repeat. Keep your stitch lengths consistent — that regularity is what makes it look intentional. It's great for outlines, dashed effects, and gathered fabric, but it leaves gaps. The back stitch fills those gaps and creates a solid, unbroken line — like a hand-drawn pen line but in thread. Bring the needle up one stitch-length ahead of where you want the line to start, then insert it one stitch-length back (at the end of your last stitch). Come up another stitch-length ahead. You're always stitching backward to fill forward. A 3mm stitch length gives clean results. Practice both on a scrap of fabric before committing to your actual piece. Make a small grid of lines using the running stitch, then convert some to back stitch and compare. You'll feel immediately which one suits the look you're going for. The back stitch is probably the most useful single stitch in embroidery — get comfortable with it early.
Satin Stitch and French Knots
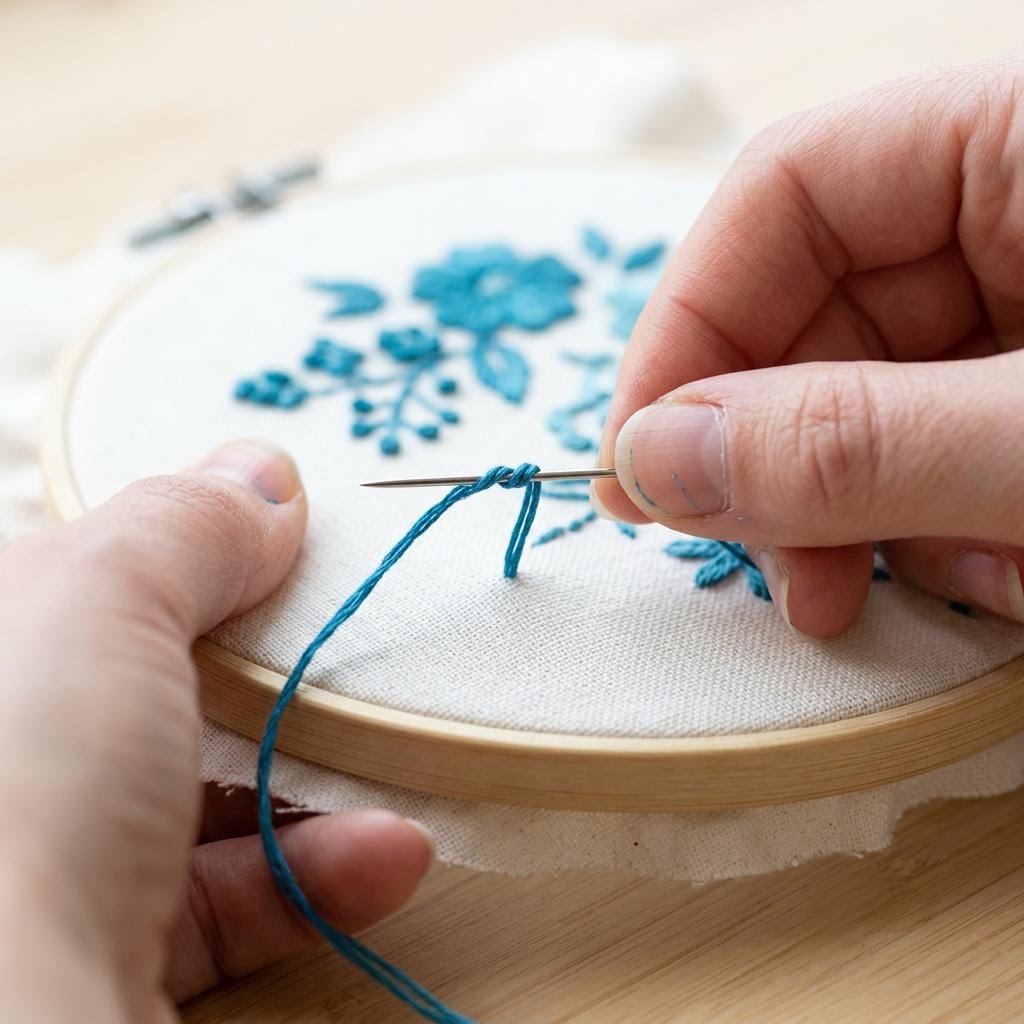
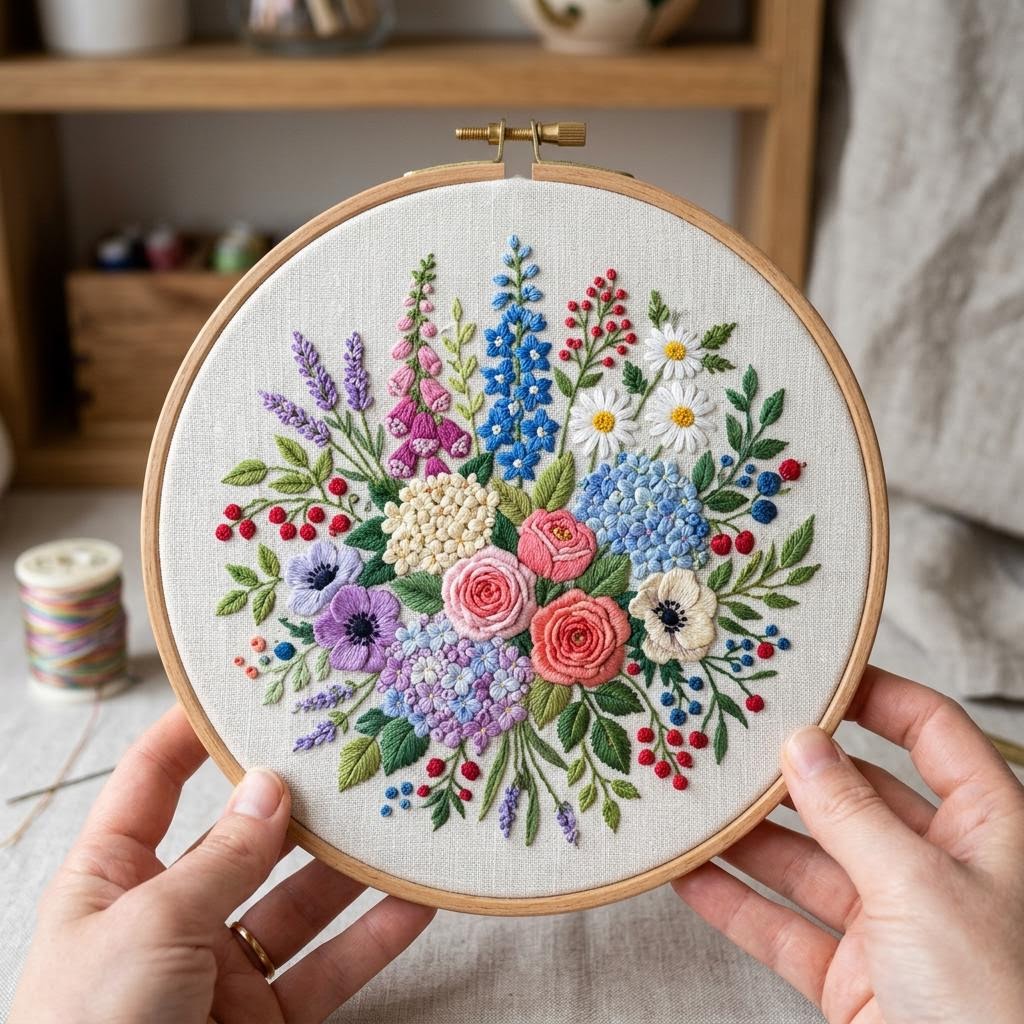
The satin stitch fills solid shapes with smooth, parallel thread — it's what gives embroidered flower petals that painted, lustrous look. Bring the needle up at one edge of your shape, lay the thread across, insert it at the opposite edge, then come up right next to your first entry point and repeat. The key is keeping each stitch parallel and tight against its neighbor, with no fabric showing through. French knots are the notorious troublemakers of hand embroidery, but they're actually straightforward once you slow down. Bring the thread up through the fabric, hold it taut with your non-dominant hand, and wrap it around the needle twice (just twice — more makes a lumpy mess). Insert the needle back into the fabric right next to where it came up, not through the same hole, and pull slowly through while keeping that thread taut until the knot seats itself on the surface. For satin stitch, use 2-3 strands for fine detail, 4-6 for bold fills. For French knots, 2 strands gives a delicate seed bead look; 4-6 strands makes substantial raised dots. Cluster them densely to fill flower centers or scatter them for a speckled texture. Practice making 20 knots in a row until they come out consistent — size and tension are everything.
Finishing and Framing Your Work
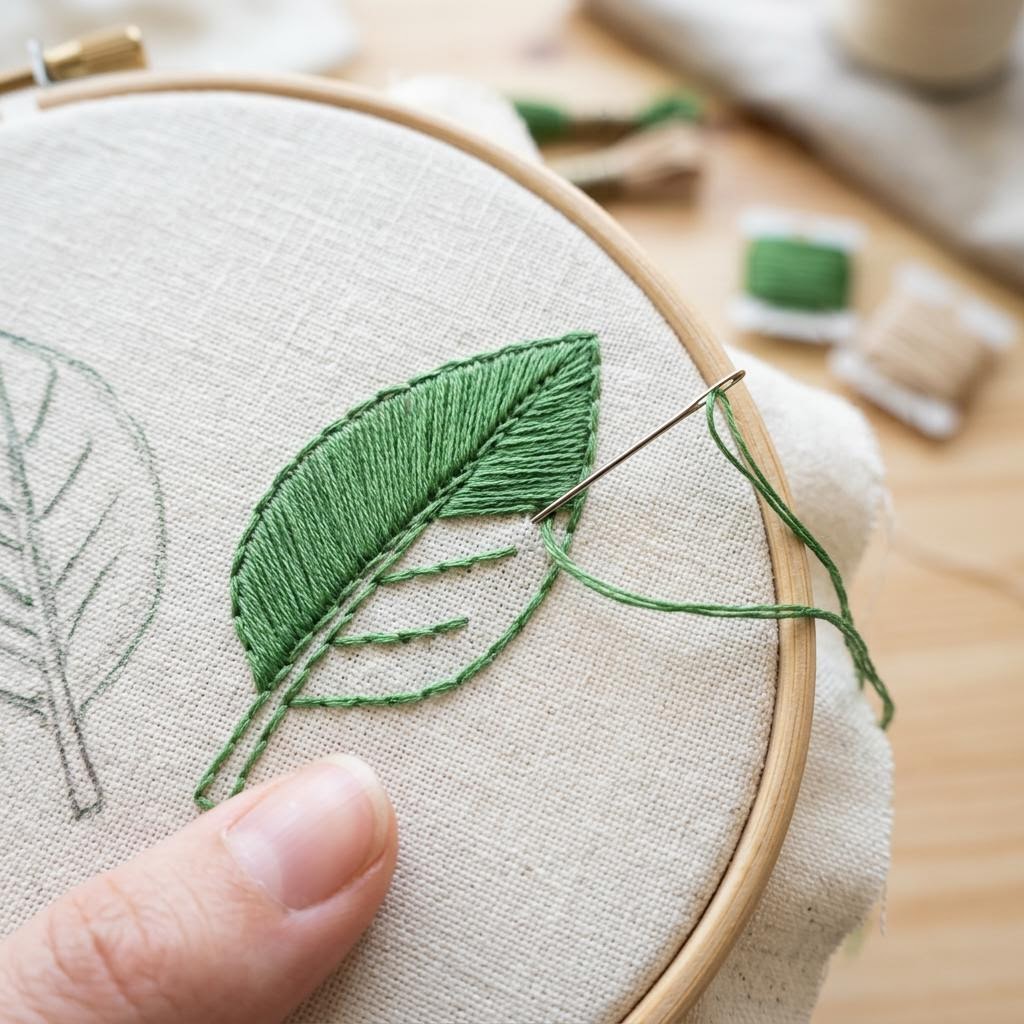
To finish on the back of the fabric, slide the needle under 4-5 existing stitches and pull through — no knots needed, and the thread won't work loose. Trim the tail close. If you want extra security on a piece that will be washed often, make a small loop knot before sliding under, but for framed work this is never necessary. Before removing from the hoop, wash the fabric gently with cold water and a tiny drop of dish soap to remove your transfer pen marks — they need water to disappear completely. Lay flat to dry, then press face-down on a thick towel so the stitches aren't crushed. Never iron directly on embroidery. For framing, you can display the piece still in the hoop — trim the excess fabric leaving about 3-4cm, fold it neatly to the back, and secure with a running stitch pulled tight like a drawstring. Or mount on acid-free mat board and frame conventionally. Either way, hang away from direct sunlight, which fades floss surprisingly fast. A finished embroidery in a simple frame or hoop looks genuinely lovely — better than most things you can buy.
Written by
Sarah Mitchell
Fiber Arts & Macramé Expert
Sarah has been knotting, weaving, and stitching for over a decade. Her work blends traditional fiber techniques with modern minimalist aesthetics.