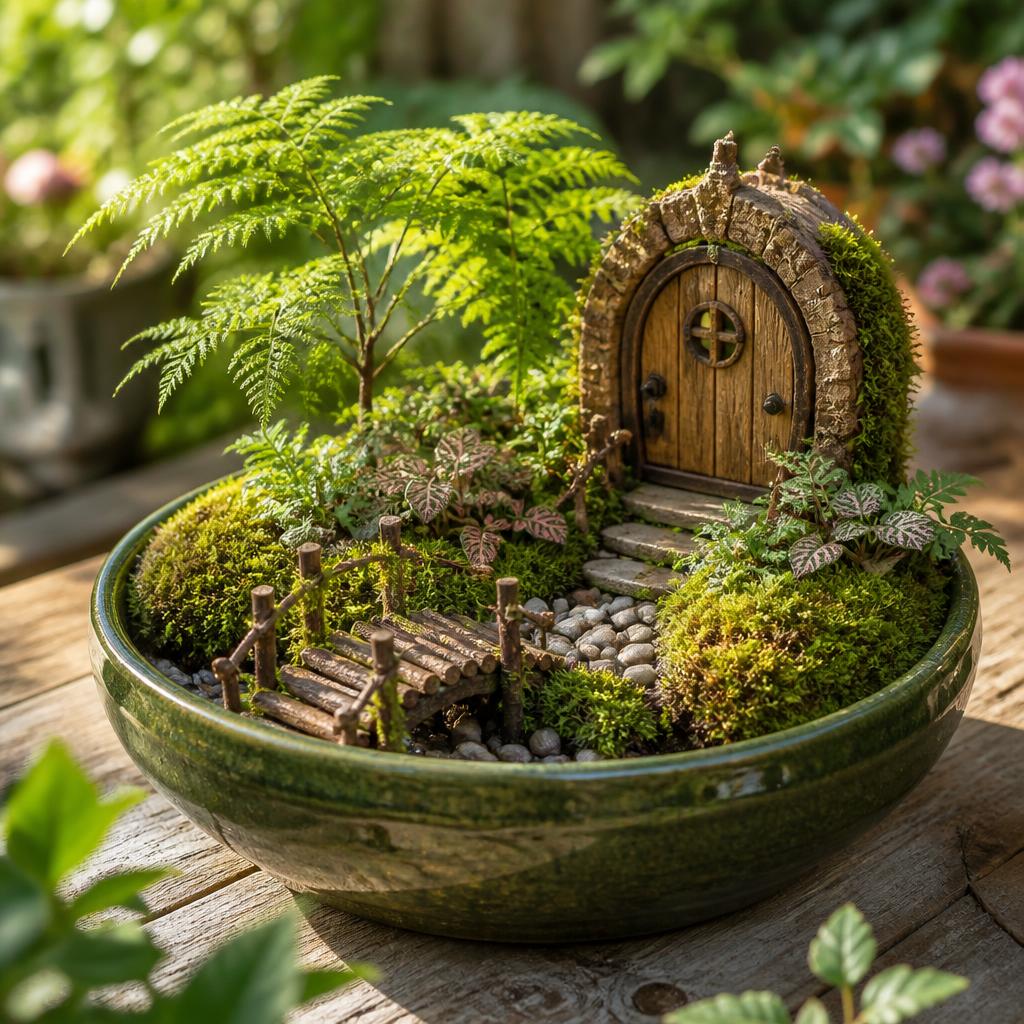
Create a tiny fairy garden in one pot with an easy plant layout, inexpensive handmade details, and simple care tips.
A fairy garden can be wonderfully small. You don't need a miniature castle, a shelf of plastic figures, or a whole corner of the yard set aside for it. One pot, one plant, and a path made from stuff you already have lying around can be enough to suggest a whole little world. The trick is making it feel lived in, not crowded.
For a DIY fairy garden for beginners, I'd pick the plant before I went anywhere near the accessories aisle. Plants are a lot less forgiving than decorations, and the wrong one will make the whole project frustrating no matter how lovely the tiny door is. Spend a few minutes actually watching the spot where this pot is going to live. Is it bright most of the day? Do you tend to forget watering? Will it be sitting outside through winter? Let those answers decide the plant, not the other way around.
Drainage is the boring detail that saves the whole project. Pick a container with a hole and a saucer if you can manage it. If a decorative pot has stolen your heart but doesn't have a hole, just treat it as a cachepot — keep the plant in a smaller nursery pot tucked inside, and lift that out over the sink when you water. Roots sitting in a puddle rarely stay happy for long.
The most useful small fairy garden ideas in pots really aren't complicated. A curved line of pebbles, a piece of bark, one object for the eye to discover — that usually looks better than a miniature room packed wall-to-wall with chairs, signs, fences, and animals. Try a few layouts before you press anything into the soil. A path that disappears behind the plant feels more mysterious than one that just ends in the middle of the pot.
For an indoor fairy garden in a pot, baby tears, moss, and small ferns can give you that soft woodland look. They still need the right light, though — a north-facing room may suit one plant while a sunny kitchen window suits a completely different one, so it's worth actually reading the plant label at the garden center before you buy. Outdoors, look for something that can handle the temperature swings where you live, rather than choosing solely on the shape of its leaves.
Once the plant is settled, leave a little working room. You should be able to get a finger into the soil without knocking over the door or the fence. That small bit of open space also keeps the arrangement from looking like a model sealed under glass. Honestly, one of the best small fairy garden ideas in pots is simply this: leave enough room to actually care for the plant. A DIY fairy garden for beginners should be pleasant to tend, not some fiddly object you're afraid to touch.
Water gently around the base until a little comes through the drainage hole, then empty the saucer. Don't water by the date on a schedule — test the soil with your fingertip instead. A tiny pot on a warm sill can dry out surprisingly fast, while one in a cool room may stay damp for days. For an indoor fairy garden in a pot, give it a turn every few days so it doesn't lean permanently toward the window.
As the weeks go by, let the scene evolve. Add a pebble from a walk, swap out a twig that's gone soft in the rain, move the bench once the plant starts to spread. The small fairy garden ideas in pots that stay interesting are the ones that leave room for these little discoveries. The best DIY fairy garden for beginners isn't the one that looks flawless in every photo — it's the one you still enjoy noticing on some completely ordinary Tuesday. Done right, an indoor fairy garden in a pot becomes a tiny living pause in a busy room.
Materials You'll Need
- Pot with a drainage hole and saucer
- Small plant suited to the available light
- Indoor or outdoor potting mix
- Small stones, pebbles, or gravel
- Bark, twigs, shells, or miniature decorations
- Broken-pot piece or mesh for covering the drainage hole
- Small spoon or scoop
- Watering can
Step-by-Step
Choose the Pot and Plant
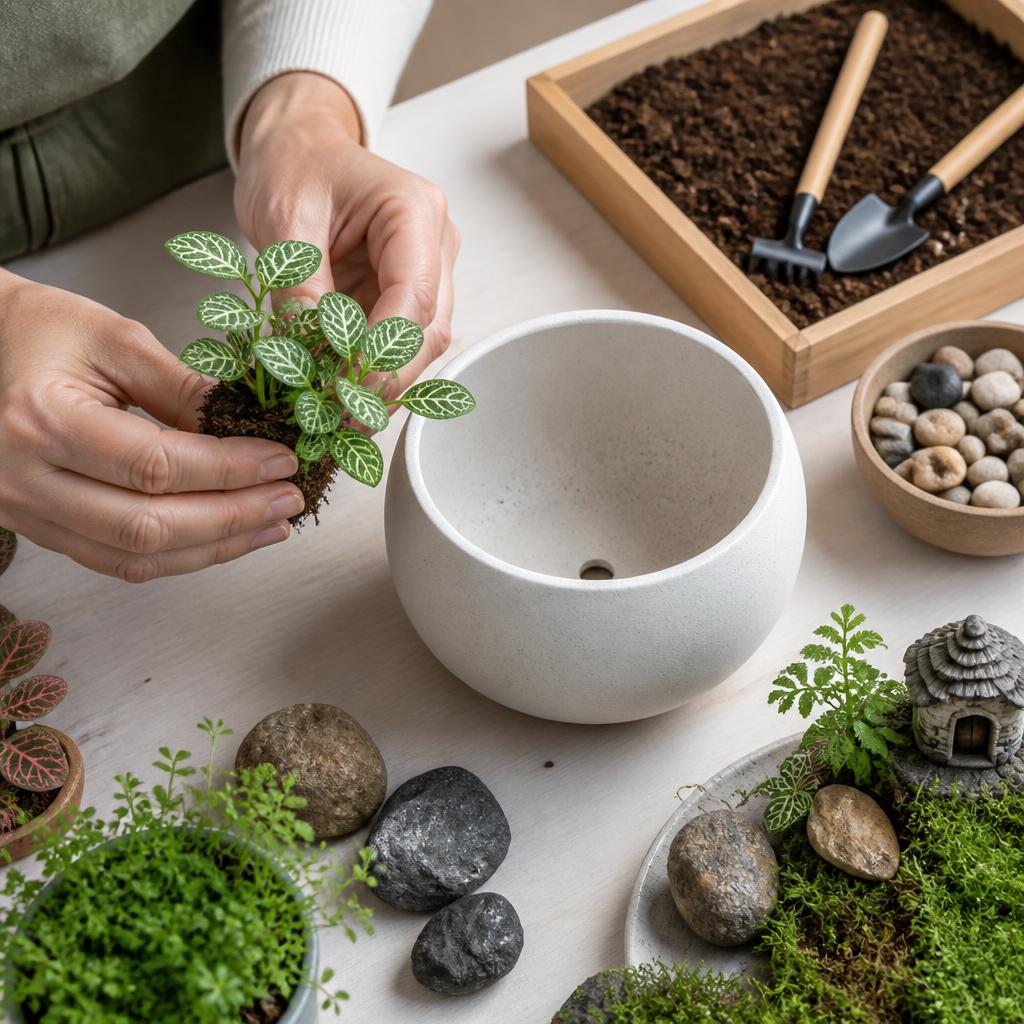
Start with the plant, not the tiny furniture. It's a lot easier to build a little scene around a plant that's thriving than to rescue one that's struggling in the wrong corner. Look honestly at the place where the garden will live: a bright windowsill, a shaded porch, and a dim bookshelf all call for different plants. A pot 8 to 12 inches wide gives a first attempt enough room for roots, a path, and one or two details without becoming awkwardly large. A drainage hole matters. If the container you've fallen for doesn't have one, use it as a cover pot and set a smaller nursery pot inside. Baby tears, Irish moss, small ferns, thyme, and miniature violets are all worth considering — but the best choice is whichever plant actually suits your room or your garden.
Build a Healthy Base
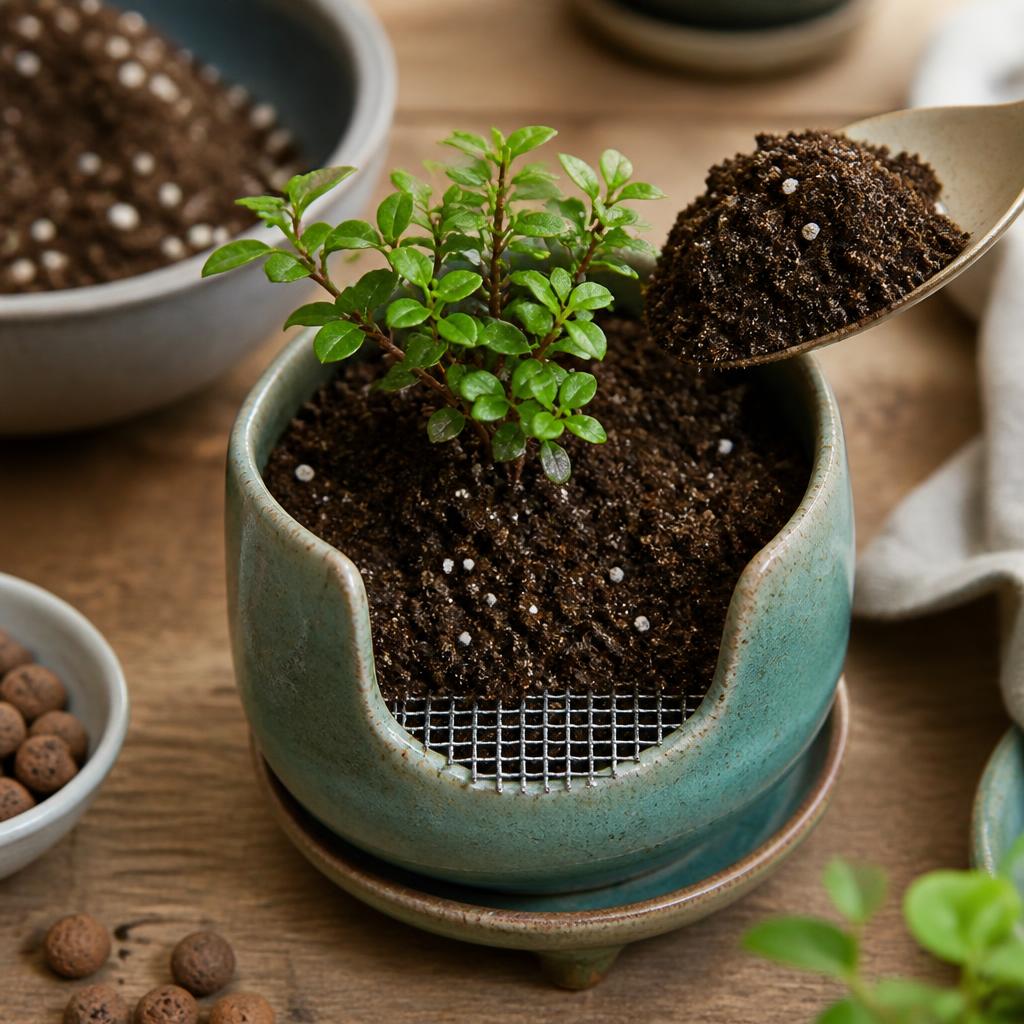
Put a small piece of mesh or a curved scrap of broken pot over the drainage hole, then add enough potting mix to support the roots. I like to set the plant in its pot at this point and pause for a minute — turn it until the fuller side faces out, and picture where the path might go before the soil makes everything harder to move. Leave roughly an inch at the top. That little gap catches water instead of sending muddy soil over the rim. Firm the mix around the root ball with your fingertips, but don't tamp it down like pavement — roots need pockets of air. If roots are circling the outside of the nursery pot, loosen only those few loops; pulling the whole root ball apart isn't necessary for a project this size.
Create the Tiny Landscape
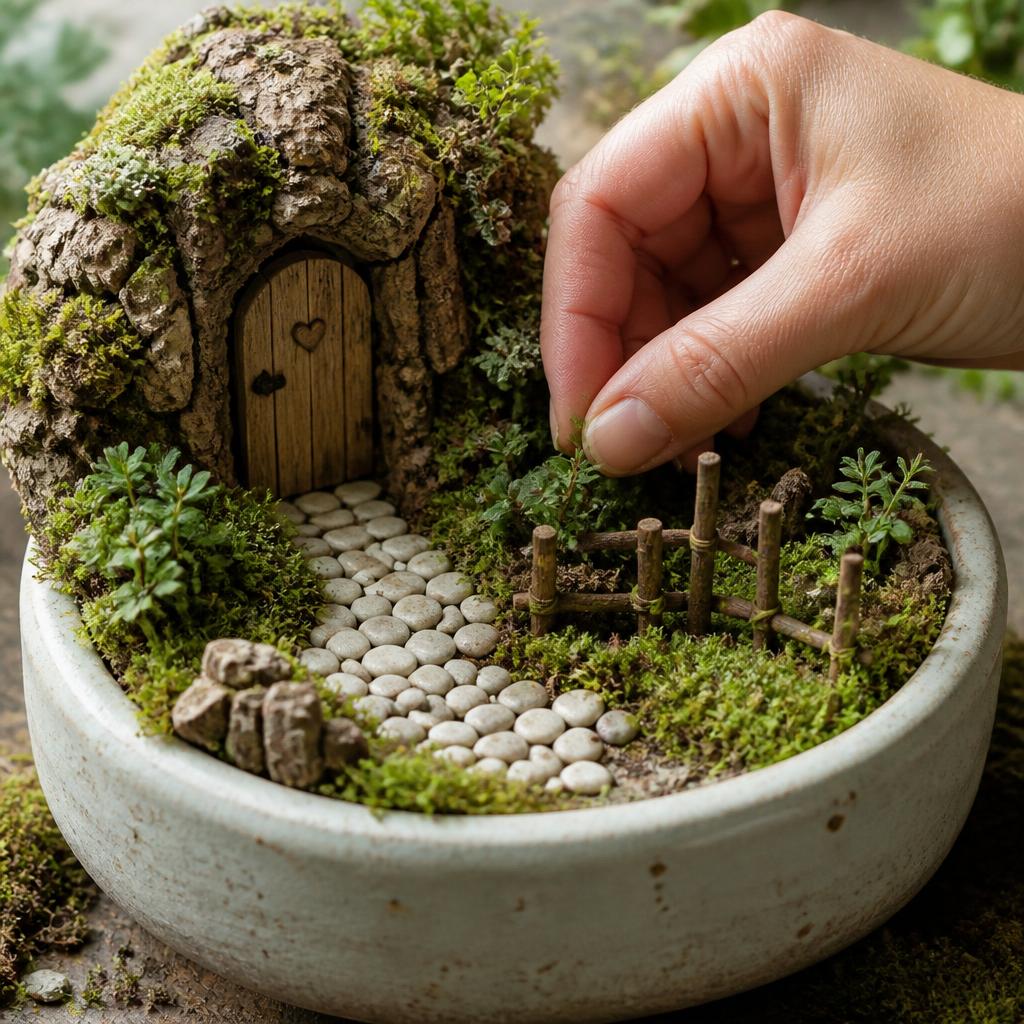
Now the pot starts to feel like a place instead of a container. A handful of pale pebbles can become a winding path, while a bit of bark gives the eye somewhere to climb. Twigs from the garden make a surprisingly convincing fence. You can also use a shell, a smooth stone, or a tiny wooden door — there's no need to buy a complete miniature village. Keep the arrangement slightly open so you can still reach the soil to water it. A curved path tends to look more natural than a straight line, and an uneven fence has more charm than one that looks factory-made. Shift everything around while it's still loose. The right arrangement is usually the one that makes the plant look like it belongs there, rather than the one with the most decorations crammed in.
Add Handmade Details and Water
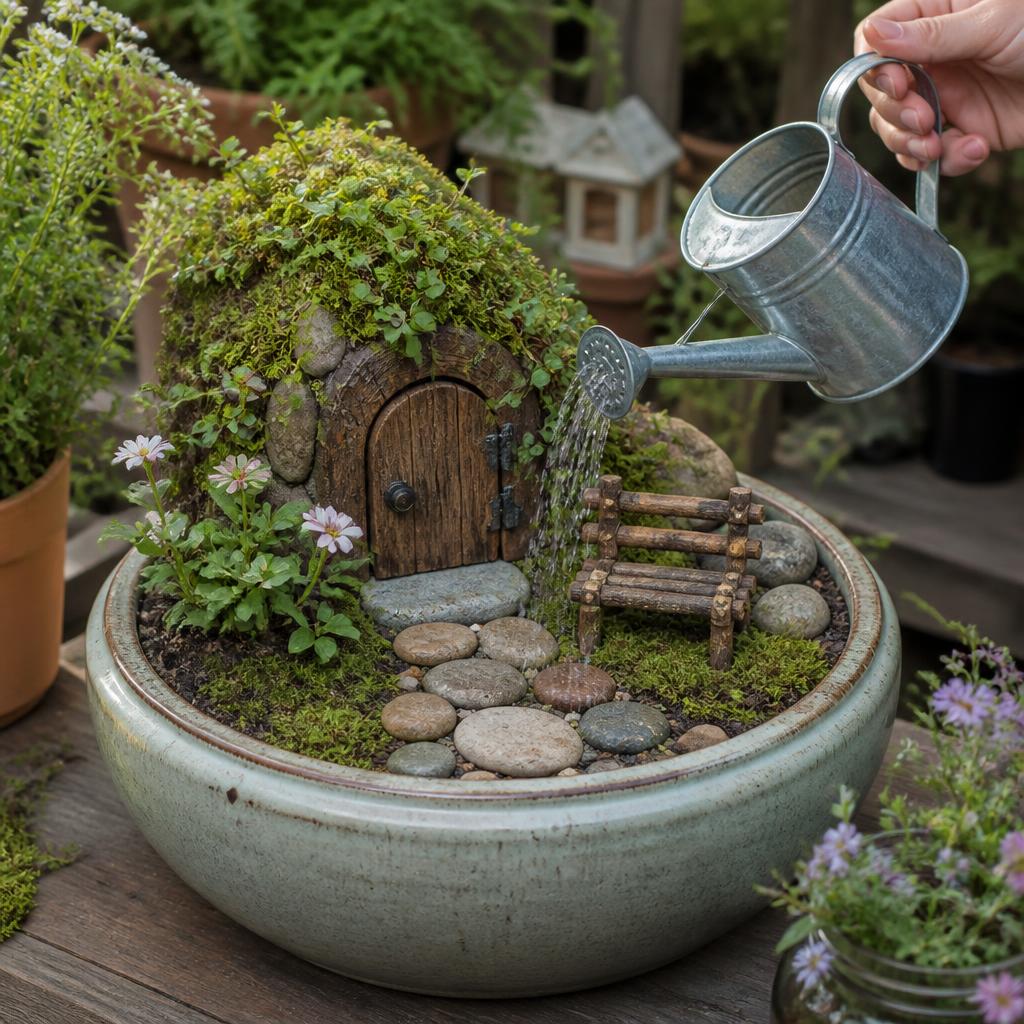
Give the garden one finishing detail that feels like yours. A painted pebble can stand in for a door, craft sticks can become a bench, and a few flags cut from paper add color without taking over. For an outdoor pot, choose details that can tolerate rain. Indoors, paper and cardboard are fine, but keep loose glitter and peeling paint away from the soil, pets, and curious little hands. Water slowly at the base until a little runs through the hole, then empty the saucer. From here on, your fingertip is a better guide than a calendar. A small pot on a warm windowsill may need water often; one in a cool room may stay damp for several days. Give the garden the light its plant wants, turn it occasionally, and remove fallen leaves before they settle into the moss.
Written by

Lily Andrews
Botanical & Nature Craft Artist
Lily forages, presses, and preserves the natural world. Her work bridges botanical science and handcraft, turning leaves, petals, and bark into lasting art.