How to Make Pressed Flower Bookmarks Without a Laminator
Make a durable, no-resin floral bookmark with dried blooms, a simple paper backing, and clear beginner-friendly steps.
There is a particular kind of joy in making a junk journal: the pages do not need to match, the cover does not need to be perfect, and the scraps you nearly threw away may become the most interesting part. A ticket stub, a torn map, or the pretty side of a paper grocery bag can all have a second life. If you are wondering how to make a junk journal for beginners, start by thinking of it as a small handmade collection rather than a test of your scrapbooking skills.
This project uses an old book cover and everyday paper, so you can begin without buying a complete set of supplies. You will need a cover, a small stack of pages, thread, a needle, and something sharp enough to make holes. The rest is optional. Washi tape, envelopes, receipts, fabric scraps, and handwritten notes can wait until you see what your journal wants to become.
The easiest beginner size is a journal that fits comfortably in one hand. A cover around 5 by 7 inches is large enough for writing and pockets but small enough to sew without wrestling with it. Keep the first journal to three or four signatures, with four to six folded sheets in each one. It is tempting to add every interesting piece of paper at once, but an overstuffed journal becomes difficult to close and frustrating to bind.
Paper does not have to be archival for a casual personal journal, but it should be usable. Mix ordinary printer paper with kraft paper, graph paper, old envelopes, and lightweight card. Avoid very thick card in the middle of a signature because it makes the fold bulky. If a sheet is too large, tear it rather than cutting it perfectly. A torn edge often looks more natural beside a neat envelope or a carefully written page.
The binding can feel intimidating until you realize that a beginner junk journal only needs a few secure stitches. A simple three-hole pamphlet stitch holds a small journal together and is easy to repair. Mark the holes before you sew, keep the thread slightly loose as you work, and do not pull so tightly that the folded pages buckle. The first few stitches may look a little awkward. Once the cover is decorated, nobody will notice — and you will understand the rhythm for the next one.
Leave some pages undecorated. Blank space gives you somewhere to write later and lets the journal change with you. A pocket made from an envelope can hold pressed leaves, photographs, or a note you are not ready to stick down. A small flip-out page gives the journal movement without requiring complicated construction. Let each addition earn its place; a journal with breathing room is much nicer to use than one filled edge to edge.
Junk journals are especially forgiving because they are allowed to record ordinary days. Write down a recipe you want to remember, tape in the label from a favorite tea, or make a page about the walk you take every week. You do not need a dramatic trip or a major life event to fill one. The little details are often the pages you are happiest to find months later.
When the journal is finished, press it under a few books overnight if the pages have become wavy. Do not flatten it completely if you have made dimensional pockets or folded inserts; a little fullness is part of its character. The next journal can be themed around gardening, reading, travel, or a color you love. By then, you will have discovered which scraps you reach for first and which binding style feels comfortable in your hands.
Materials You'll Need
- Fully dried, pressed flowers or leaves
- Heavyweight white or cream cardstock
- Acid-free paper glue or matte decoupage medium
- Self-adhesive cold-laminating pouches
- Tweezers
- Scissors or a paper trimmer
- Hole punch and embroidery floss (optional)
Step-by-Step
Choose and Condition Your Flowers
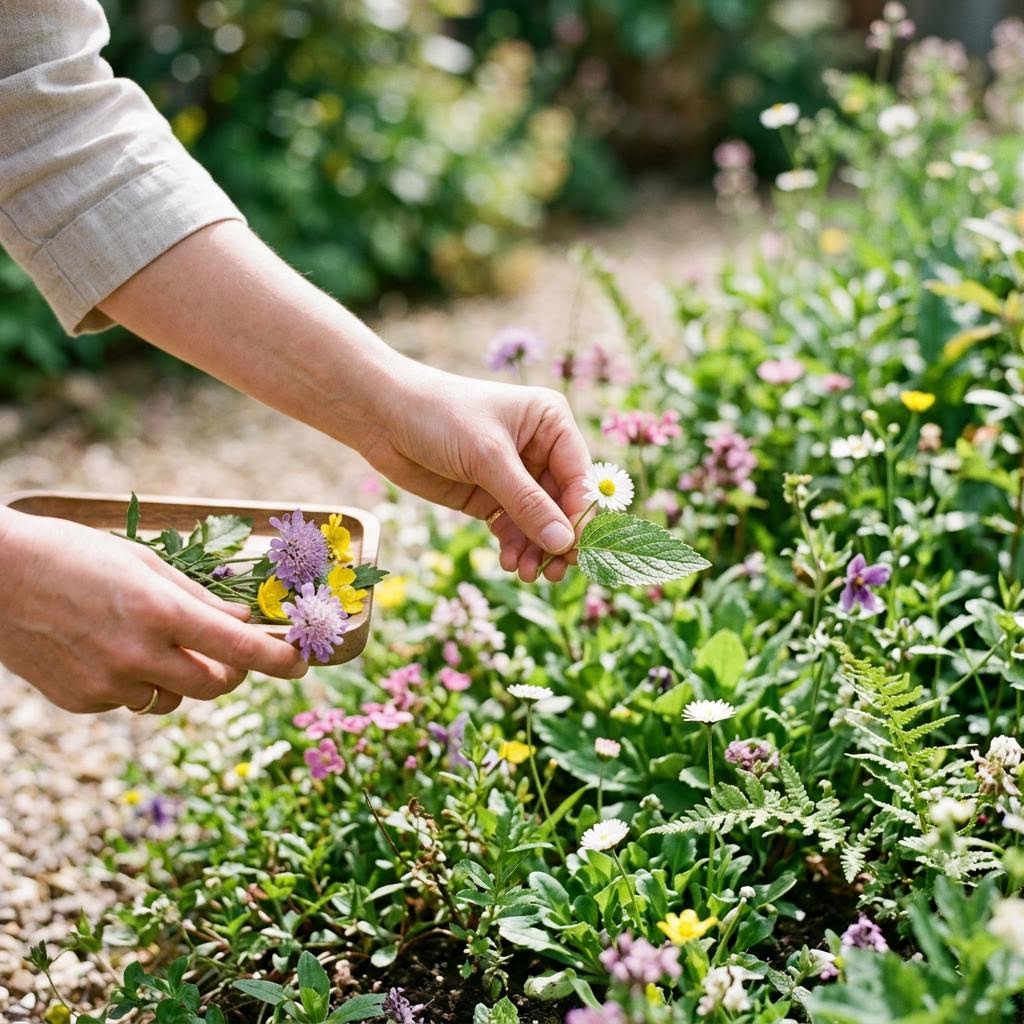
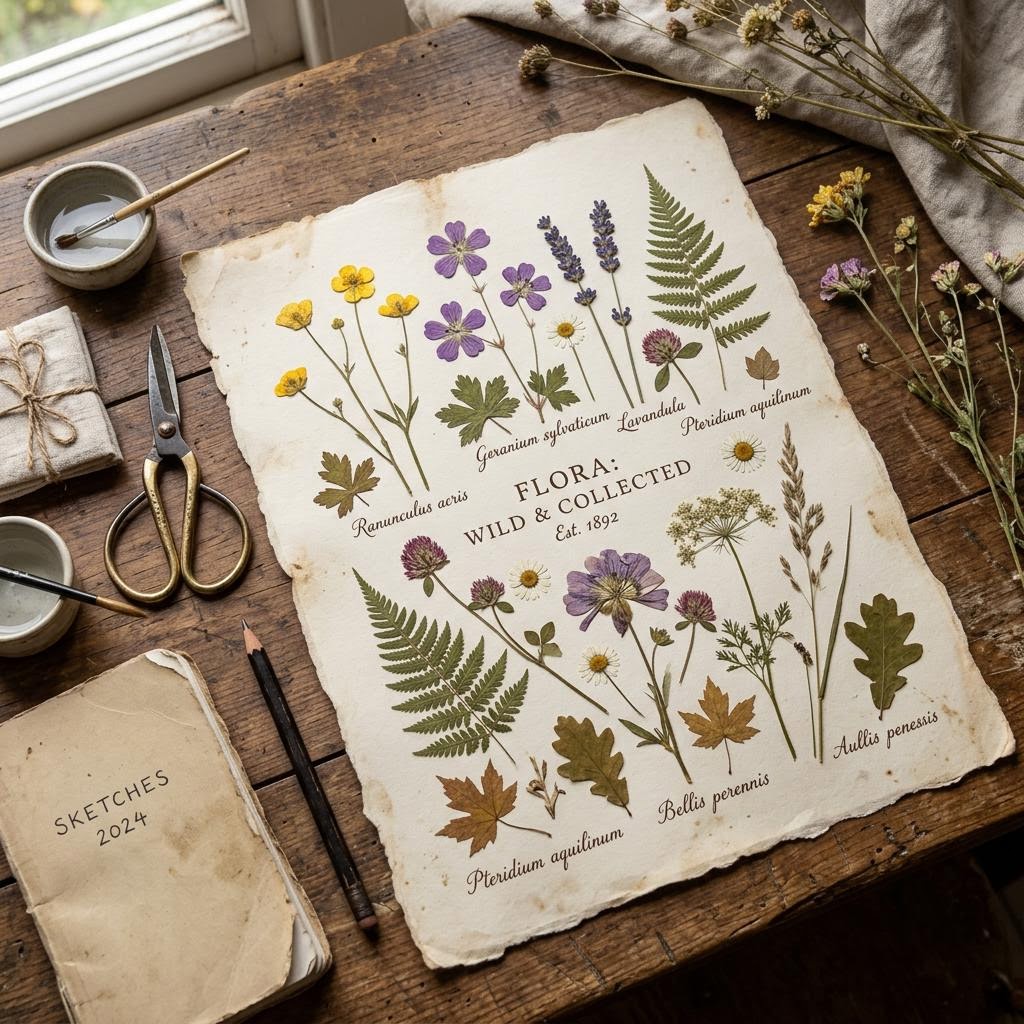
Start with flowers that are already fully dry and flat. Small blooms and individual petals are easier to seal neatly than thick, rounded flowers: violas, pansies, forget-me-nots, tiny ferns, and delicate leaves are all good choices. If you are pressing flowers yourself, collect only from your own garden, with permission from private land, or from a florist. Avoid picking wildflowers from public parks, nature reserves, or places where plants may be protected. Never use a flower that is damp, flexible, or even slightly cool to the touch — trapped moisture can discolor paper and create cloudy marks under the adhesive. Arrange your dried pieces on a sheet of plain white paper before you make anything permanent. This small pause lets you see which combinations look balanced and stops you from handling fragile flowers repeatedly once glue is involved. Choose one focal bloom, then add two or three smaller elements rather than covering every inch of the bookmark. A little empty space makes the finished piece feel intentional and keeps it easy to slide between book pages.
Build a Simple Botanical Layout
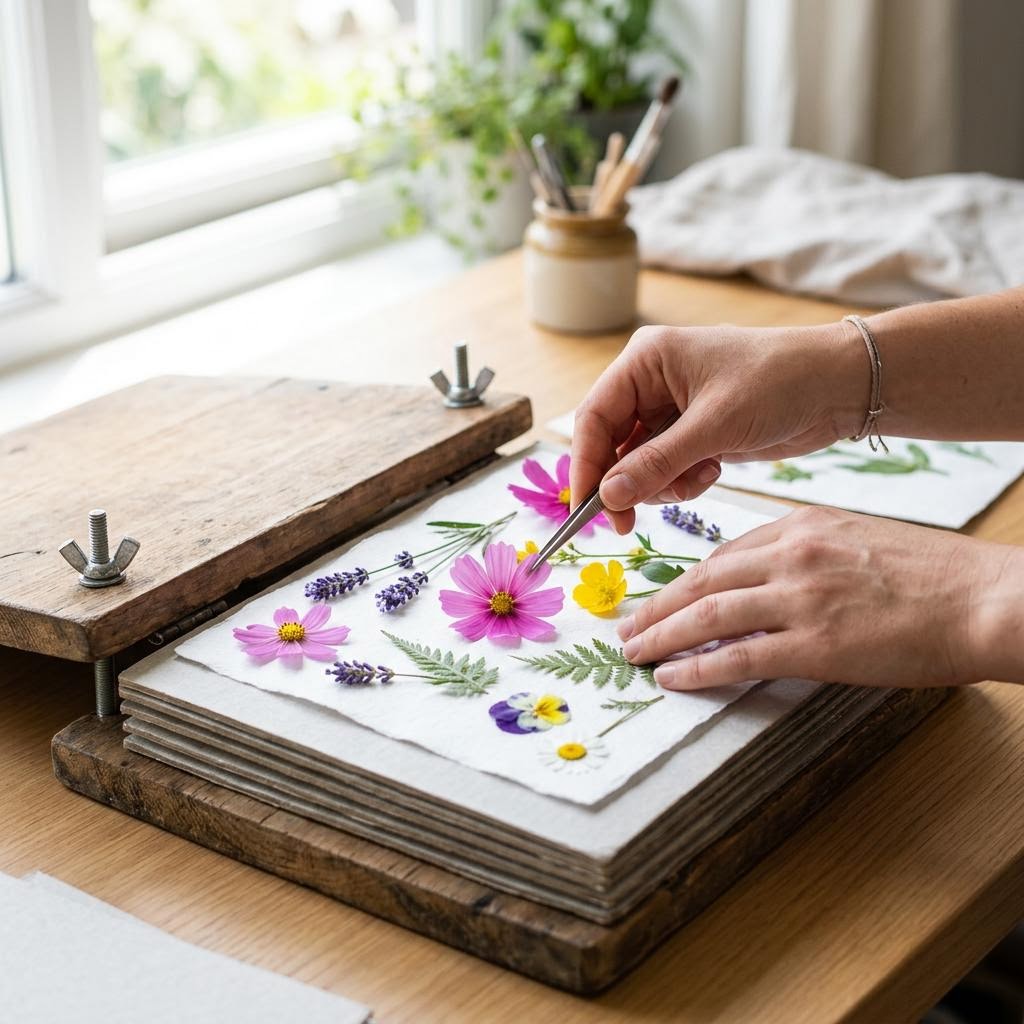
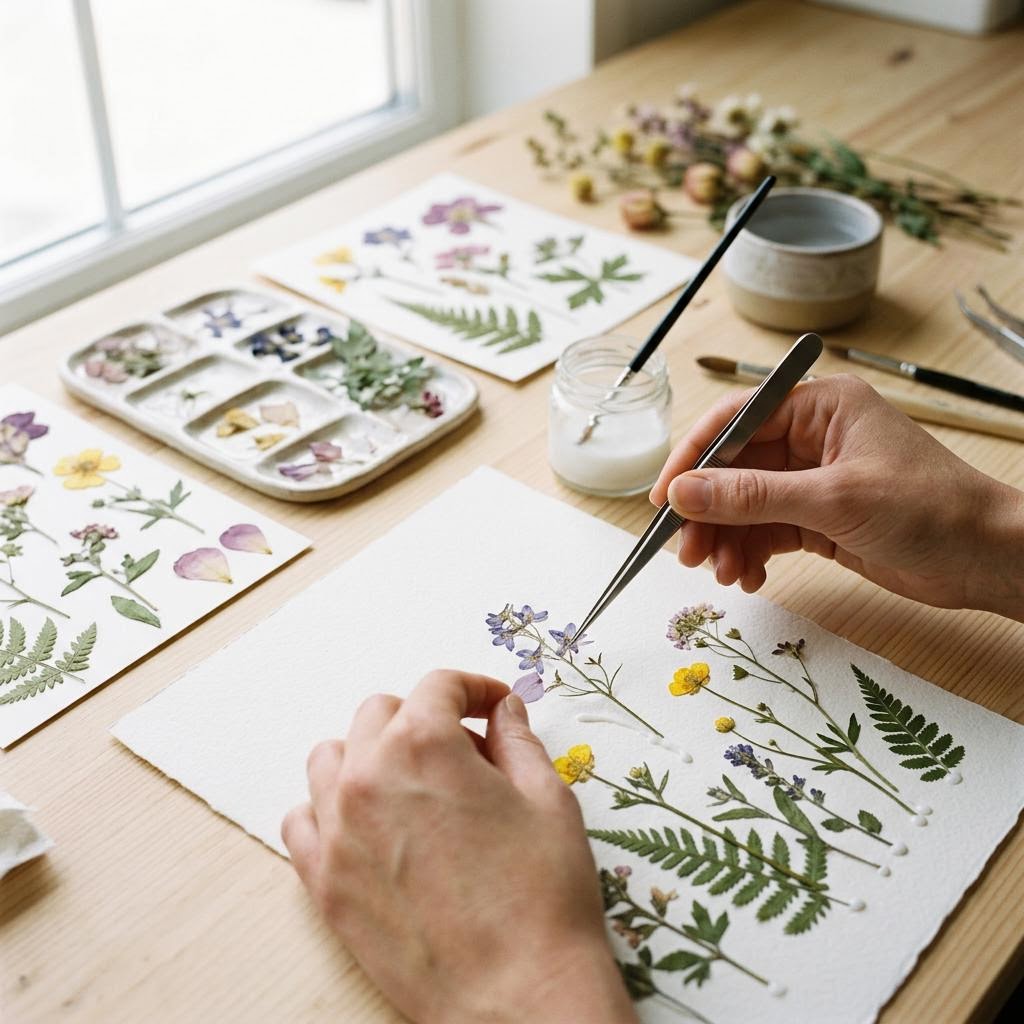
Cut heavyweight cardstock into a bookmark base roughly 2 by 6 inches (5 by 15 centimeters). A pale, uncoated card stock works best because it gives the flowers a clean background and absorbs a small amount of glue without wrinkling. Place your flowers on the card without adhesive first, then use tweezers to adjust their position. Keep every element at least 1/8 inch from the edge; lamination or a protective covering needs a clean border to close properly. When the composition feels right, lift one piece at a time and attach it with the tiniest dot of acid-free paper glue or a thin coat of matte decoupage medium. A heavy layer turns translucent petals dark and can leave visible ridges, so less really is more. Let the bookmark dry completely on a flat surface for at least thirty minutes. If the card begins to curl, set a clean sheet of paper over it and place a book on top while it dries. This keeps the base flat without crushing the petals.
Protect the Design Without Resin
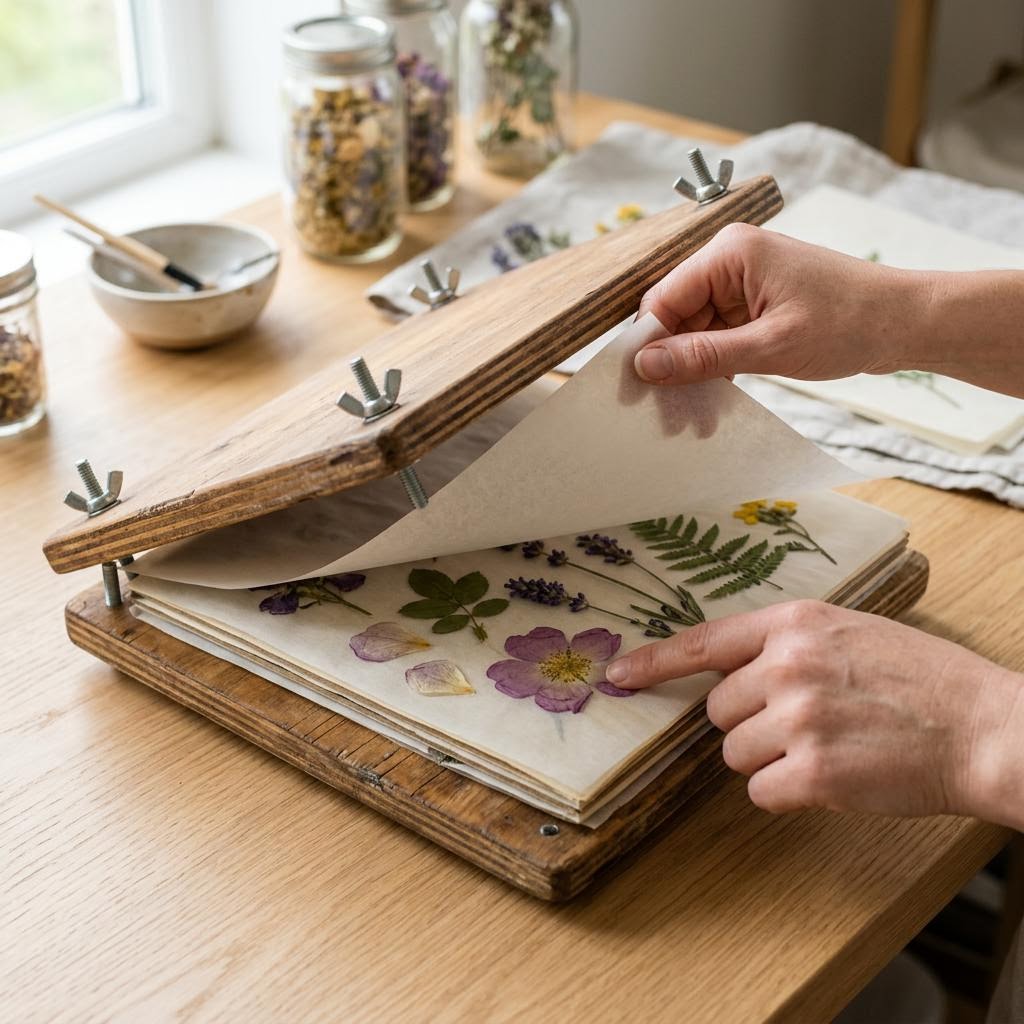
For the most durable finish, use a self-adhesive cold-laminating pouch. Place the completely dry card inside the pouch, peel back the liner gradually, and smooth from the center outward with a ruler wrapped in a soft cloth. Working slowly is the best defense against bubbles. Cold laminating is especially beginner-friendly because it avoids heat, which can brown delicate plant material or warp thin card stock. If you choose a heat laminator instead, follow the device manufacturer's instructions and use the setting recommended for the pouch you bought. After sealing, trim around the bookmark while leaving a narrow clear edge on all sides. That border keeps the layers closed and gives the piece a neat, glassy outline. Round the corners with a corner punch or scissors if you like; rounded corners are less likely to catch on pages or bend in a bag. Do not punch a tassel hole until the bookmark is sealed — piercing it first can make the layers shift while you work.
Add a Tassel and Check the Finish
If you want a tassel, punch one hole about 1/2 inch below the top edge after the bookmark is sealed. Thread through embroidery floss, cotton twine, or a narrow ribbon, then knot it securely. Keep the tassel modest: a long, heavy tassel looks pretty but can pull at the hole when the bookmark is moved from page to page. Trim the ends evenly and run a fingertip around the laminated edge to make sure there are no sharp corners or openings. Before giving the bookmark away or putting it in a favorite book, leave it flat for a few hours. This gives any remaining adhesive time to settle and makes it easier to notice an air bubble while it can still be fixed. Store finished pieces away from direct sunlight, which fades most natural petals over time. The colors will still soften gently as the years pass — that is part of the appeal of botanical work — but a protected bookmark will stay usable for a long time.
Written by

Lily Andrews
Botanical & Nature Craft Artist
Lily forages, presses, and preserves the natural world. Her work bridges botanical science and handcraft, turning leaves, petals, and bark into lasting art.