How to Make Soy Candles at Home: Step-by-Step Beginner Guide
Learning how to make candles at home begins with the melt.
Making candles at home is one of those crafts that feels like chemistry class until it clicks, and then it feels like magic. Soy wax, fragrance oil, a cotton wick, and a glass jar — four ingredients that combine into something your home will smell like for hours. The process is genuinely straightforward, but it has a handful of specific variables — temperature, wick sizing, cure time — that determine the difference between a candle that tunnels, smokes, or throws no scent and one that performs beautifully.
Soy wax is the default choice for home candle makers for good reasons. It is a renewable resource made from hydrogenated soybean oil, it burns cooler and slower than paraffin, and it cleans up with hot soapy water rather than solvents. It also bonds well with fragrance oils and produces a creamy, matte finish that looks deliberately artisan. The tradeoff is that soy is more temperature-sensitive than paraffin — it is more prone to frosting (a white bloom on the surface), wet spots (where the wax pulls from the glass), and sinkholes if cooled too quickly. None of these are safety issues, just aesthetic ones, and most can be managed with a slow, draft-free cooling environment.
Wick sizing is where most beginners get frustrated, because it cannot be guessed — it has to be matched to your specific jar diameter and wax type. A wick that is too small burns a narrow tunnel down the center of the candle, leaving a thick ring of wasted wax around the edges that never melts. A wick too large produces a high, flickering flame, sooty residue on the jar, and a mushrooming carbon ball on the wick tip. Wick manufacturers publish detailed sizing charts — look up the chart for the wick brand you are using, cross-reference your jar diameter and wax type, and test before making a batch.
Fragrance load — the percentage of fragrance oil relative to wax weight — directly determines how strong the candle smells when burning. Soy wax can hold up to 10% fragrance, but 6–8% is a reliable sweet spot that gives strong scent throw without causing fragrance pooling or a sooty burn. Going above 10% does not make the candle smell stronger; it makes the excess fragrance seep out of the wax and pool on the surface, which is both a waste and a fire hazard. Weigh your fragrance rather than measuring by volume — different fragrance oils have different densities.
The single most important step most beginner guides gloss over is the cure. Soy candles should rest for at least 48 hours before burning and ideally 10–14 days for maximum scent throw. During curing the fragrance molecules continue to bind to the wax matrix. A candle burned on day one will smell significantly weaker than the identical candle burned on day fourteen. If you are making candles as gifts, factor cure time into your timeline — a candle finished the night before you need to give it will be a disappointment to both you and the recipient.
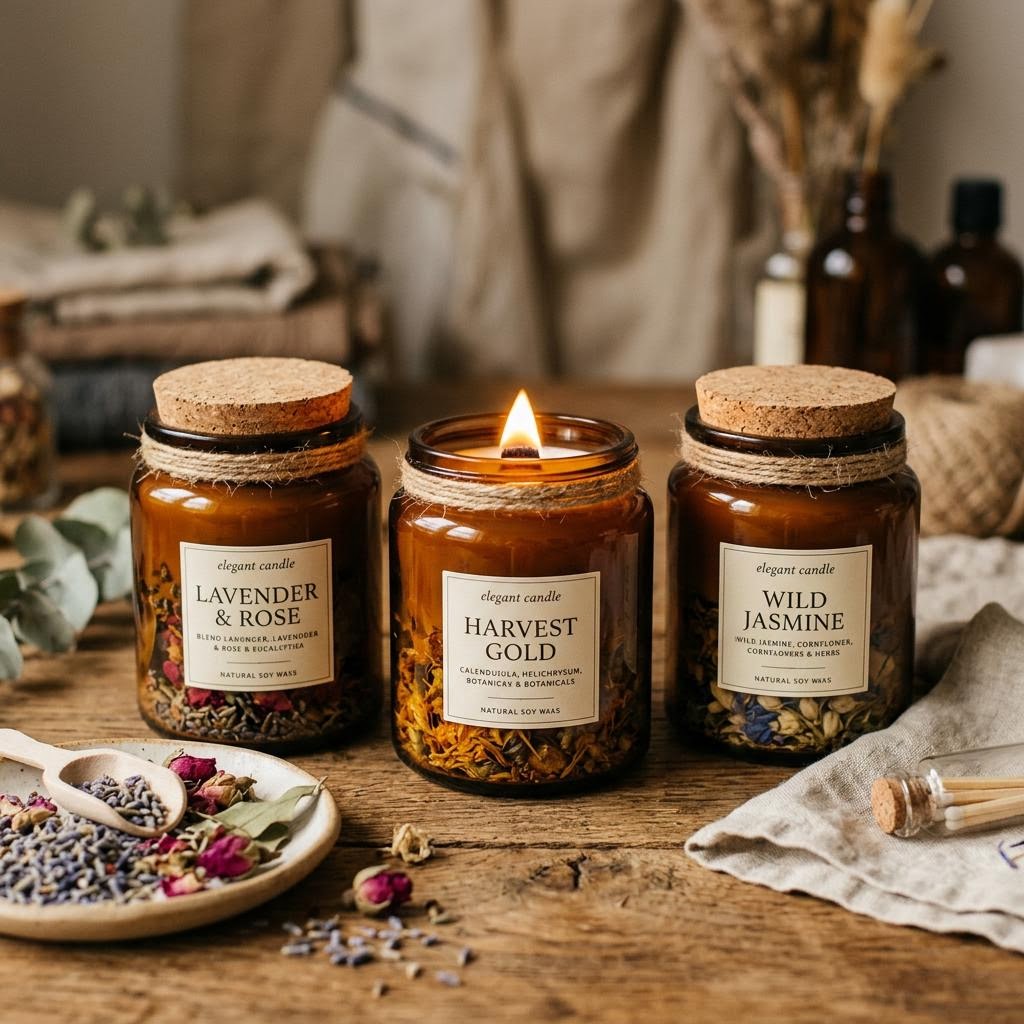
Once you have made a batch that works — good scent throw, clean burn, no tunneling — write down every variable: wax brand and weight, fragrance name and percentage, wick brand and size, pour temperature, jar dimensions. Candle making is reproducible when you treat it like a recipe, and infuriating when you guess and cannot work out why the next batch is different. Once your base recipe is reliable, you can start experimenting with colored wax layers, botanicals pressed against the jar interior, custom fragrance blending, and different vessel shapes. The fundamentals stay exactly the same.
Materials You'll Need
- Soy wax flakes (500g)
- Candle wicks with metal bases
- Glass jars
- Double boiler or pouring pot
- Fragrance oil (30ml)
- Thermometer
- Pencils or wick bars to center wicks
- Kitchen scale
Step-by-Step
Melt the Wax
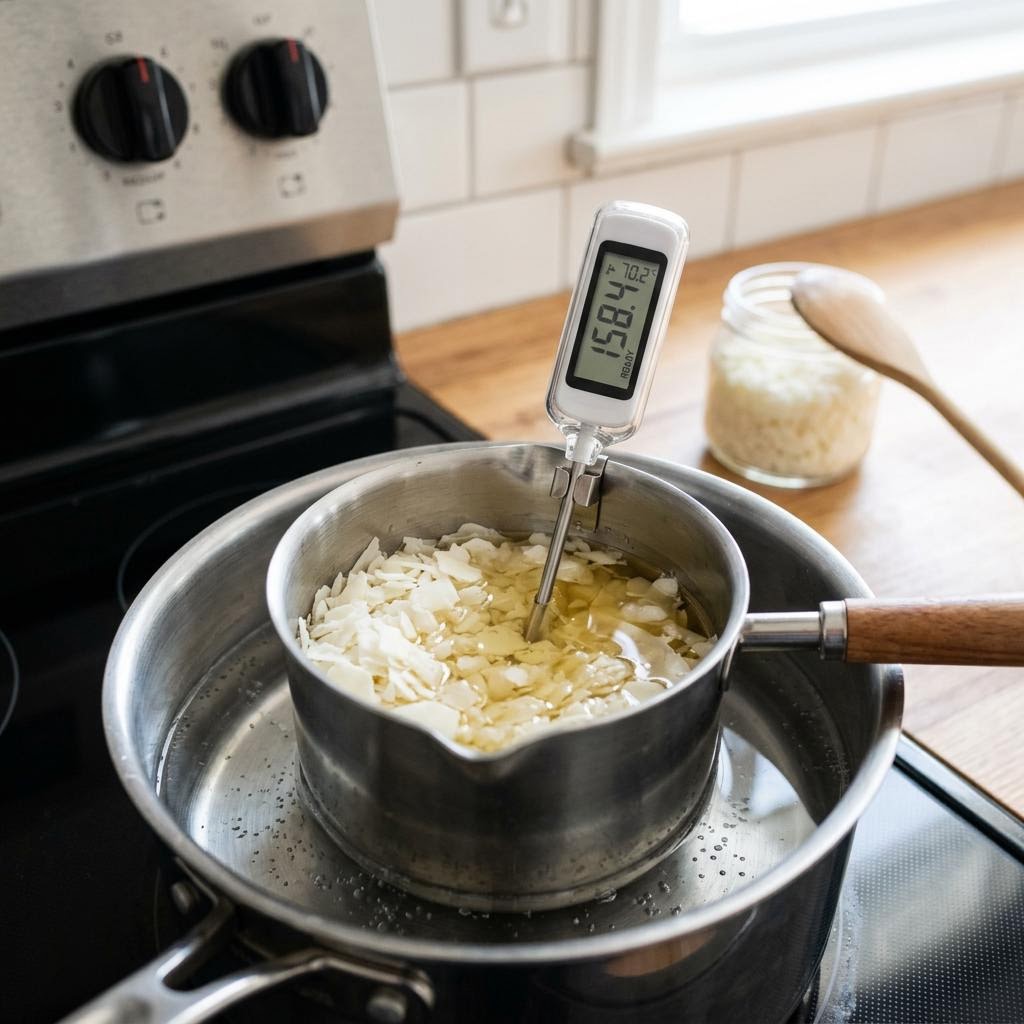
Never melt wax directly in a saucepan — use a double boiler or a dedicated pouring pot set inside a larger pot of simmering water. Direct heat scorches wax quickly, changes its chemistry, and is a fire risk. Soy wax flakes melt at around 49°C and should be heated to 75–80°C for blending. Use a kitchen thermometer and check it regularly; wax that gets above 85°C starts to degrade and can discolor your finished candles. Measure your wax by weight before melting, not by volume — flakes are fluffy and volume measurements are unreliable. A standard 240ml jar holds roughly 170g of finished candle, and wax loses about 10% of its volume when it melts, so weigh accordingly. Stir the flakes occasionally as they melt to help them melt evenly. Once fully liquid with no visible chunks, remove from the heat source and allow the temperature to drop before adding fragrance — pouring fragrance into wax above 85°C causes the scent to flash off and you will lose much of its strength.
Prepare Your Jars and Wicks
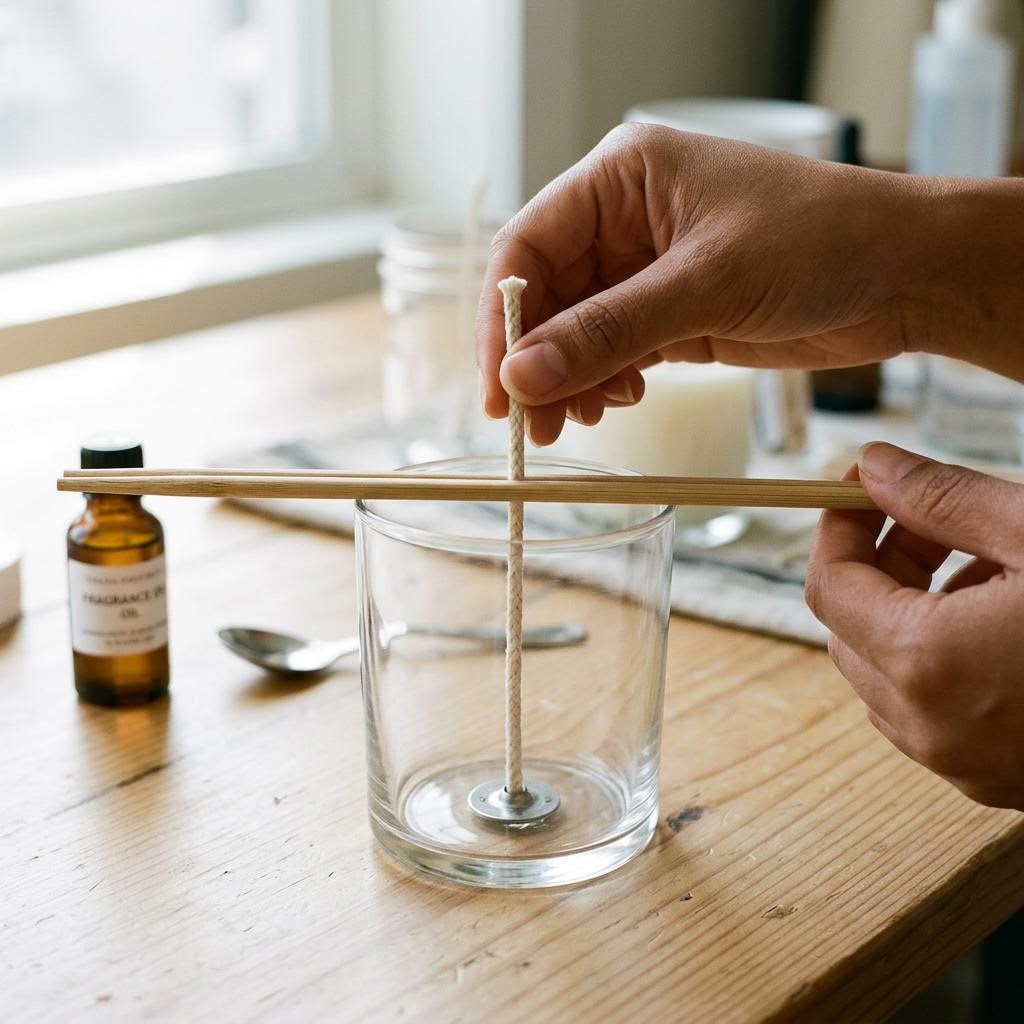
Warm your glass jars slightly before pouring — a cold jar can cause the liquid wax to pull away from the glass as it cools, creating unsightly tunneling or air pockets along the sides. A few minutes in a warm oven at 60°C is enough. While they warm, prepare your wicks. Pre-tabbed cotton wicks with metal bases are the easiest for beginners: stick the metal tab to the bottom center of the jar with a dot of hot glue or a wick sticker, then pull the wick upright and lay a pencil or chopstick across the rim of the jar with the wick wrapped around it to hold it centered. Wick sizing is the most underrated variable in candle making. A wick that is too small will tunnel straight down the center, leaving a ring of unmelted wax around the edges. A wick too large will produce a sooty, mushrooming flame and burn through the candle too quickly. For a standard 240ml jar, a CD-18 or ECO-6 wick is a reliable starting point for soy wax. Wick manufacturers publish sizing charts by wax type and jar diameter — look up the specific combination you are using rather than guessing.
Add Fragrance and Pour
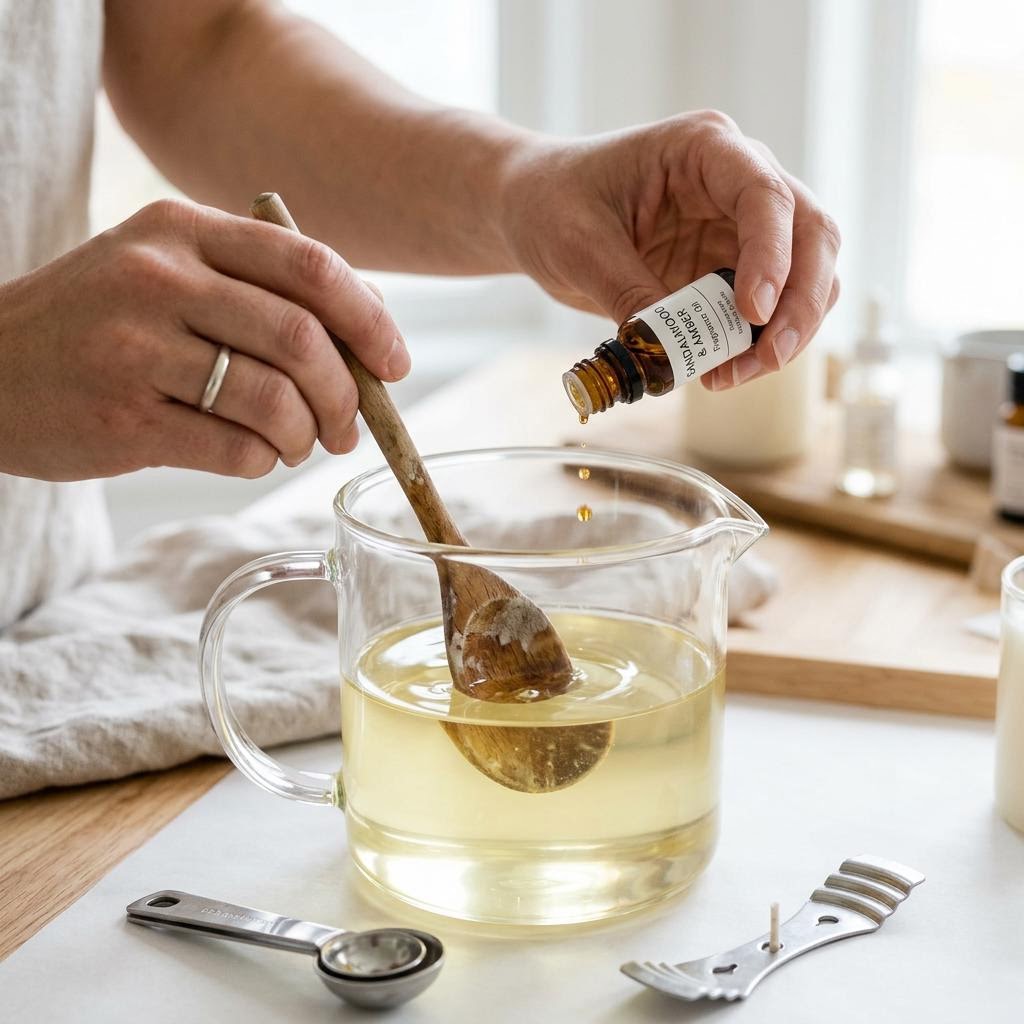
Let your melted wax cool to between 55°C and 65°C before adding fragrance oil — this is the sweet spot where the scent binds to the wax without flashing off. Measure your fragrance by weight: soy wax can hold up to 10% fragrance load, but 6–8% is a reliable starting point. For 500g of wax, that is 30–40g of fragrance oil. Pour it in and stir gently but thoroughly for two full minutes — fragrance that is not fully incorporated can pool at the bottom of the jar and cause uneven scent throw or even a flare-up when burning. Pour the wax into your prepared jars slowly and steadily, aiming for the center to avoid splashing wax up the sides. Pour to about 1cm below the rim — this leaves room for the wax to contract slightly as it sets. Check that the wick is still centered; if it has drifted, gently nudge it back with a skewer. Place the candles on a flat, level surface away from drafts. Drafts cause uneven cooling, which creates sinkholes and an uneven top surface — a cold, draft-free corner works perfectly.
Cure Your Candles
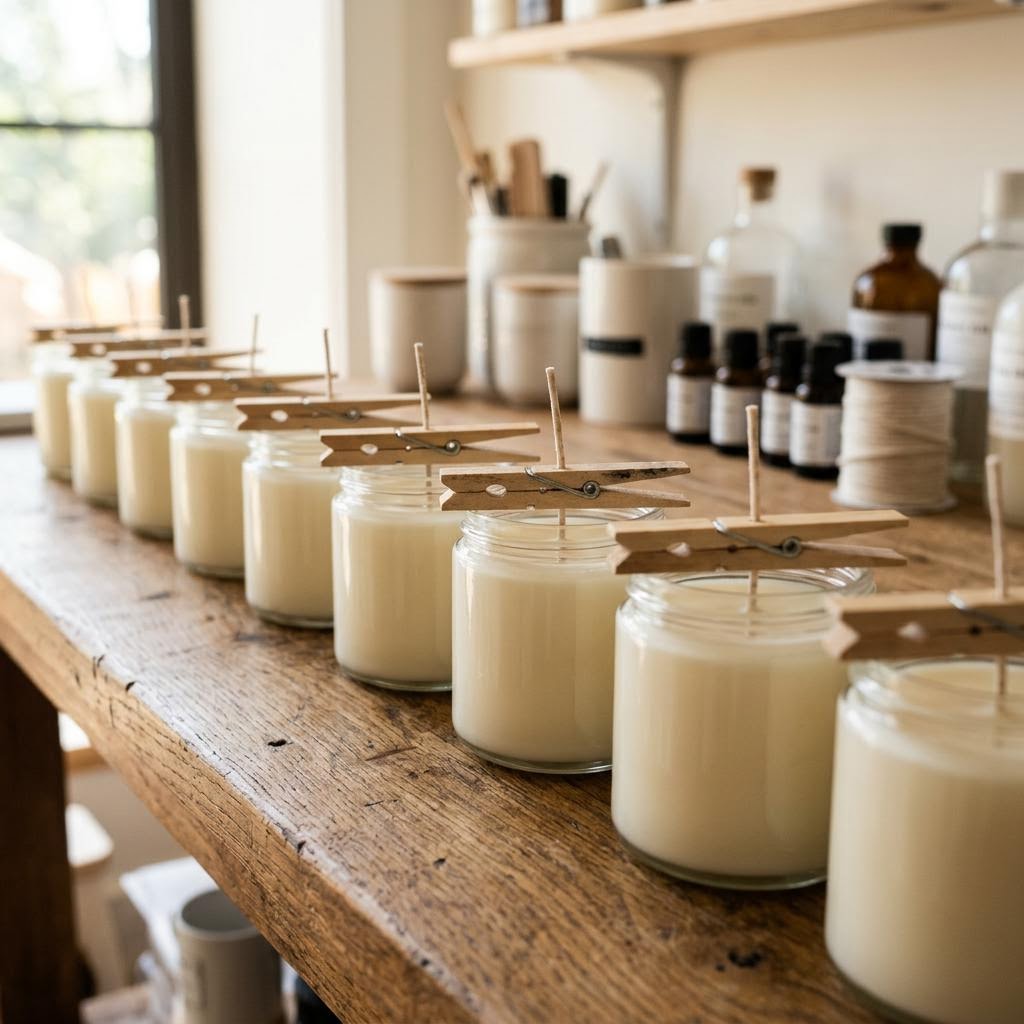
Do not touch or move your candles for at least four hours after pouring — the top surface is deceptively firm while the interior is still liquid. If you disturb them, you get ripples and sinkholes. Once fully set, you may see a small dip around the wick where the wax contracted. Fix this with a small top-up pour of wax heated to the same temperature as before, filling the well back to the original level. This second pour is optional but makes for a cleaner finished product. Soy candles need to cure for a minimum of 48 hours before burning, and ideally a full two weeks for the best scent throw. During curing the fragrance oil continues to bind to the wax molecules — a candle burned at 24 hours will smell noticeably weaker than the same candle burned at two weeks. Trim the wick to 6mm before the first burn and every subsequent burn. A first burn should last long enough for the entire surface to melt edge to edge — this sets the wax memory and prevents tunneling on every future burn.
Written by

Lily Andrews
Botanical & Nature Craft Artist
Lily forages, presses, and preserves the natural world. Her work bridges botanical science and handcraft, turning leaves, petals, and bark into lasting art.