Soap Making for Beginners: Cold Process Method Complete Guide
Soap making for beginners requires extreme lye safety. Follow this DIY soap recipe.
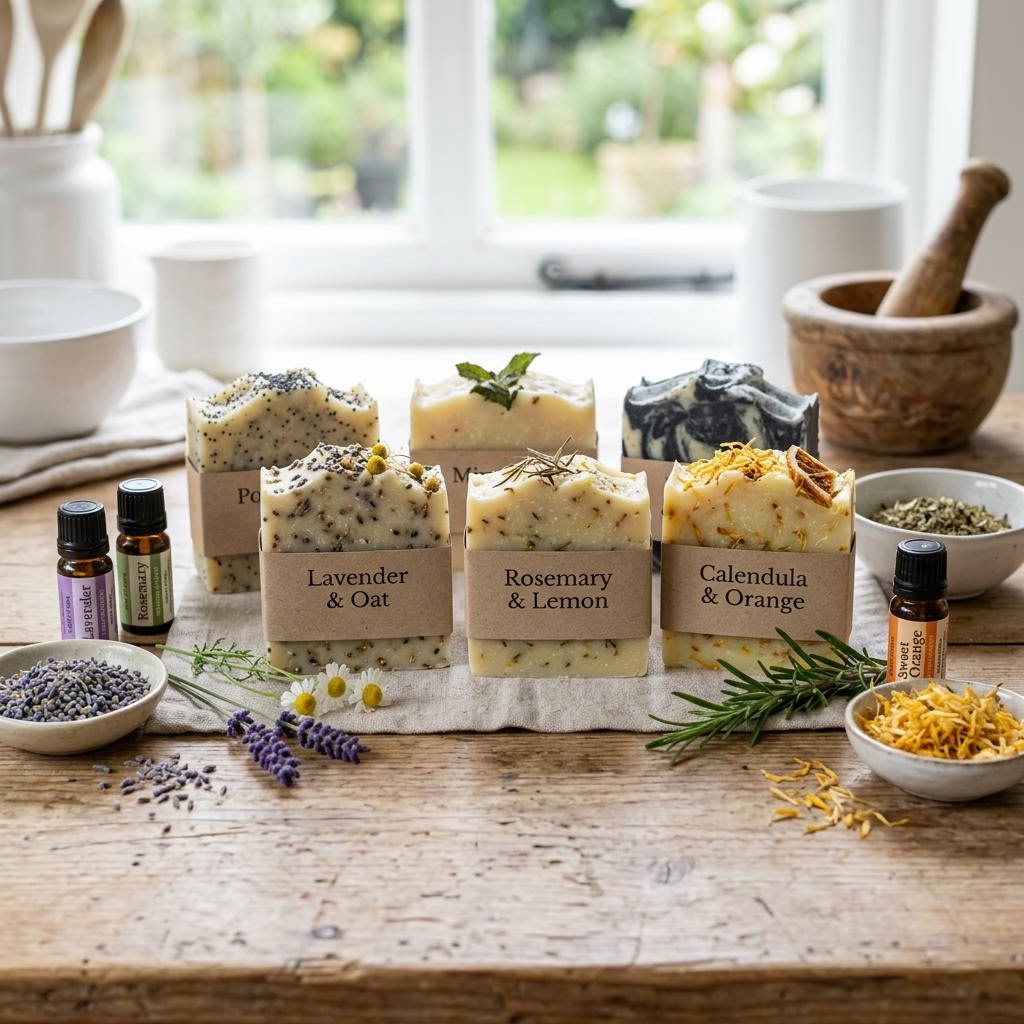
Cold process soap making is chemistry that happens to produce a product you can use every day. The core reaction is saponification: sodium hydroxide (lye) reacts with oils and fats to produce soap and glycerol. Every bar of real soap you have ever seen was made through some version of this reaction. The 'melt and pour' bases sold in craft stores are pre-soaped glycerin that you melt and fragrance — they are convenient and safe, but they are not real soap making. Cold process starts from scratch with lye and oils, which is both more demanding and vastly more satisfying.
Lye (sodium hydroxide) has a reputation that intimidates beginners, and it deserves respect — it is caustic and generates significant heat when dissolved in water. But it is not uniquely dangerous compared to other household chemicals you handle routinely. Bleach, oven cleaner, and drain cleaner all contain strong alkalis. The rules for lye safety are simple and absolute: always add lye to liquid (never liquid to lye), wear gloves and eye protection, work in ventilation, and keep pets and children away during mixing. Following these rules makes lye handling unremarkable.
Oil selection is where the real formulation creativity happens. Each oil contributes specific properties to the finished bar. Coconut oil makes a hard bar with a rich lather that cleans well. Olive oil makes a gentle, conditioning bar that is especially good for sensitive skin. Palm oil (or its sustainable alternatives like lard or tallow) adds hardness and longevity. Castor oil boosts lather. Most soap recipes are a blend of two to four oils designed to balance these properties. A beginner recipe with 70% olive oil, 20% coconut oil, and 10% castor oil produces a gentle, moderate-lather bar that is excellent for skin.
The lye calculator is the most important tool in soap making. Every oil requires a specific amount of lye to fully saponify — use too little lye and the soap is oily; use too much and it is caustic. A lye calculator (SoapCalc and Brambleberry's calculator are both free online) takes your oil amounts and recipe and returns the precise lye and liquid quantities needed. Never estimate or scale a recipe without recalculating — the math must be exact. Soap makers always run their recipes through a calculator, even experienced ones with recipes they have made dozens of times.
Trace is the critical moment in cold process soap making: the point where the soap mixture thickens to the consistency of a thin custard and is ready to pour into the mold. Under-mixing produces a thin liquid that separates; over-mixing can cause the soap to seize (turn into a crumbly paste). Most modern soap makers use a stick blender to reach trace quickly — what took thirty minutes of hand stirring now takes two to three minutes of pulsed blending. The blender pulses, not continuous run, prevents overheating the mixture.
Curing time is what beginners most want to skip and most cannot. After pouring into the mold, cold process soap needs at least 24–48 hours to harden enough to cut. After cutting, it needs to cure for four to six weeks. During curing, residual saponification completes, excess water evaporates, and the bar hardens to its final density. A bar used before four weeks is soft, wastes quickly, and may still be slightly caustic. A bar that has cured for six to eight weeks is harder, lasts longer, and is milder on skin. The wait is genuinely worth it.
Materials You'll Need
- Coconut oil (300g)
- Olive oil (400g)
- Castor oil (50g)
- Sodium hydroxide / lye (108g)
- Distilled water (250ml)
- Essential oils
- Soap mold
- Safety goggles
- Chemical-resistant gloves
- Stick blender
Step-by-Step
Safety Preparation for Lye Handling
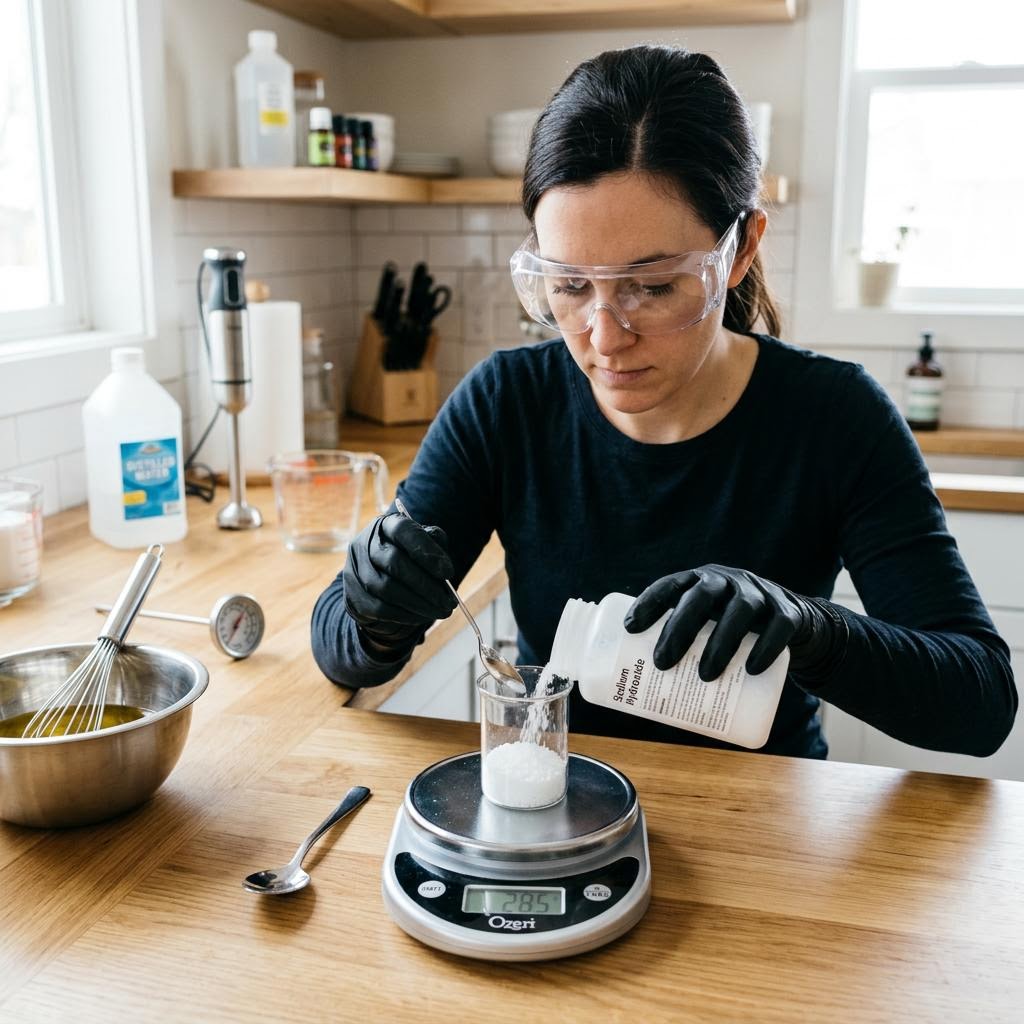
Lye — sodium hydroxide — is what turns oils into soap, and it demands genuine respect. When lye crystals contact water, the temperature spikes to around 85°C within seconds. Always add lye to water, never water to lye: adding water to lye causes violent spattering. Use a heat-resistant pitcher (stainless steel or HDPE plastic), stir in a well-ventilated area or outdoors, and never lean over the container as you stir. Wear safety goggles, chemical-resistant gloves, and long sleeves. If lye contacts skin, flush immediately with running water for fifteen minutes. Measure your lye and water separately by weight before you start — never by volume. A lye calculator (SoapCalc or similar free tools) tells you exactly how much lye you need for your specific oil blend. Do not guess or substitute: too little lye leaves unreacted oils that turn rancid; too much leaves unreacted lye that burns skin. Mix the lye solution at least thirty minutes before you need it and let it cool to around 40°C before adding it to your oils. The solution will look cloudy initially and clear as it cools.
Prepare Your Oils
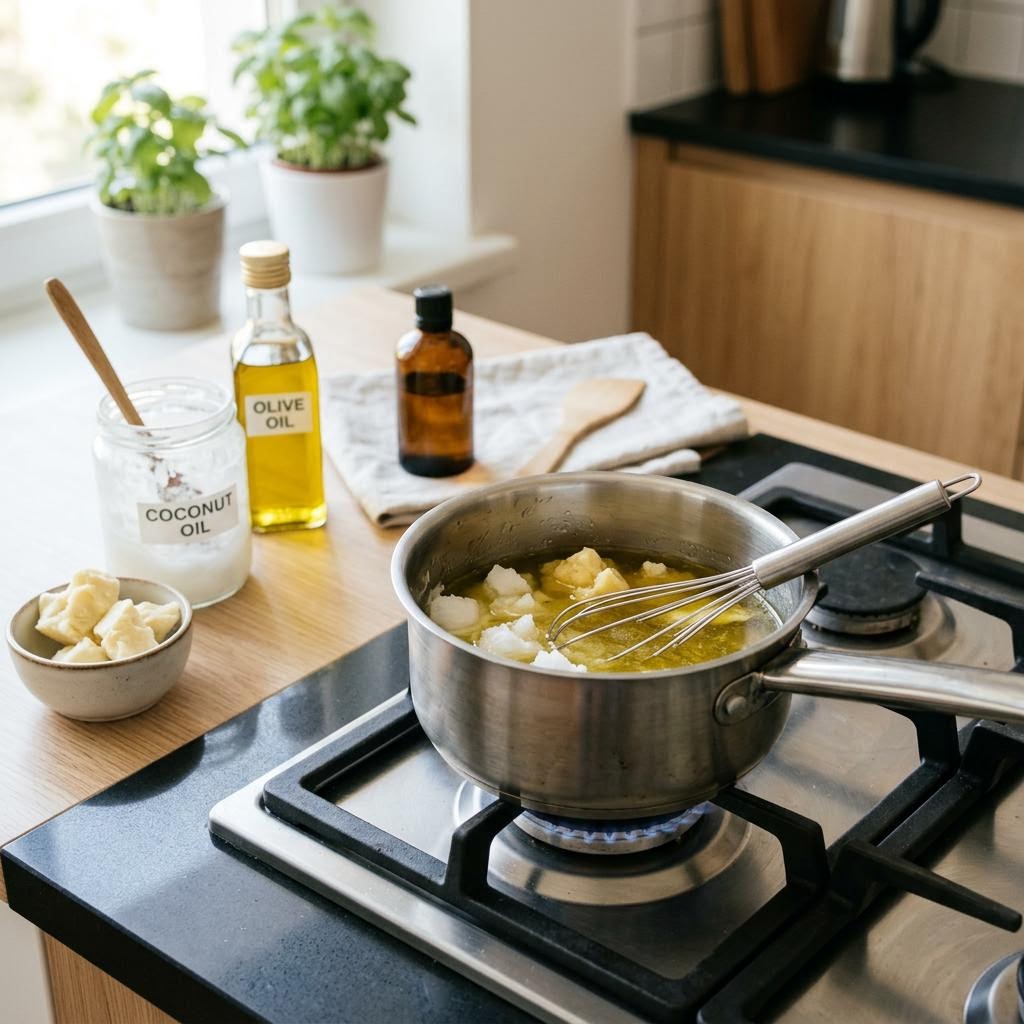
Weigh all your oils into a separate stainless steel or enamel pot. For a beginner recipe, coconut oil provides hardness and lather, olive oil provides conditioning, and castor oil boosts bubbles — a blend of 300g coconut, 400g olive, and 50g castor is a reliable starting point. Hard oils like coconut and shea butter need to be melted first; add them to the pot and apply low heat until just liquefied, then remove from the heat and let them cool before adding liquid oils. Both your oils and your lye solution should be around 40–45°C when you combine them — close enough in temperature that neither shocks the other. Using a thermometer for both is not optional at this stage; it is the difference between a soap that behaves predictably and one that seizes in the pot. Some experienced soap makers work at lower temperatures for more control; as a beginner, matching the temperatures as closely as possible gives you the most time to work with the mixture before it thickens.
Trace and Add Fragrance
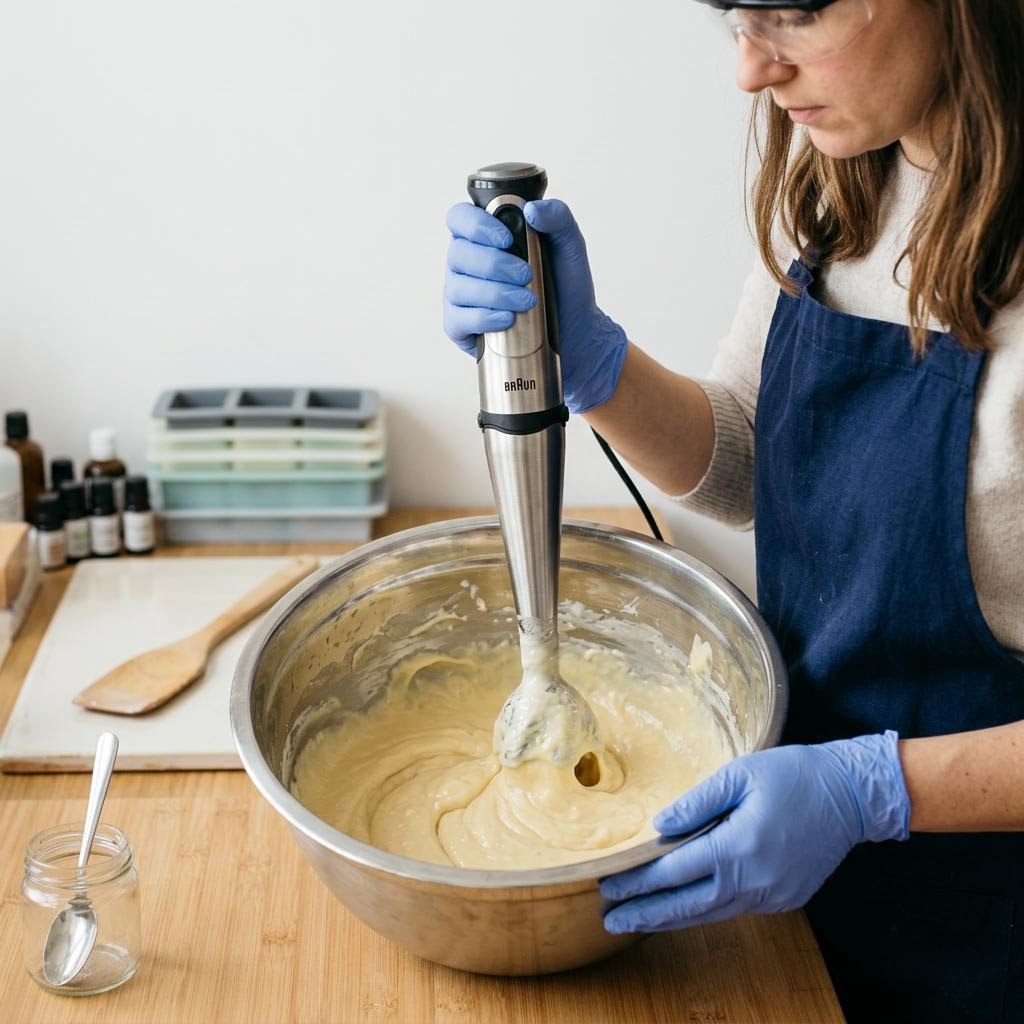
Pour the lye solution slowly into the oils, stirring as you go. Then use a stick blender to bring the mixture to trace — the point where the soap batter has emulsified enough to leave a trail on the surface when you drizzle some from the blender. Stick-blend in short bursts of three to five seconds and stir by hand in between. Light trace looks like thin custard; medium trace resembles cake batter; thick trace is like mashed potato. Aim for light to medium trace before adding fragrance. Add your essential oils or fragrance oils at light trace and stir thoroughly by hand — do not stick-blend fragrance in, as some fragrance oils accelerate trace rapidly and you can end up with a seized, unusable mass in seconds. A safe fragrance rate is 3% of your total oil weight. Soap-safe fragrance oils are not the same as candle fragrance oils — some candle fragrances cause acceleration or discoloration in cold process soap, so use fragrance rated specifically for cold process if possible. Once fragrance is fully incorporated, you are ready to pour.
Pour, Insulate, and Cure
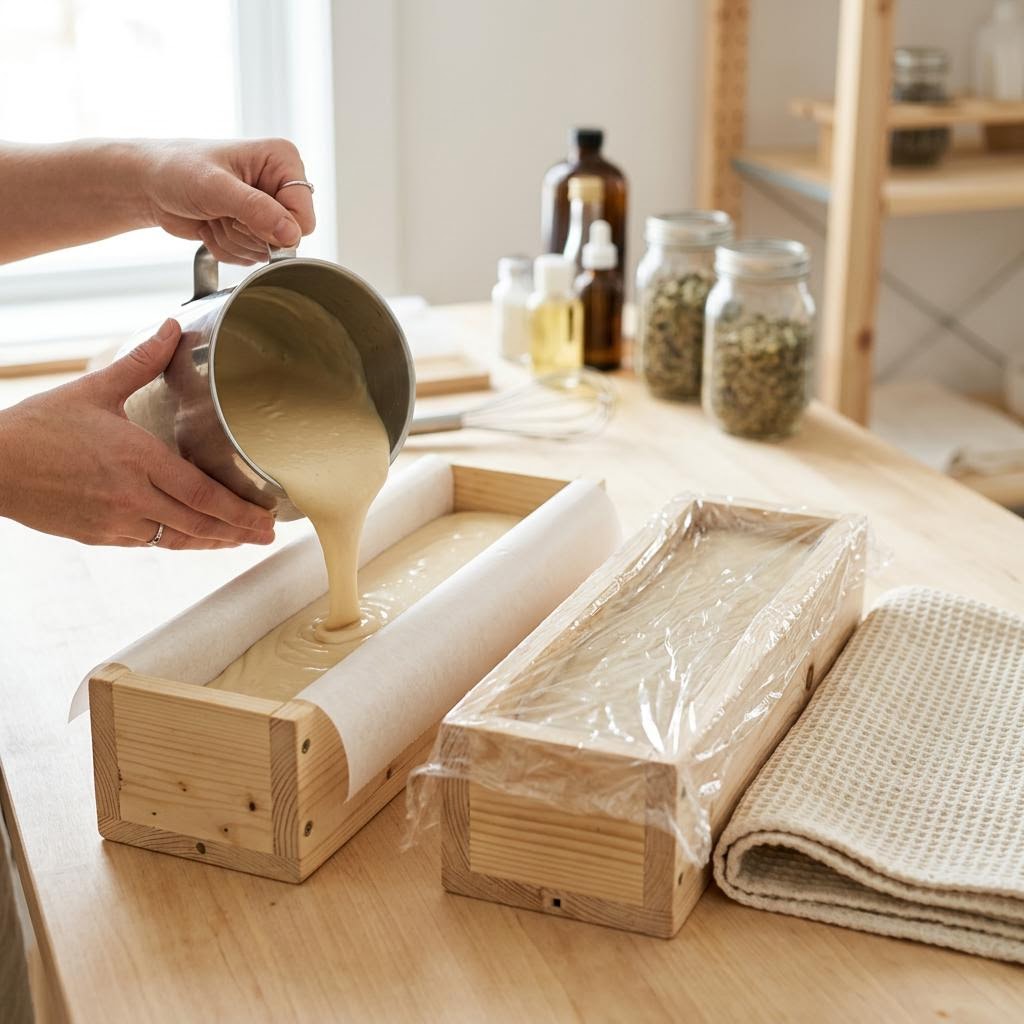
Pour the traced soap into your mold and smooth the top with a spatula. Tap the mold firmly on the counter a few times to release air pockets. If you want swirled colors or a textured top, this is the moment to add them. Then insulate the mold: wrap it in a towel or blanket and leave it undisturbed for 24–48 hours. Insulating encourages gel phase — a translucent, molten-looking stage where saponification accelerates — which produces a denser, harder, slightly glossier bar. Unmold after 24–48 hours when the soap feels firm. Cold process soap needs to cure for a minimum of four to six weeks in a cool, dry place with good air circulation. During curing, excess water evaporates and the pH drops from caustic to skin-safe. Test with a pH strip at six weeks — cured soap should read between 8 and 10. Cutting bars too early produces soft bars that dent easily; waiting the full cure time gives you a hard, long-lasting bar. Label each batch with the date, recipe, and fragrance — soap made in identical molds looks identical once cured.
Written by

Natalie Brooks
Paper Craft & Origami Designer
Natalie transforms paper into architecture. From intricate origami to large-scale paper installations, her work explores geometry, patience, and the beauty of a single fold.