Paper Mâché Bowl for Beginners: A Messy, Satisfying Weekend Project
Make a sturdy decorative paper mâché bowl from newspaper, paste, and a bowl you already own.
Paper mâché has a reputation as a kids' craft, and honestly, that's fair — it's gloriously messy. It's also a genuinely good way to make an object whose shape would be awkward to build any other way. In this paper mache bowl tutorial, the bowl underneath is doing most of the design work for you.
Cover a smooth bowl with plastic wrap before you touch a single strip of newspaper. This is the step people skip because they're eager to get to the paste, and it's exactly the step that lets the finished bowl come free later. Leave the wrap a little loose around the rim rather than pulling it drum-tight.
For an easy paper mache bowl, tear your newspaper by hand instead of cutting it — the ragged edges blend together better, especially around a curve. Mix flour and water until it looks like thin pancake batter. If it's a bit lumpy, don't stress; the lumps mostly disappear once you've built up a few layers.
That first layer is going to look unimpressive, honestly. Strips slide around, the form shows through everywhere, and you'll probably wonder if anything is even happening. Keep going anyway. Smooth each strip down with a damp finger and switch direction between layers, so the bowl builds real strength instead of one obvious grain running through it.
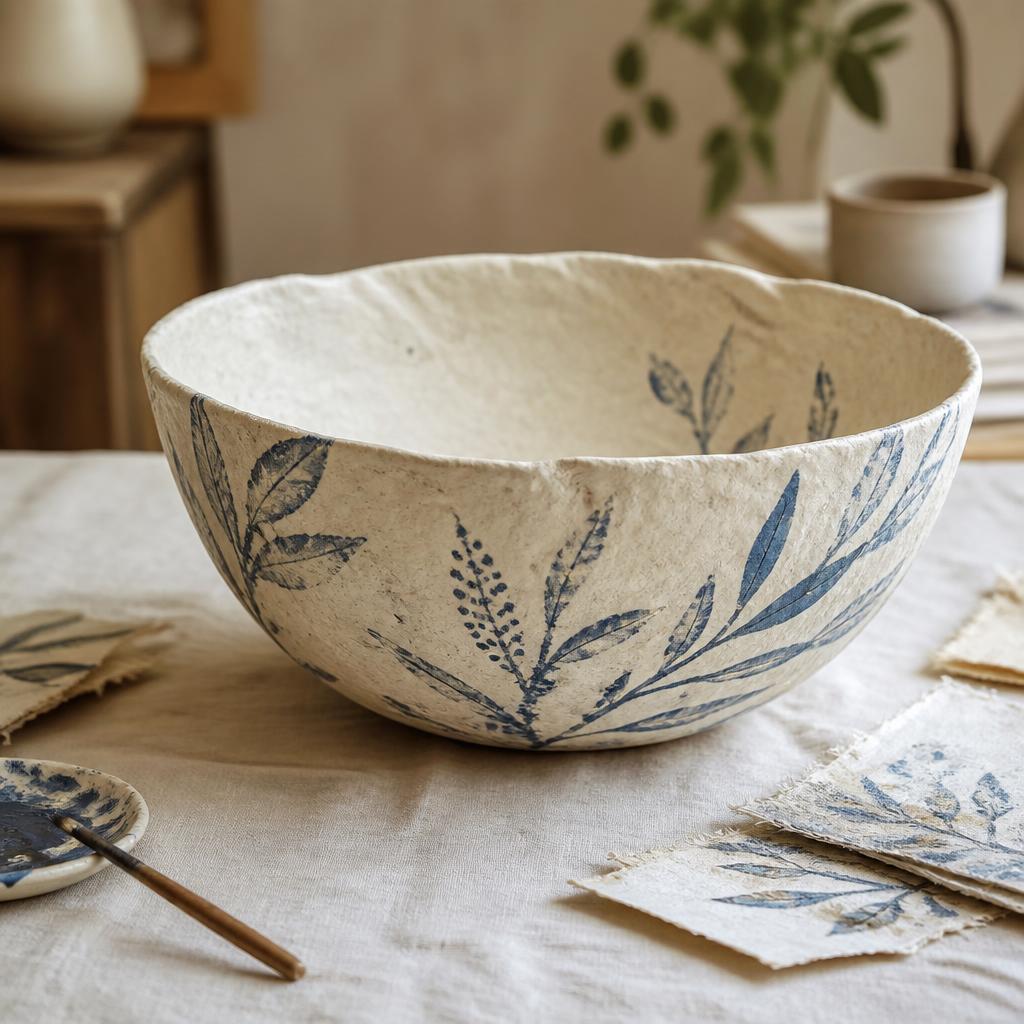
Once you've got a feel for how to make a paper mache bowl, the decorating is where the fun really kicks in. Paint it one solid color, add a loose botanical pattern, or let some of the newspaper show through under a thin wash. Keep the finished bowl decorative unless you've sealed it with a genuinely food-safe finish and picked appropriate materials — paper mâché is at its happiest holding keys, yarn, or nothing at all.
This paper mache bowl tutorial is really a reminder that the form underneath doesn't need to be anything fancy. For an easy paper mache bowl, an ordinary cereal bowl works beautifully. If you're still working out how to make a paper mache bowl, get enough layers down before you start worrying about paint. Honestly, how to make a paper mache bowl comes down to letting each layer dry properly more than any precise measurement. Another paper mache bowl tutorial out there will probably teach you a completely different trick, which is half the fun of this craft. An easy paper mache bowl can be totally plain and still feel finished. Search how to make paper mache bowl and you'll find plenty of elaborate versions — this one's intentionally simpler. The question how to make paper mache bowl doesn't need a complicated answer. I learned how to make paper mache bowl projects by making one wonderfully lopsided bowl first.
The paste itself is easy to adjust as you go. If it drips off the newspaper in a thin white stream, it's too wet — add a bit more flour. If the strips won't bend around the bowl, thin the paste with a spoonful of water. You want the paper damp and coated, not soaked through. Keep a second bowl of clean water nearby just for your fingers, because paste-covered hands make every tool in reach suddenly slippery.
Different papers do different jobs. Newspaper makes a strong middle layer, plain brown paper gives the outside a smoother finish, and old book pages can make a lovely final layer if you're sure they're not worth anything. Skip glossy magazine pages for structural layers — the paste just doesn't grip them well. A layer of tissue paper on top can hide the newsprint before you paint, though it tears easily, so go over it with a light hand.
Drying is where patience actually pays off. A bowl that feels hard on top can still be soft underneath, and if you paint too soon, trapped moisture can make the surface wrinkle or start to smell musty. Set the form on a rack, or across two chopsticks, so air can move underneath it. In damp weather, a small fan pointed across the room helps. Don't put wet paper mâché directly against a radiator — the outside can shrink faster than the inside and pull the rim out of shape.
Once the shell comes off the form, check the inside. Add a short strip over any thin-looking spot and let that dry before you trim anything. A little lightweight filler smooths out dents if you want, though there's no need to chase every bump — handmade paper has a softness factory-perfect surfaces just don't have. Sand only the sharpest points, and wear a dust mask if you're sanding dried paste.
For decorating, acrylic paint is the most forgiving choice. A watered-down first coat lets the paper texture show through, while two thicker coats give you a cleaner, more solid color. You can press a scrap of lace into wet paint for a ghosted pattern, or glue a torn paper shape inside the rim. Finish with a water-based sealer if the bowl's going to live near a kitchen sink, but remember — it's still a paper object underneath. Keep it away from standing water, damp plants, and anything hot.
The form you choose controls the final shape, so pick it with the bowl's actual use in mind. A shallow cereal bowl makes a handy catchall for keys, while a deeper mixing bowl gives you something more sculptural. Cover the form with plastic wrap and smooth out as many wrinkles as you can before layering paper on top. Wrinkles do become part of the shell — some texture is lovely, but a large fold can make the rim hard to level later.
Don't rush the first layer. Press each strip down with your fingertips and overlap the edges so you're not left with loose seams. At the rim, fold the paper slightly over the edge instead of stopping right at the plastic — that gives you material to trim later and makes for a stronger lip. If your hands get too sticky, wipe them off rather than thinning the paste with more water.
A bowl meant to hold dry objects can stay pretty light. If you want something sturdier for heavier items, add one or two extra layers around the base and rim — reinforcement matters more in those high-stress spots than across the whole surface. Let the bowl rest overnight after the last layer; that extra time lets the center finish drying and makes trimming a lot cleaner.
Materials You'll Need
- Newspaper or scrap paper
- Flour and water paste
- Smooth bowl for the form
- Plastic wrap
- Paintbrush
- Acrylic paint
Step-by-Step
Cover a form.
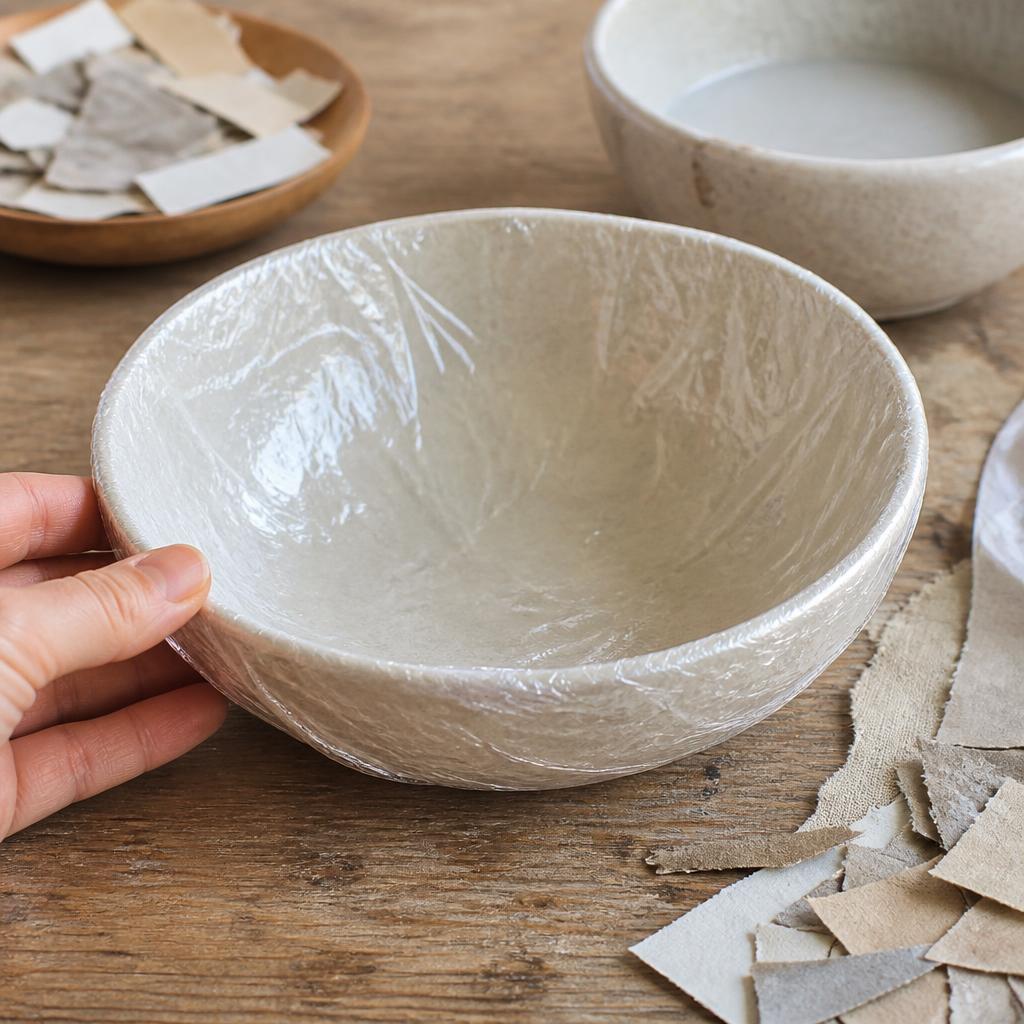
Choose a bowl shape you like, cover it smoothly with plastic wrap, and press out the big wrinkles. Rest it upside down on something stable so it can't wobble, and keep a few extra paper strips within reach before you mix the paste — stopping mid-layer with wet hands makes everything harder to keep even.
Tear and paste the paper.
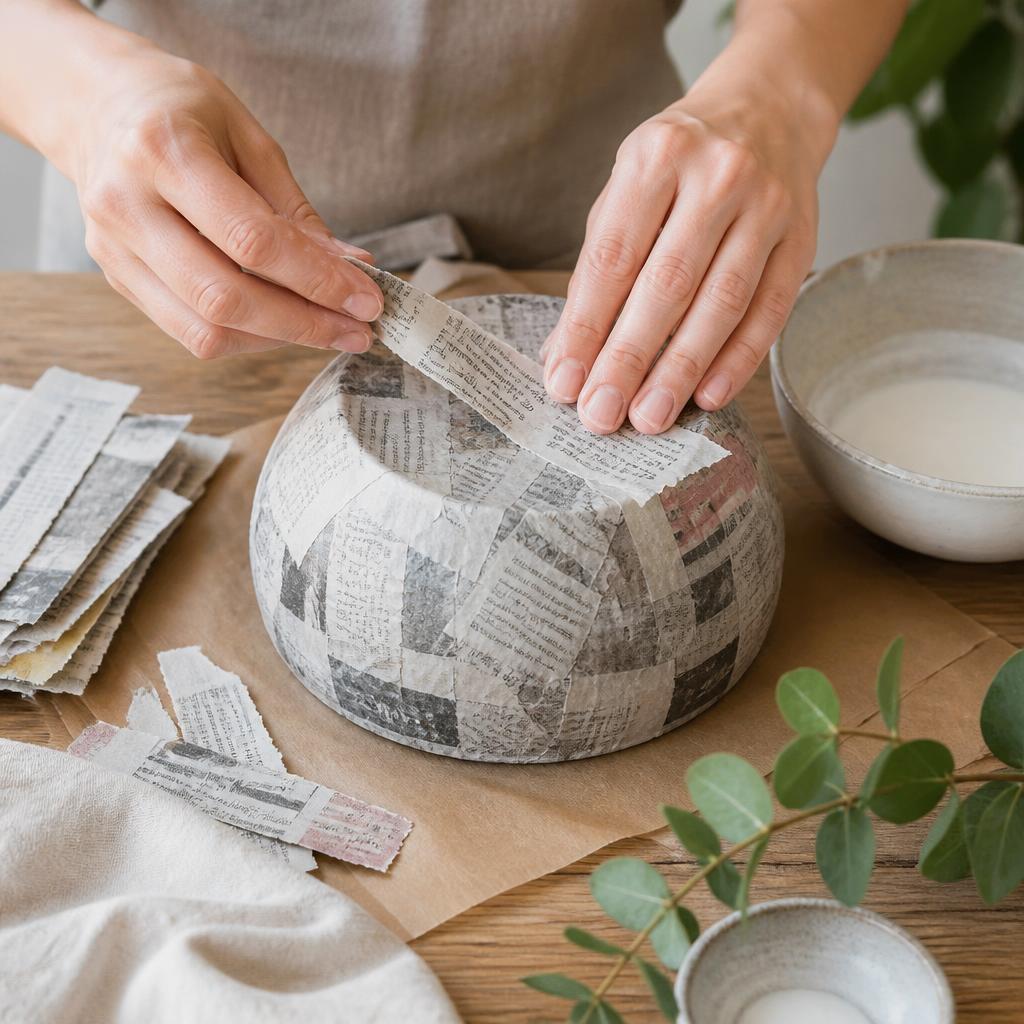
Dip one strip, pull it between two fingers to remove the excess paste, and smooth it over the form with your fingertips, overlapping neighboring strips by about half their width. Switch direction as you go so the shell gains strength in more than one grain, especially across the base.
Dry completely.
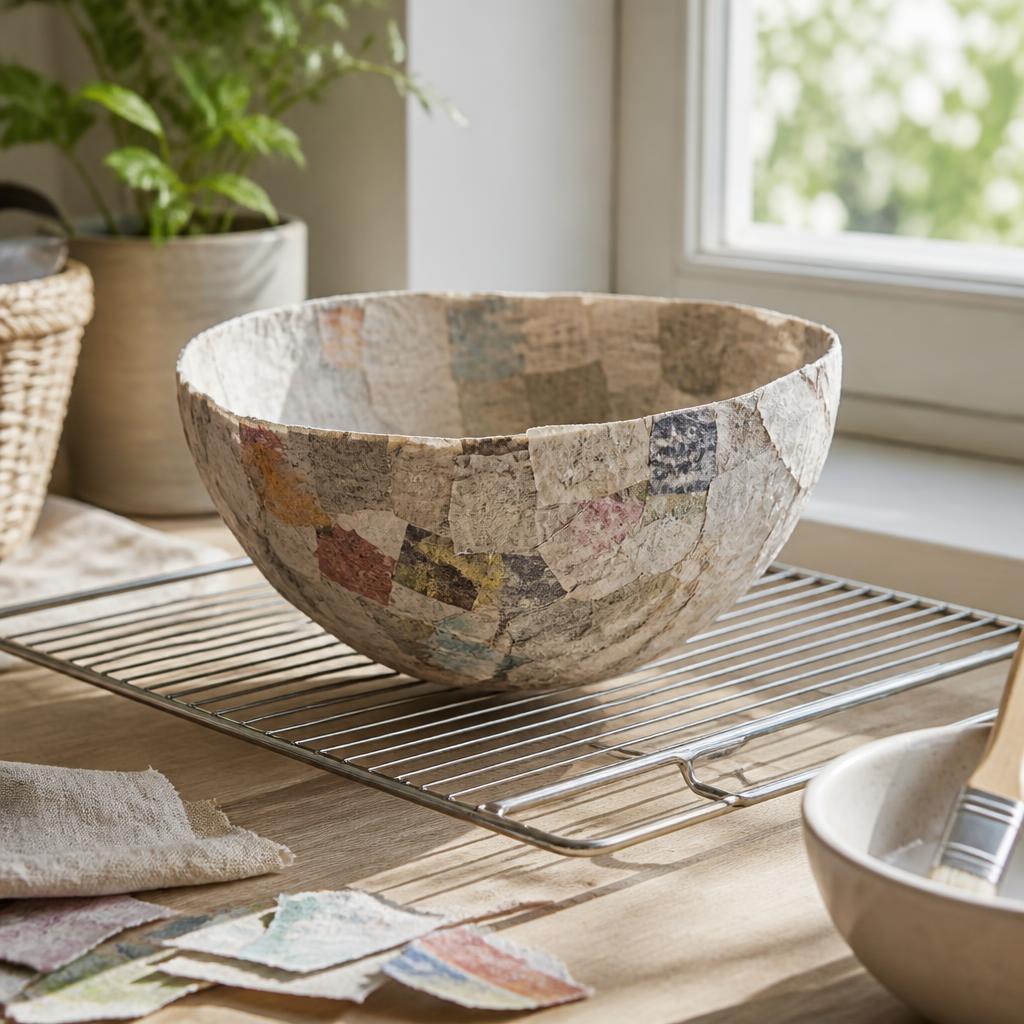
After the first layer, check the rim and base for thin spots before adding more. Let each layer firm up enough to support the next, but not so long that fresh paste can't grip it, and keep the bowl on a rack where air can reach underneath.
Trim and decorate.
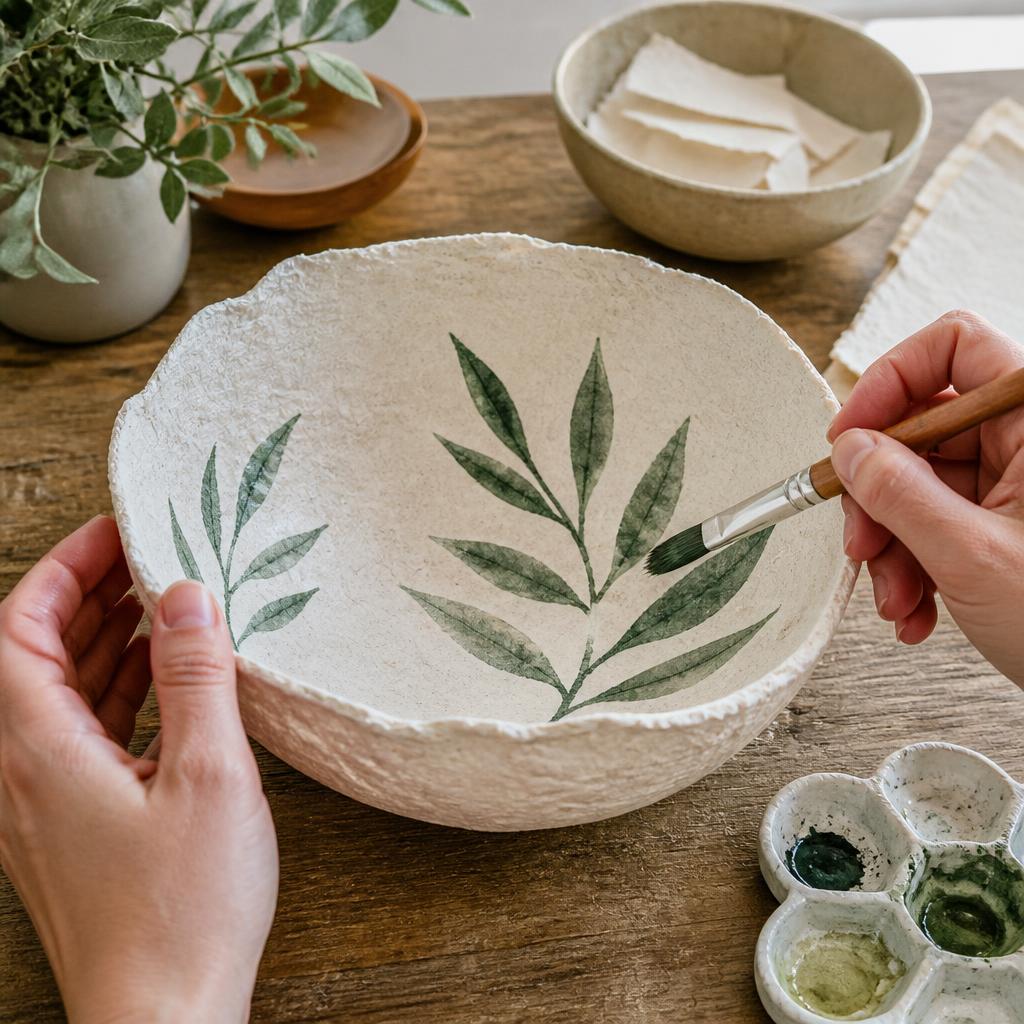
Trim the rim slowly with sharp scissors or a craft knife, keeping your other hand well behind the blade. Sand only the rough points once the bowl is fully dry, add paint in thin coats, and use a water-based sealer only if the bowl will be holding dry objects somewhere it gets handled often.
Written by
Natalie Brooks
Paper Craft & Origami Designer
Natalie transforms paper into architecture. From intricate origami to large-scale paper installations, her work explores geometry, patience, and the beauty of a single fold.