How to Make Polymer Clay Earrings: A Complete Guide
Learn how to make polymer clay earrings with our easy tutorial.
Spend twenty minutes on Etsy and you'll find polymer clay earrings selling for $35 to $80 a pair — and then you'll look at your shopping cart and close the tab, because you just realized you could probably make those yourself. You can. Polymer clay is one of the most beginner-friendly craft materials out there: it doesn't dry out in the air, it bakes in a regular oven, and a $4 block of Premo or Sculpey goes a remarkably long way when you're making earrings.
The tools are minimal. A smooth ceramic tile or piece of glass to work on, a small acrylic roller (a straight-sided glass works fine), some cookie cutters or a craft knife, and something sharp to make your earring hole before baking. That's the basic kit. The pasta machine attachment for a stand mixer is the proper way to condition and roll clay, and if you get serious about this it's worth the $30 — but it's not required for a first batch.
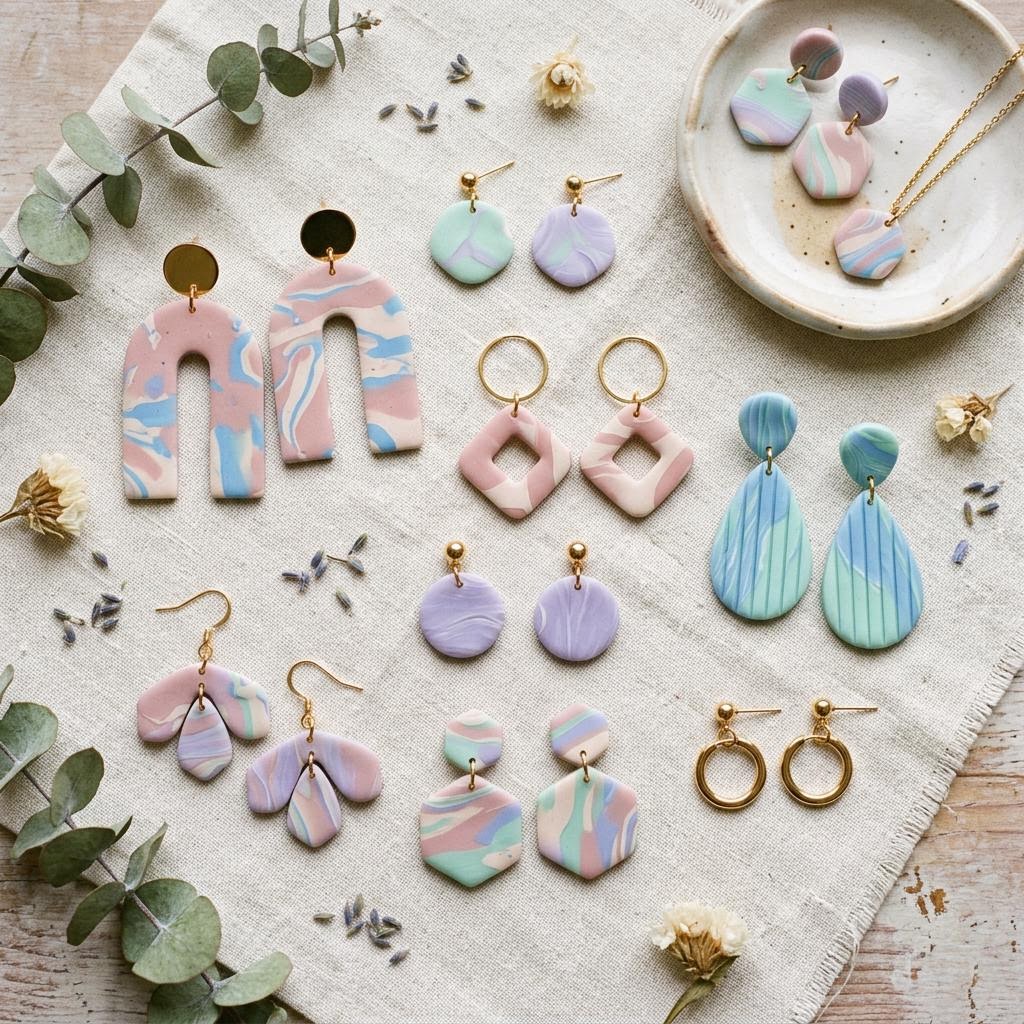
Color mixing is where polymer clay gets genuinely fun. Start with the primary colors plus white and black, and you can mix essentially anything. Marbling two or three colors together without fully blending them creates those swirly, agate-like patterns that are everywhere right now. The trick is to stop mixing earlier than you think you should — three to five twists and folds usually gives the best results before the colors flatten into mud.
Thickness matters more than most tutorials mention. Aim for about 3mm for earrings — thick enough to be sturdy after baking, thin enough to not feel heavy on the ear. A thinner slab (2mm) works for small studs. Use guides on either side of your clay when rolling — two pennies stacked on each side of the tile keep your roller at a consistent height. Sounds fussy, but it genuinely makes every batch more consistent.
Baking is where beginners go wrong most often. The temperature is critical — Sculpey III bakes at 130°C (275°F), while Premo needs 148°C (300°F). Don't guess, and don't trust your oven dial without a thermometer. Under-baked clay is brittle and snaps; over-baked clay scorches and discolors. A dedicated oven thermometer costs about $8 and will save you many ruined batches. Bake for a full 30 minutes even for thin pieces.
Sanding after baking is optional but makes a dramatic difference to the final feel. Start at 400-grit wet sandpaper (yes, wet — dip it in water), then 800, then 1000, then 2000. It takes about five minutes per pair and transforms the slightly matte, draggy surface into something that feels almost porcelain-smooth. Follow with a coat of Sculpey Glaze or a thin layer of UV resin for a glassy finish. Then you attach your posts, open a small jump ring with flat-nose pliers, and you have earrings that genuinely look shop-bought.
Materials You'll Need
- Polymer clay (various colors)
- Acrylic rolling pin or pasta machine
- Clay cutters or craft knife
- Parchment paper or ceramic tile
- Oven thermometer
- Earring posts, jump rings, and pliers
- Sandpaper and jewelry glue
Step-by-Step
Condition and Color Your Clay
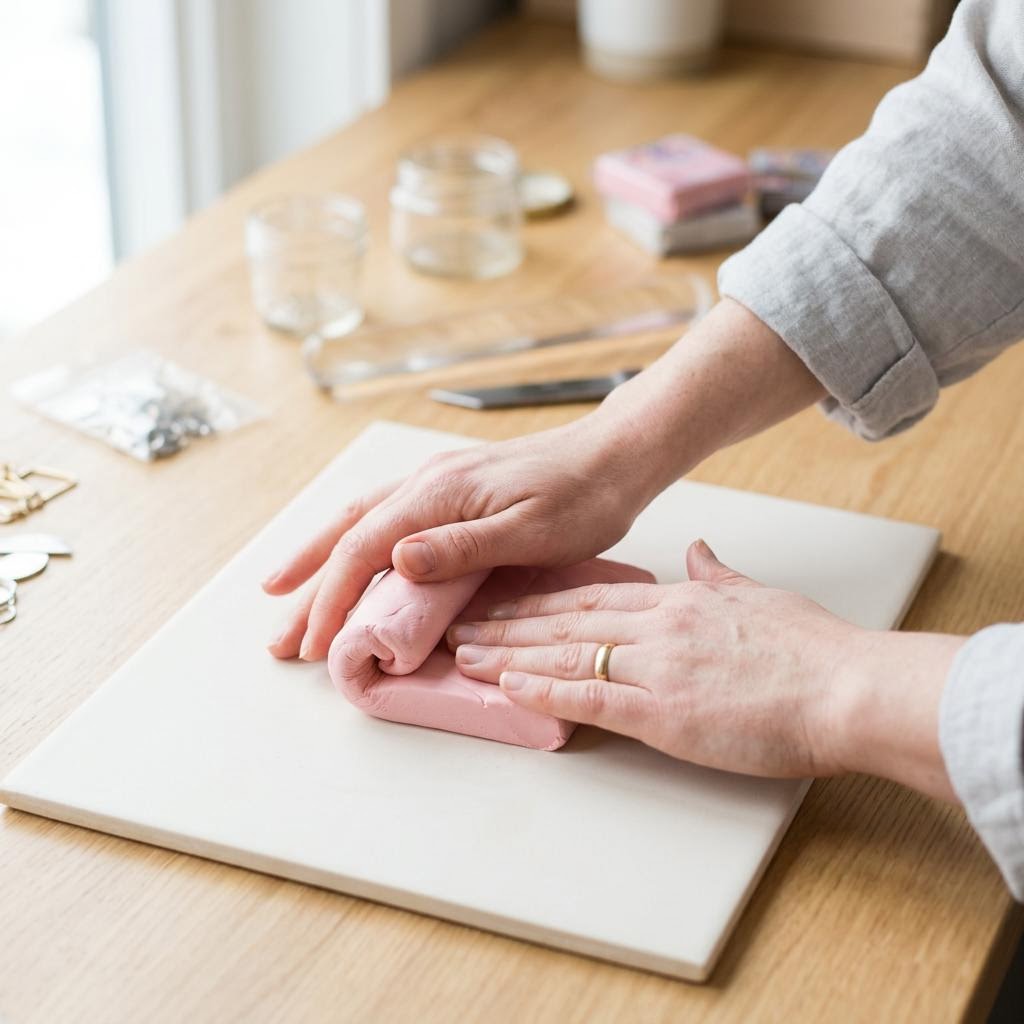
Slice your clay into thin pieces with a blade and warm it between your palms for a couple of minutes — cold, stiff clay cracks when you roll it. Conditioning means kneading and folding until the clay feels smooth and pliable, with no crumbly edges. This usually takes 3-5 minutes by hand; fresh clay from a warm studio conditions faster than clay that's been sitting in a cold drawer. To mix colors, blend two small pieces together using the "Skinner blend" for gradients, or simply twist-fold two colors 3-5 times for a marble effect. Stop marbling earlier than feels right — half the beginner mistakes come from over-mixing until the colors turn grey-brown. Test your color on a small pinch before committing to the whole slab. Once conditioned and colored, roll your slab to about 3mm thickness using two stacks of pennies (3 coins each) as thickness guides on either side of your clay. An acrylic roller gives the smoothest surface. Lay the slab on a ceramic tile so you can move it to the oven without distorting the shapes.
Shape and Texture
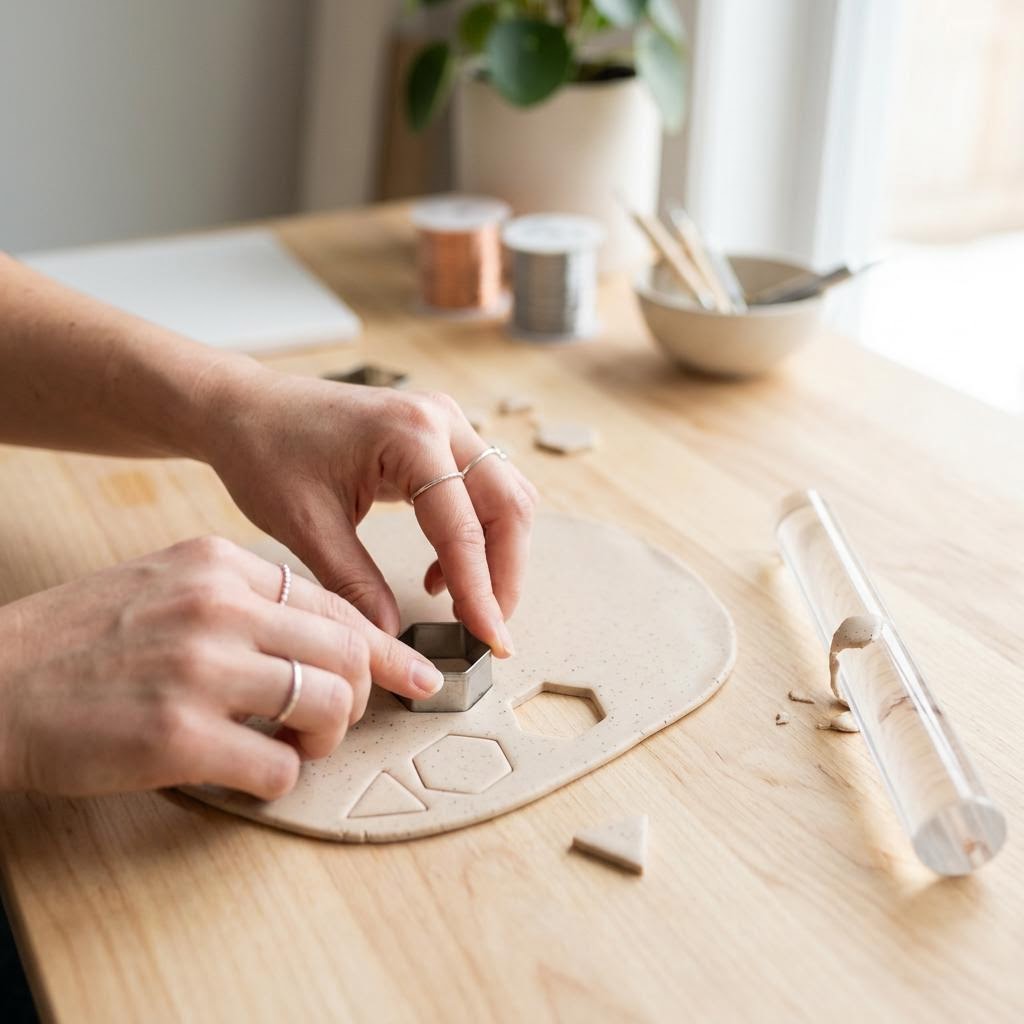
Press cookie cutters straight down through the slab — don't rock them or you'll get beveled edges. Lift the cutter and gently push the shape out from the back with a toothpick. For organic, abstract shapes, use a craft knife and cut freehand; teardrop and arch shapes are forgiving and look very current. Cut both earrings from the same section of the slab so the pattern matches. Texture can be added before baking using almost anything: a piece of lace pressed lightly into the surface, the edge of a credit card dragged across, a toothbrush for a stippled look, or actual stamps. Press gently — you want an impression, not a hole through the clay. Smooth fingerprints away by lightly rubbing with a fingertip dampened with a tiny bit of rubbing alcohol. Pierce your earring hole now, while the clay is raw. Use a toothpick or a thin skewer, inserting it about 3mm from the top edge and twisting gently rather than stabbing straight through. Make the hole slightly larger than you think you need — clay shrinks just slightly during baking and the hole can tighten. Remove the toothpick, check both shapes are the same size, and you're ready to bake.
Bake and Sand
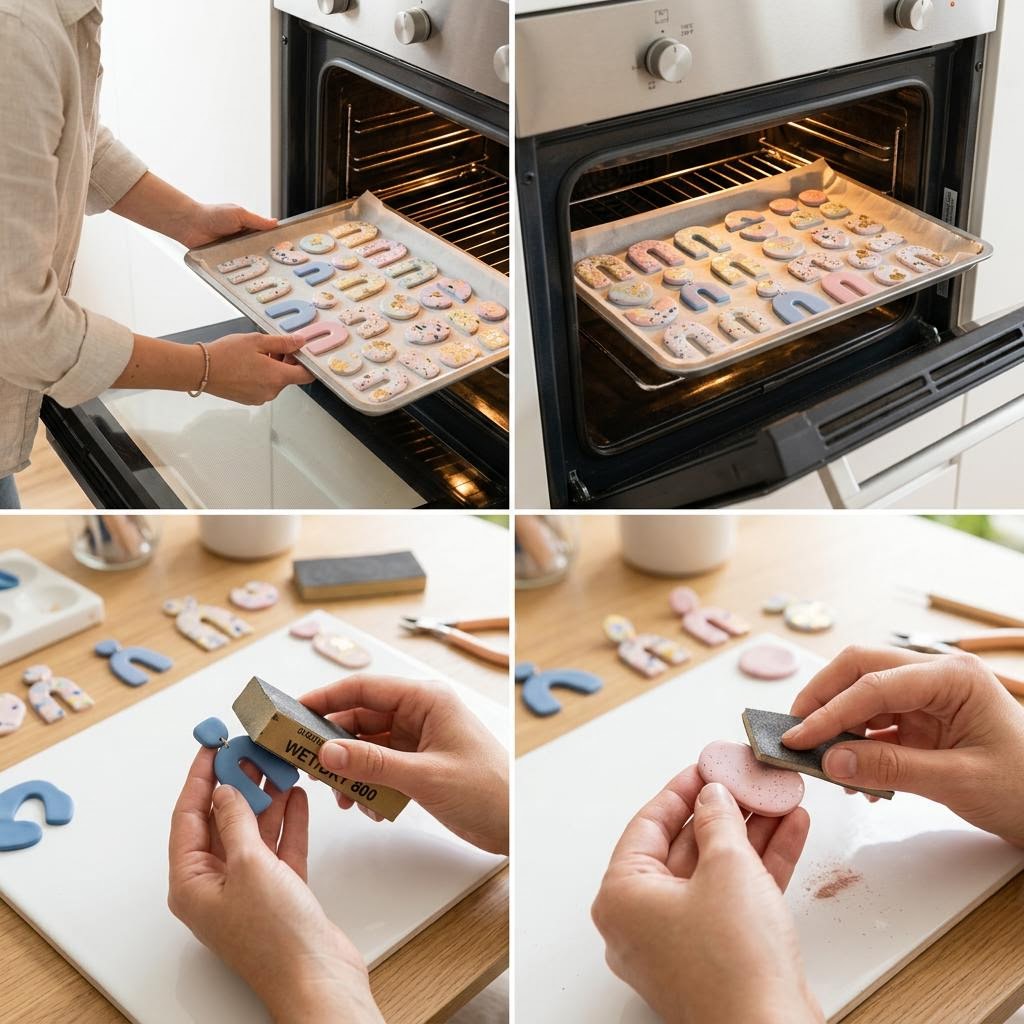
Preheat your oven with a thermometer inside — verify the actual temperature before putting clay in. Premo bakes at 148°C (300°F); Sculpey III at 130°C (275°F). Place your tile in the center of the oven and bake for 30 minutes. Don't open the oven during baking. Properly baked clay will be firm and slightly flexible when hot — it hardens fully as it cools. If it crumbles when you try to bend a thin piece, it was under-baked. Once completely cooled (at least 30 minutes), wet-sand if you want a polished finish. Work through 400-grit, then 800, 1000, and finally 2000-grit sandpaper, keeping everything wet. The piece goes from matte to semi-gloss to a beautiful smooth finish. Focus on the front face and edges — the back matters less. Rinse and dry after each grit. Check your earring holes at this stage. If they've tightened too much, a small drill bit twisted by hand will open them up. Don't force a jump ring through a hole that's too small — polymer clay can crack at the perforation under pressure.
Seal and Add Findings
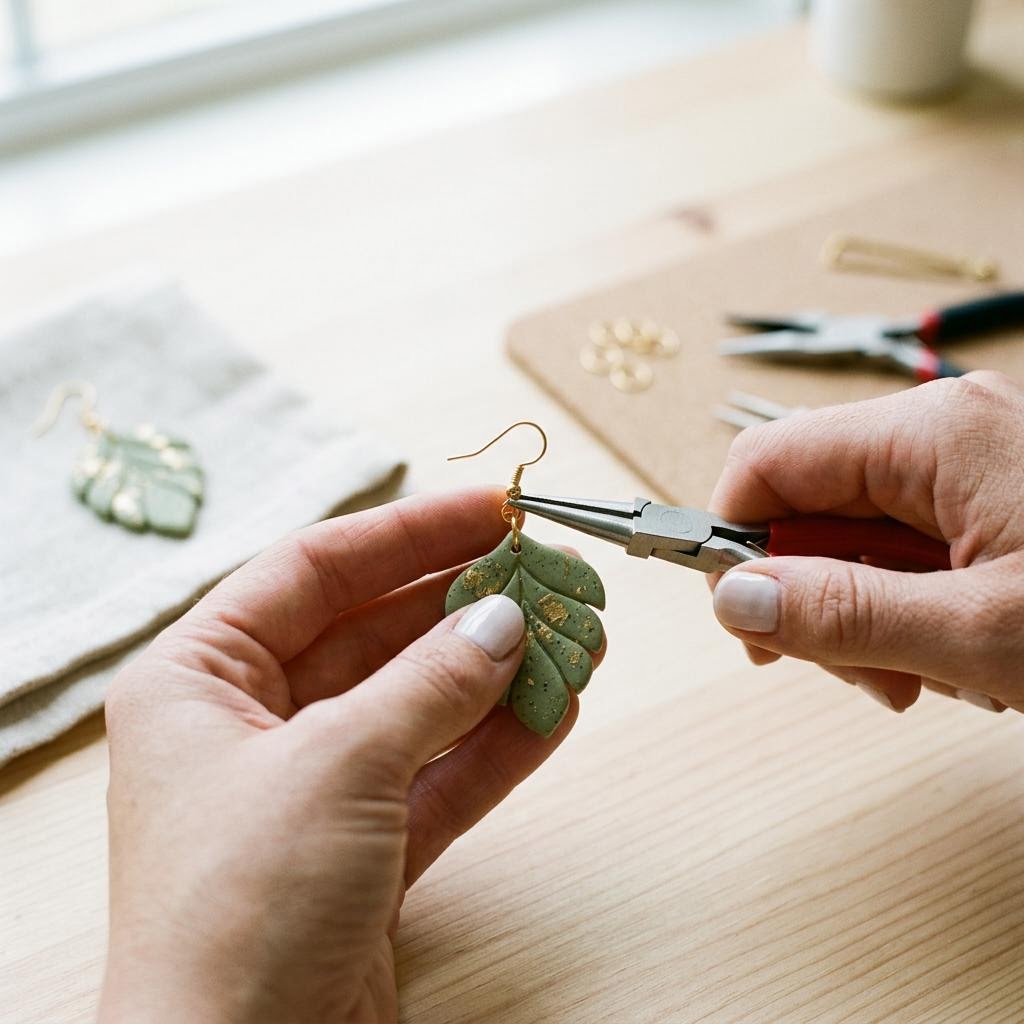
Apply a thin coat of Sculpey Glaze, Mod Podge Gloss, or a UV resin topcoat for a sealed, professional finish. Brush it on in one direction, let it dry fully (at least an hour for glaze, 60 seconds under a UV lamp for resin). One coat is usually enough; two coats gives a more glass-like look. Don't glob it on — thick coats dry sticky and never fully cure. For stud earrings, use E6000 or a strong two-part epoxy to glue flat-pad earring posts to the back center of each piece. Hold for 30 seconds and let cure fully — 24 hours for E6000. Don't rush this part; a post that comes off after wearing is genuinely annoying. For dangle earrings, open a small jump ring using two pairs of flat-nose pliers (twist sideways, not apart), loop it through your earring hole, attach your ear wire, and close the ring. That's a finished pair of earrings. Lay them side by side to compare — any size differences will jump out. Minor inconsistencies are totally fine; part of the handmade charm. Wear them, give them as gifts, or sell them. A batch of 6 pairs takes about 90 minutes start to finish once you've got the process down.
Written by

Emma Clarke
Mixed Media & Resin Art Specialist
Emma merges science and art in her mixed media practice. She specializes in resin pouring, alcohol inks, and unconventional material combinations.