Polymer Clay Fridge Magnets: Tiny Shapes with Big Personality
Make cheerful polymer clay magnets from a few colors of clay, simple shapes, and strong adhesive.
Magnets are a nice excuse to make something very small. You can finish one between lunch and school pickup, and any mistakes just become a funny face or an abstract shape instead of a wasted afternoon. These polymer clay fridge magnets are especially good for using up the last little scraps of color left over from another project.
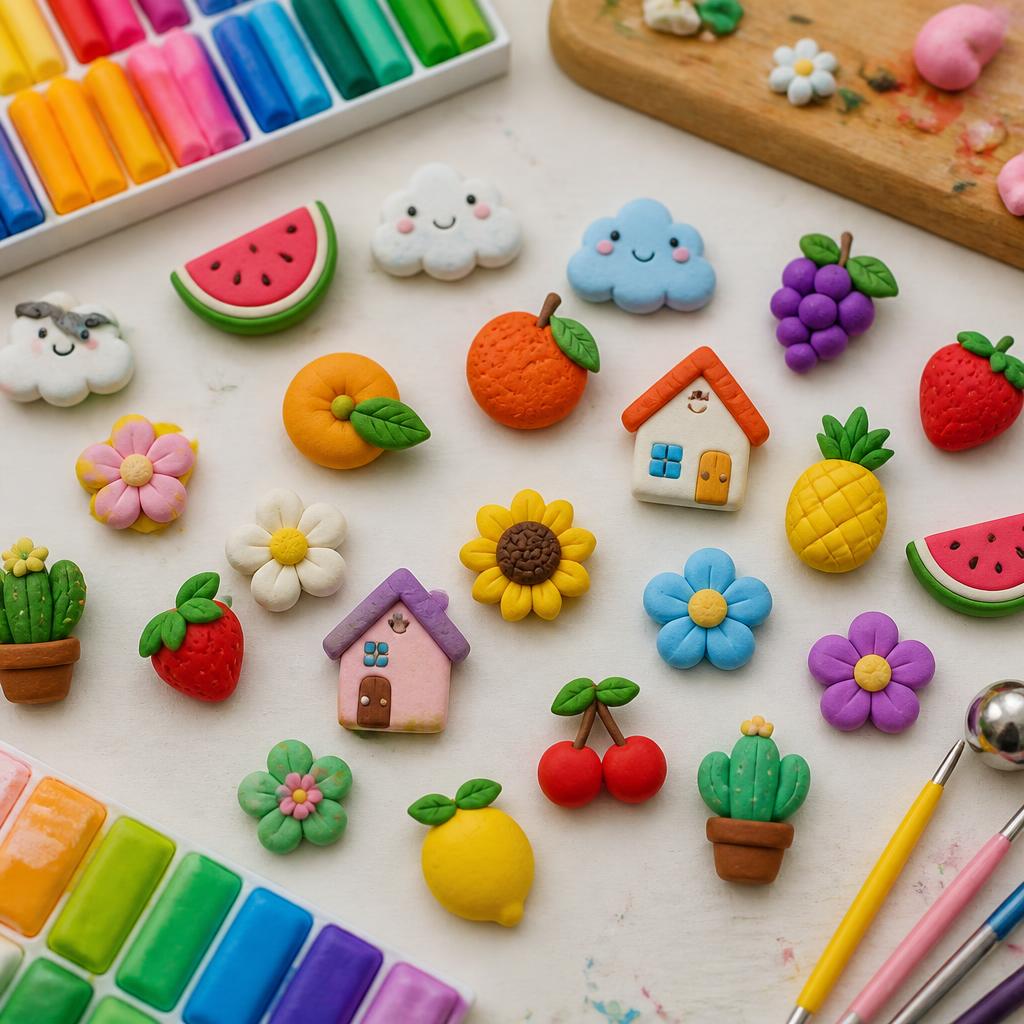
Condition the clay until it's soft and smooth, but don't knead every color together unless muddy brown is actually the goal. For DIY clay magnets, I gravitate toward fruit, tiny flowers, and simple houses, because their outlines can be charmingly imperfect and it doesn't matter. A toothpick honestly gives you more control than a very fine sculpting tool ever does.
Keep the pieces on the thin side. Thick clay takes longer to bake and leaves you with a magnet heavy enough to slide right down the fridge door. If you're wondering how to make clay magnets that actually stay put, use a genuinely strong flat magnet with a small amount of adhesive, rather than relying on a weak decorative one.
Follow your brand's baking instructions exactly. Polymer clay does not improve with an extra-hot oven — it can darken, crack, or give off an unpleasant smell if it overheats, so use a lined tray and ventilate the room. Let the pieces cool before deciding they're too soft; they firm up quite a bit as they come back to room temperature.
The best polymer clay fridge magnets don't have to match each other. Make a little set with one repeated color running through the shapes, or let each magnet be its own small character. DIY clay magnets are handy for holding up a shopping list, but they're also allowed to just make the refrigerator a little less boring.
The final step in how to make clay magnets is waiting for the glue to cure, which is admittedly less exciting than it sounds. Polymer clay fridge magnets make cheerful little gifts when you package three or four together. DIY clay magnets are also a good, low-stakes way to test a color combination before committing to it on something bigger. If you're figuring out how to make clay magnets with kids, keep the shapes simple and stay close for the oven step. A set of polymer clay fridge magnets is more fun, honestly, when the pieces don't all match.
Small magnets are a great place to play with surface texture. Press a scrap of lace into soft clay and peel it away for a pattern, or use the blunt end of a paintbrush to make tiny dimples. A toothpick can draw leaf veins, though a needle tends to leave marks that are a bit too sharp and deep. Keep the backs flat by turning each piece over on a smooth tile before baking, and check nothing's bulged underneath.
Plan magnet strength around the finished size. A tiny button shape can get away with a small magnet, but a thick house or anything with a heavy raised detail needs more pull. Don't assume a decorative magnet from a craft packet will hold several sheets of paper — test one finished piece before making a whole collection. If it slides, swap in a stronger magnet rather than adding a second one at random; two unevenly seated magnets can make the whole piece wobble.
Dust shows up fast on bright clay, especially white. Wash and dry your hands between colors, and keep a bit of scrap clay handy for picking up stray lint. A soft makeup brush sweeps away crumbs without leaving fingerprints behind. If a mark does show up, wait until the clay firms up and wipe it carefully with a cotton swab — rubbing too early just pushes the dirt further into the surface.
Bake on a level tray so the shapes don't tilt. An oven thermometer is genuinely useful, since household ovens can be surprisingly off, and polymer clay does not respond well to excess heat. Follow the package time for the thickness you actually made. Crack a window if the manufacturer suggests ventilation, and let the pieces cool on the tray before gluing anything to them.
For a small gift, build a set around one idea — breakfast foods, garden shapes, tiny weather symbols. Put the magnets on a card with a little note about what they are. Keep them away from very young children, pacemakers, and sensitive electronics where relevant. The finished pieces are small, but a consistent back, a clean edge, and strong adhesive make them feel like proper little objects rather than leftover scraps.
A collection reads as more polished when the scale varies a bit. Make a few tiny pieces, two medium focal shapes, and one slightly larger magnet for the center of the arrangement. Keep the details simple enough to read from across the kitchen — a leaf only needs a central line and two or three side marks; adding every single vein can make it look muddy once it's baked.
When it's time to attach magnets, lightly roughen the back of the clay with fine sandpaper and wipe away the dust. Use an adhesive rated for both the magnet and the clay surface, and let it cure for the full time the package recommends — don't test it by pulling right away. Set the pieces flat while the adhesive cures so the magnets don't slide out of position.
You can make a neat little storage card from thick paper with small slits for each magnet — handy while pieces cure, and it makes a handmade set easier to gift. Add a simple color key on the back if you've done fruit, flowers, or seasonal shapes, and avoid writing directly on the clay unless the pen is known to be permanent and compatible with the finish.
Give yourself permission to make a few deliberately simple shapes. A single round flower or bright dot balances out a more detailed fruit without competing with it. Lay the finished group on a sheet of paper before it goes on the fridge and look at it from a few steps away — that quick check helps you notice whether the colors are balanced and whether the strongest shapes are spread out instead of bunched in one corner.
Materials You'll Need
- Polymer clay in several colors
- Craft knife
- Toothpick or needle tool
- Baking tray and parchment
- Small strong magnets
- Craft adhesive
Step-by-Step
Condition the clay.
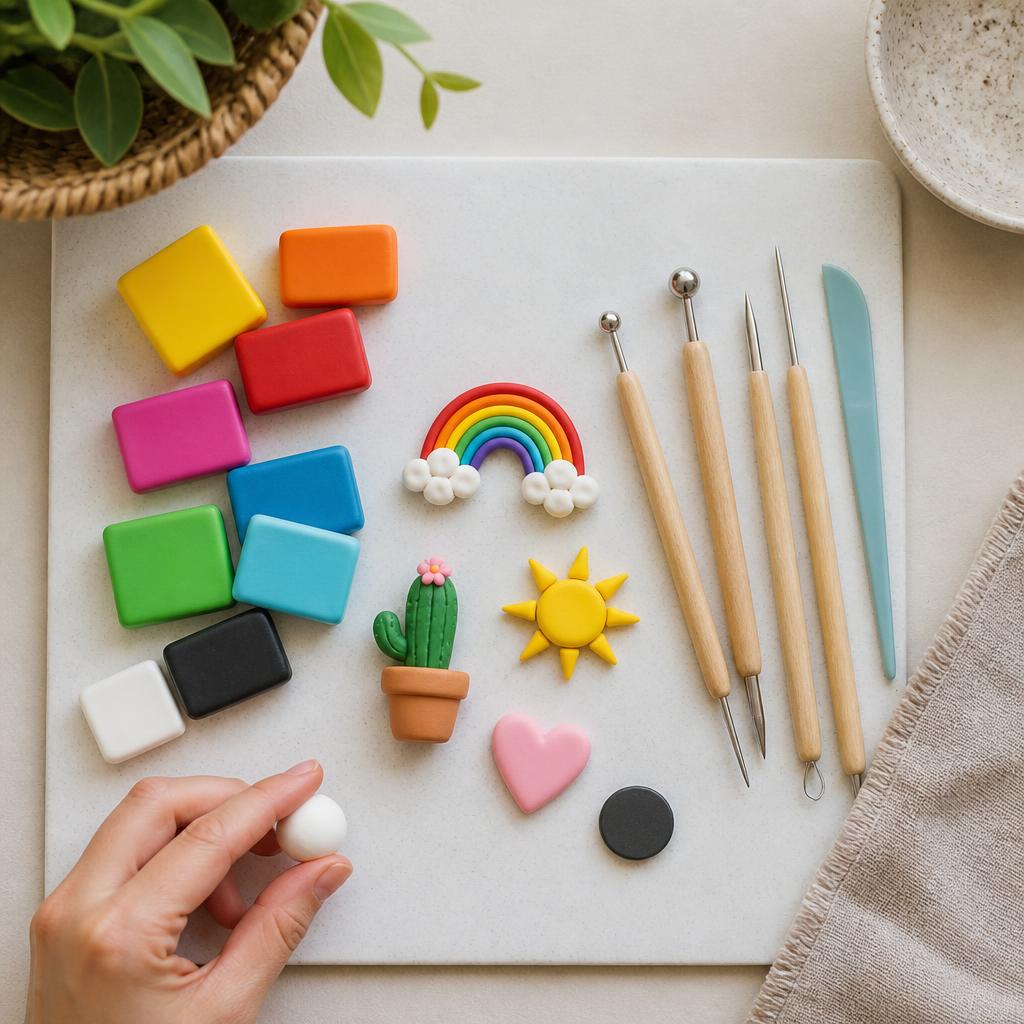
Warm and fold one color at a time until it's smooth, keeping unused colors covered so lint doesn't settle on them. Sketch a few shapes first, and use a flat tile or sheet of parchment as your work surface so pieces can move to the oven without getting distorted.
Build simple shapes.
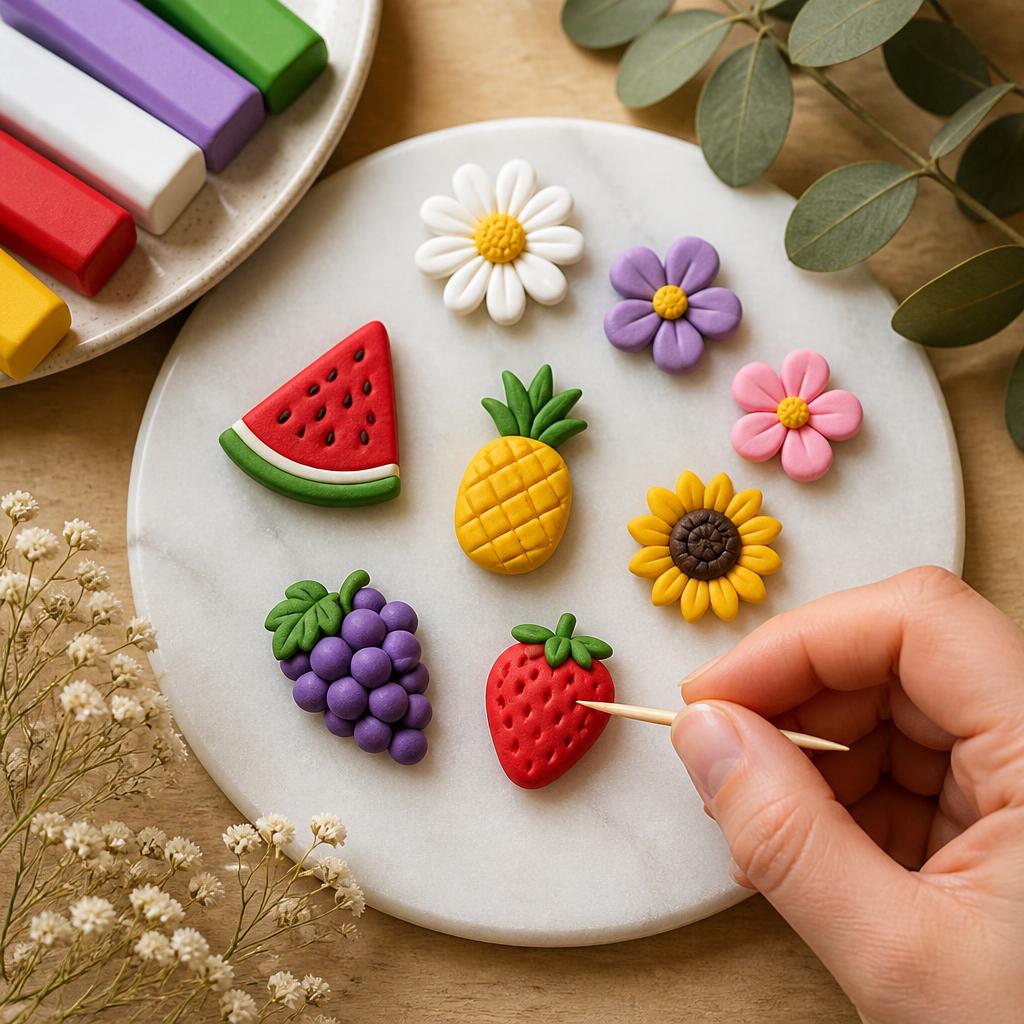
Build up raised details from simple parts rather than trying to sculpt everything at once, pressing seams together with a fingertip or small tool and keeping the back as flat as you can. Use a toothpick for light texture, then rotate the piece in your hand to check the silhouette reads well from every angle.
Bake carefully.
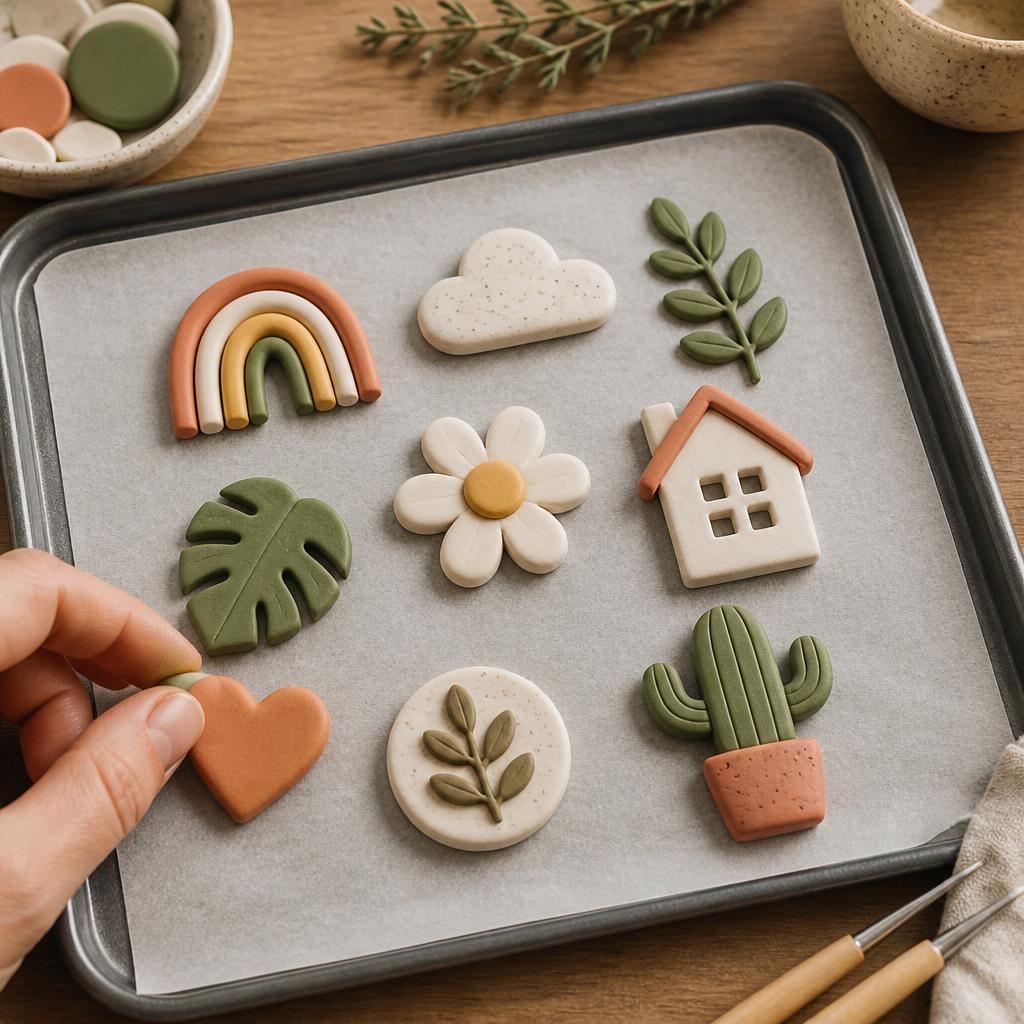
Arrange the pieces with space between them so heat can circulate, checking each one for fingerprints, crumbs, and a level back first. Follow the package instructions for the clay you're using, going by the recommended time for the thickest piece rather than guessing based on color.
Attach the magnets.
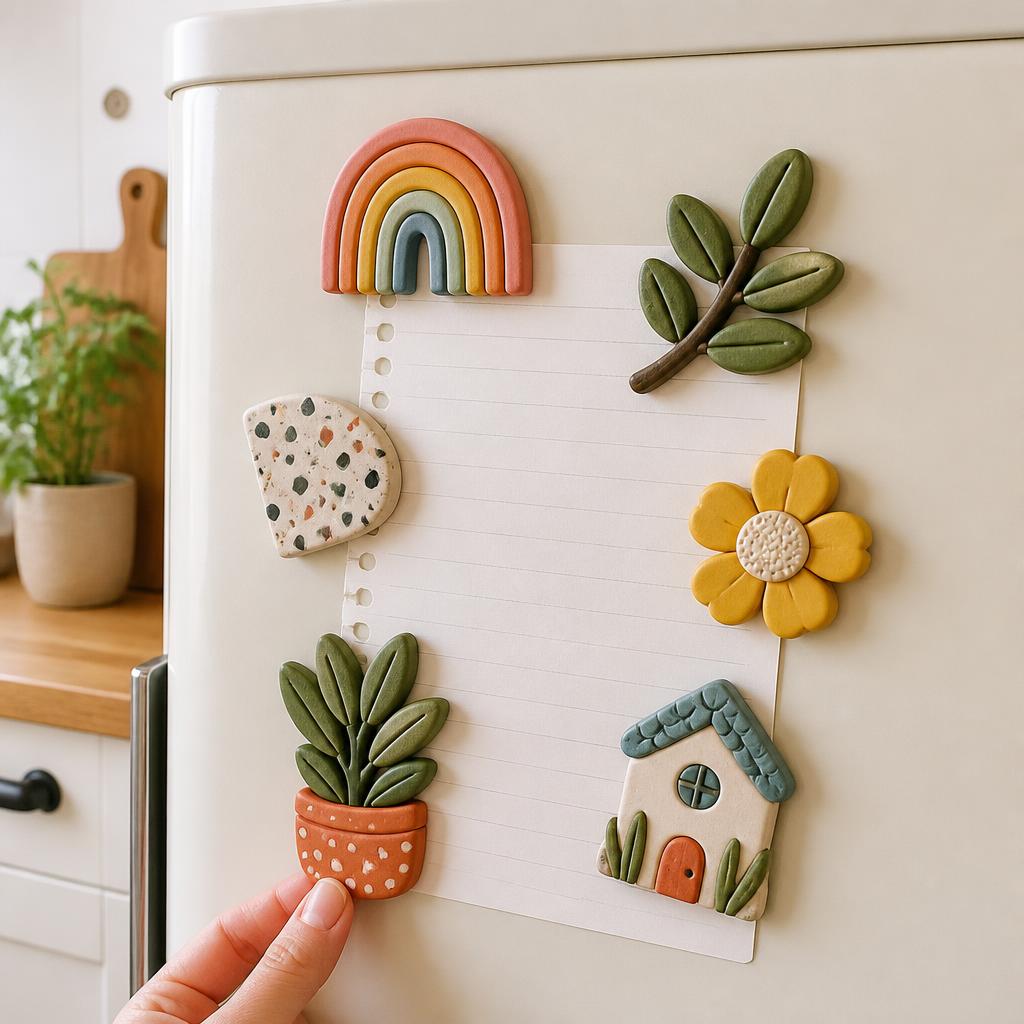
Let the pieces cool fully, roughen the back lightly if the adhesive calls for it, then center each magnet and leave everything flat while it cures. Test one on the fridge before gifting the whole set, so you know it'll actually hold the paper you want it to.
Written by

Maya Suzuki
Japanese Craft & Washi Art Expert
Maya bridges Japanese craft heritage and contemporary design. She specializes in washi paper art, shibori dyeing, and traditional Japanese textile techniques.