How to Make a Scrapbook from Scratch Without Overplanning It
Build a personal scrapbook album from paper, photographs, and small memories without needing a complicated layout.
The hardest part of scrapbooking is honestly usually the pile of supplies. Once you've got six kinds of paper, three sticker books, and one frighteningly expensive pen involved, it's easy to spend an entire afternoon organizing instead of actually making anything. Start with one story instead, and let the materials follow from there.
These scrapbook layout ideas for beginners all start with one question: what do you actually want to remember? "Our trip" is a pretty broad subject; "the breakfast place where it rained and we stayed for two hours" gives a page somewhere real to go. Pick the small detail that still makes you smile when you think about it.
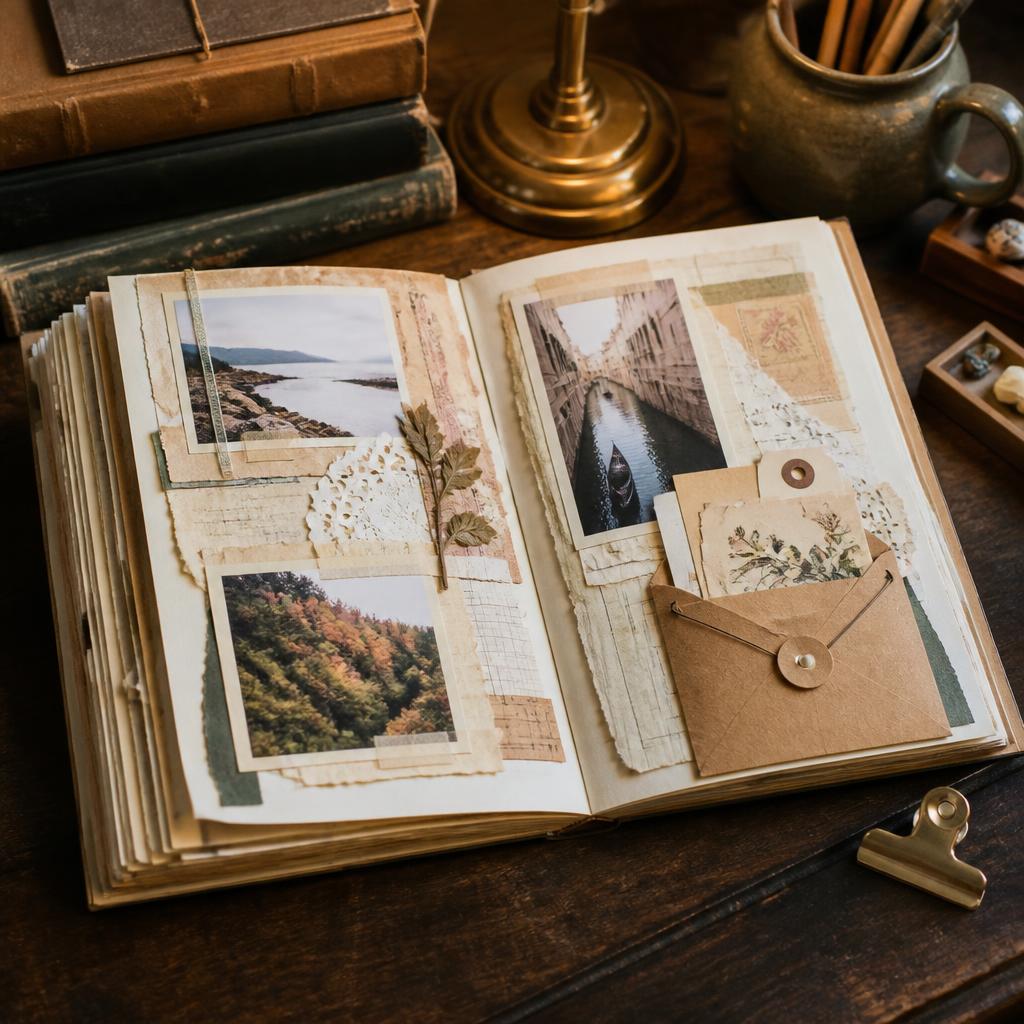
To make a scrapbook from scratch, gather your photographs and paper ephemera before you cut anything at all. Spread the pieces out on a table and move them around. Keep the ticket stub with the photo it belongs to, and don't feel obligated to include every single receipt — a page needs some breathing room.
An easy DIY scrapbook album doesn't need a fresh layout on every single page. Repeat a color, a torn-paper edge, a little handwritten date — that repetition makes the album feel intentional and saves you from inventing a brand-new design at midnight.
Write in the album even if your handwriting isn't exactly "scrapbook worthy." Names, weather, a silly quote, the reason a particular photo was even taken — those are the details that disappear first. The best scrapbook layout ideas for beginners leave room for exactly those ordinary sentences. To make a scrapbook from scratch is really, at its core, giving those small details somewhere to stay.
A DIY scrapbook album can start with a single envelope of photographs — it doesn't need a shopping spree. To make a scrapbook from scratch, start by writing down the details you don't want to lose. Scrapbook layout ideas for beginners work better when you treat them as prompts rather than rules. A DIY scrapbook album is absolutely allowed to have a page that's mostly handwriting.
One of the scrapbook layout ideas for beginners I keep coming back to is simply one photograph, one date, and one honest sentence.
Choose your album format around the story, not the other way around. A small square book suits a weekend or a handful of portraits, while a larger landscape album gives photos more room to breathe. Ring-bound albums are forgiving because pages can be moved around later, while stitched albums feel more permanent and punish any indecision. If you're unsure, start small — finishing one modest project is a lot more encouraging than abandoning a grand one.
Photographs don't all need to print at the same size. One large image can anchor a page while two wallet-size photos fill in a detail. Leave a border around photos if the page already has a lot going on, or crop boldly if the background's distracting you. Photocopy anything irreplaceable before you cut it — a scrapbook is personal, but it shouldn't be the only place a family photo still exists.
Paper scraps can carry just as much memory as the pictures do. A café napkin, a scrap of map, a paper wristband, the label off a favorite snack — all of it gives a page its own texture. Just check that anything glossy or thermal-printed won't fade before you attach it. For fragile pieces, make a small pocket from heavier paper and tuck the original inside — this also gives you somewhere to keep the things you couldn't bear to trim down.
Acid-free adhesive is worth the money, but use less than you think you need. A few dots or a thin line around the edge is usually plenty — too much glue wrinkles paper and can seep through photographs. A tape runner is fast for flat paper, while photo corners let you pull a picture out again later if you need to. Press each piece from the center outward with a clean card to push out air bubbles.
Leave a blank area for writing, even if you plan on writing later. Dates, names, weather, the reason everyone was laughing — those are often worth more than another decorative sticker. Use a pen that won't smear or bleed through, testing it on a scrap of the same paper first. Finish each spread with one small detail that only someone who was actually there would understand — that private little detail is what turns an album into a memory rather than just a collection of pretty pages.
A visual rhythm helps once pages start to feel crowded. Alternate busy spreads with quieter ones, and repeat a color or shape every few pages to tie the story together. A narrow strip of paper can act as a border, while a larger empty margin gives a photograph room to feel important. You don't need to decorate every inch — the spaces between things are part of the design too.
Use removable notes while you're still planning. Write the date or event on small slips and shuffle them around until the sequence clicks. This helps a lot when photos come from several different devices or got printed in no particular order. Once the layout settles, attach the permanent pieces and keep the notes handy for journaling later.
If the album's going to be handled a lot, reinforce pockets and page edges before you fill them. Folded paper can be strengthened with a narrow strip on the inside, and a pocket should be attached on three sides with the opening facing away from the page edge. Check that embellishments don't catch on neighboring pages when the album closes. A scrapbook should invite people to turn the pages, not make them handle it like it might fall apart.
Once the last page is done, read through the whole album before closing it up. Add any missing names while it's fresh, pull anything that feels too tight, and check that every pocket still opens easily. Slip a small envelope into the back for future notes, rather than trying to predict every detail right now — an album can stay open-ended, and leaving room for one more story is often more meaningful than filling every last bit of space.
Store the finished book upright or flat in a dry room, out of direct sun. If the cover has a ribbon or raised decoration, give it enough space so the album isn't pressed under a heavy stack. A quick look once or twice a year lets you catch a loose corner early, before a small repair turns into a missing piece altogether.
Materials You'll Need
- Blank scrapbook or heavy paper
- Photographs
- Acid-free adhesive
- Paper scraps
- Pens
- Scissors
- Envelopes or pockets
Step-by-Step
Choose the story.
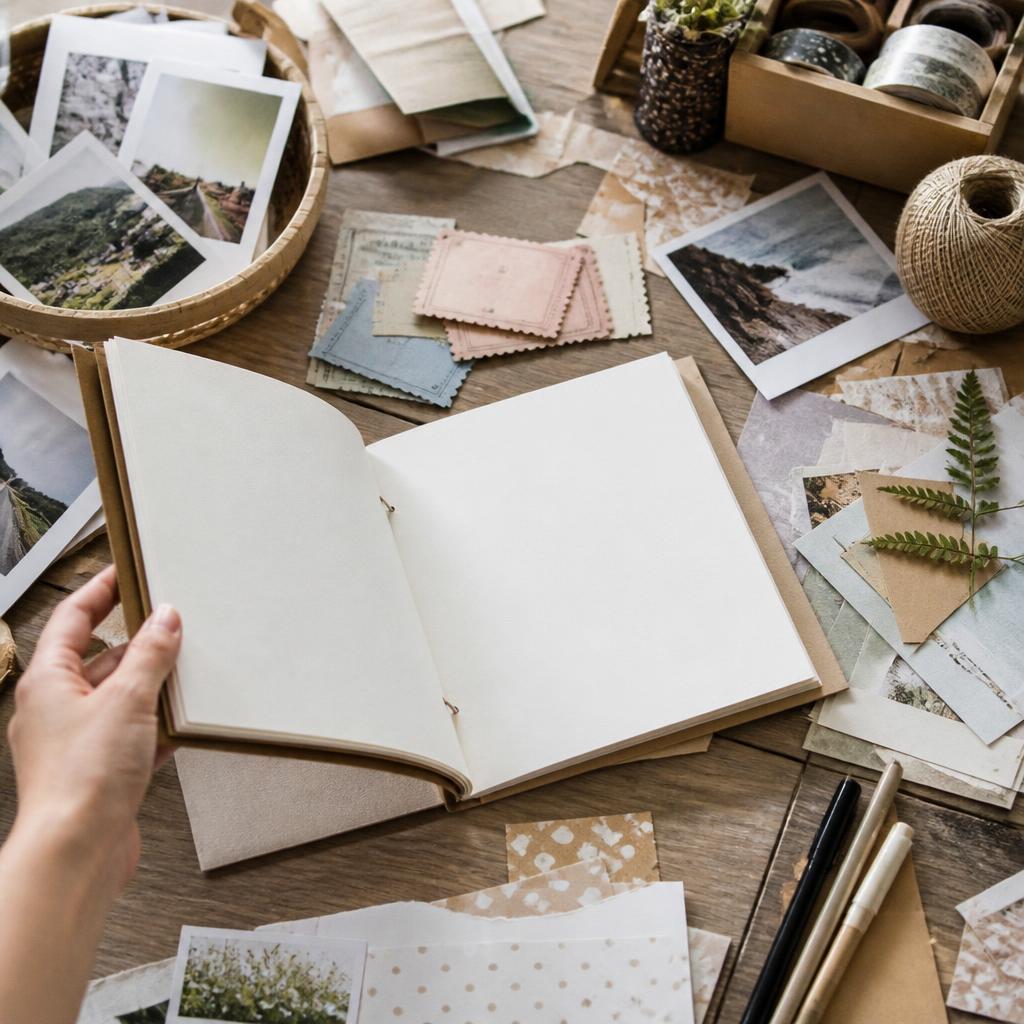
Gather photographs and keepsakes first, grouping them by event or feeling rather than jumping straight into decorating. Make a loose list of the stories you want to include — that keeps the album from turning into a collection of unrelated pages, and tells you which paper sizes and pockets will actually be useful.
Sort the pieces.
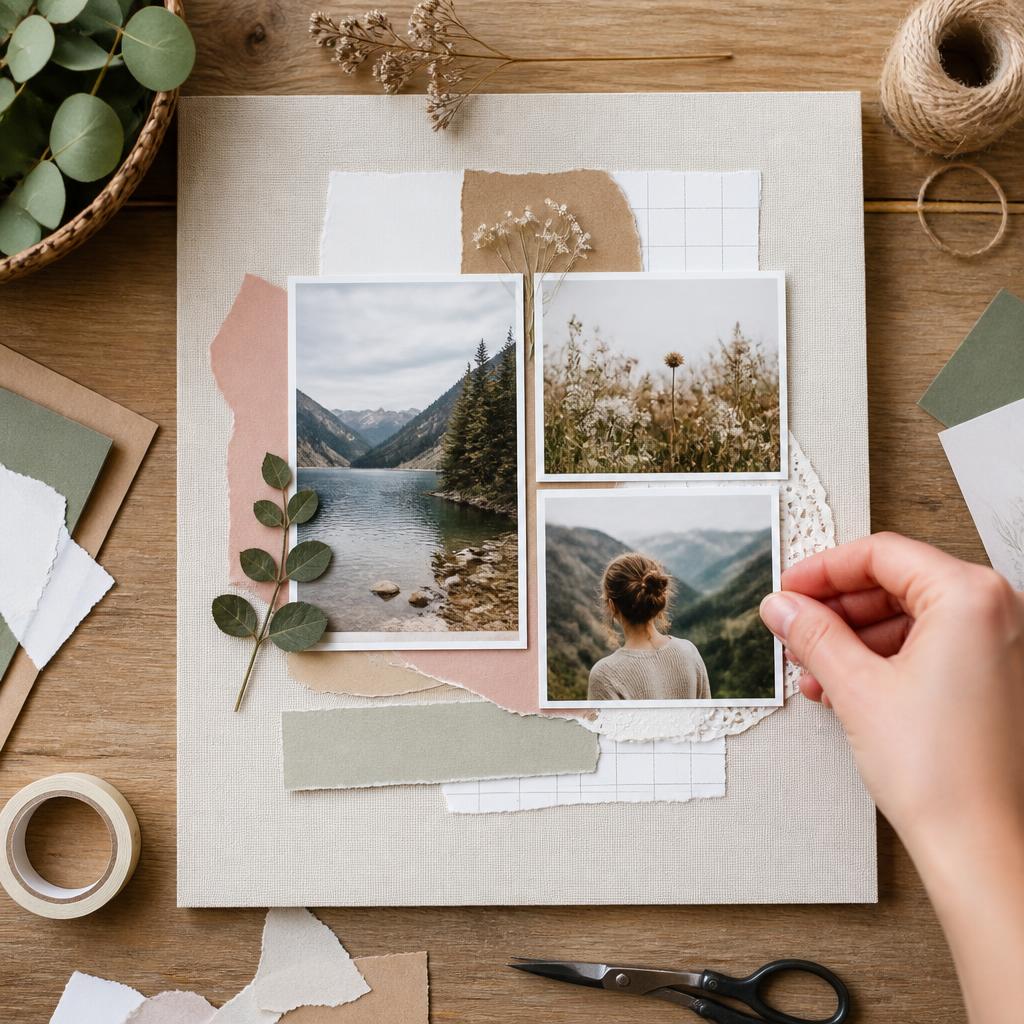
Place your largest photograph first and arrange smaller pieces around it, trying a few layouts without adhesive and snapping a quick photo of the strongest version. Leave space for a caption and a small margin at the page edge so embellishments don't catch when the album closes.
Build the pages.
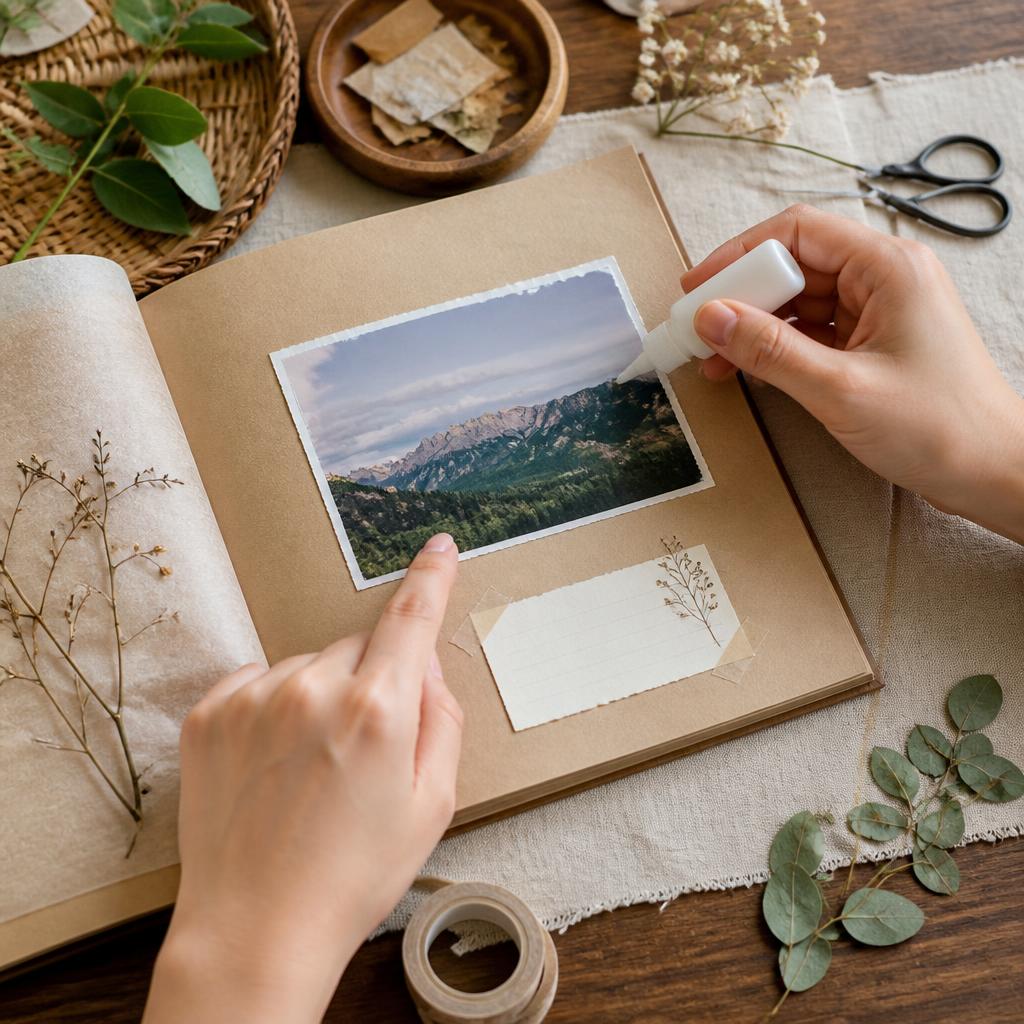
Use a thin, even layer of archival adhesive, pressing from the center of each piece outward. For irreplaceable photographs, use photo corners or a pocket instead of permanent glue, smoothing out bubbles with a clean card and giving each page time to dry before stacking another spread on top.
Add the voice.
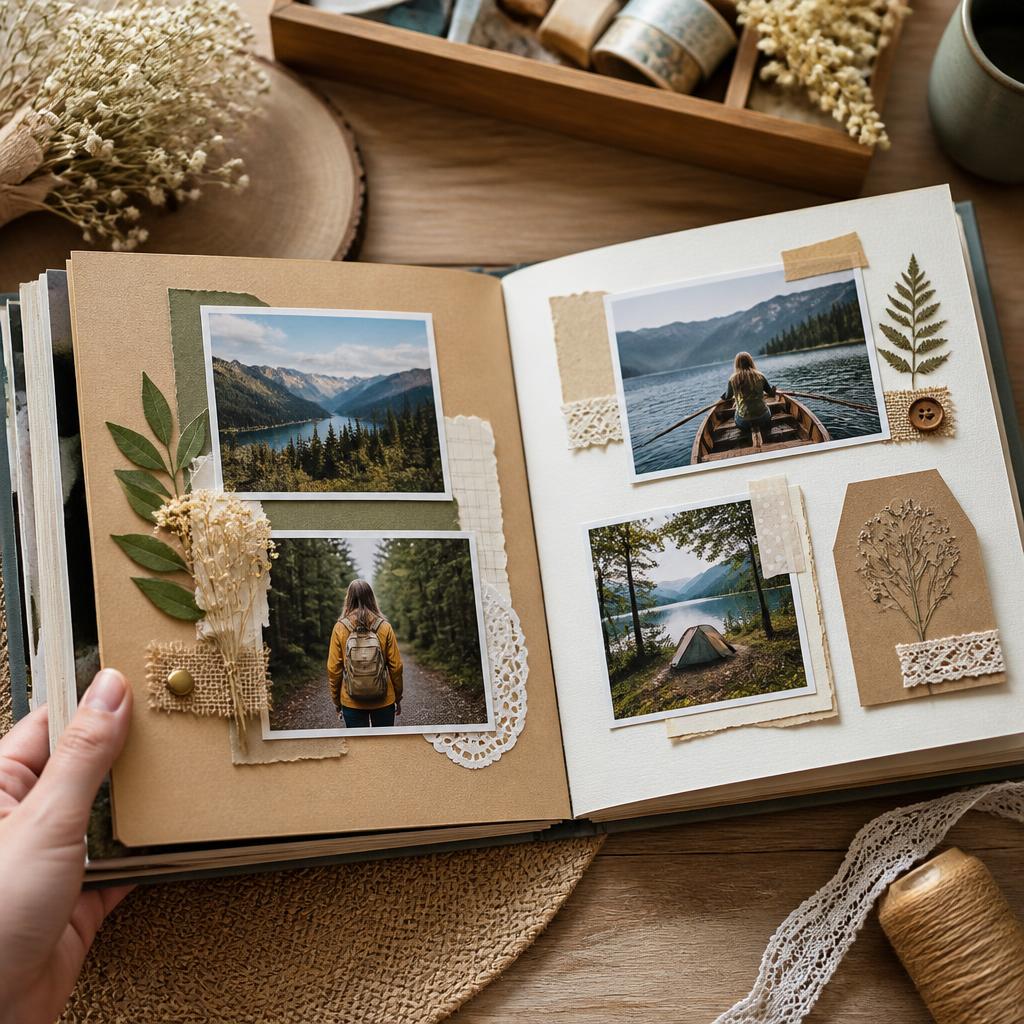
Add labels, dates, and small handwritten observations once the main layout is secure, checking that pockets still open freely and raised pieces aren't pressing into neighboring photos. Turn pages slowly during a final check, fixing loose corners now while all your tools and scraps are still close at hand.
Written by

Natalie Brooks
Paper Craft & Origami Designer
Natalie transforms paper into architecture. From intricate origami to large-scale paper installations, her work explores geometry, patience, and the beauty of a single fold.